The other day I started a fun new series here on the blog called “Then and Now.” I started with our living room [here] and it was so fun to look back at the changes that we’ve made and all of the work that we have put in.
Today we’re moving to the next room as you walk through the house: our kitchen.
I hope you’ll check out some of my other posts while you’re here, too!
See my DIY projects and inspiration [here]
Check out a home tour [here]
Check out some fashion posts [here]
Side note: I’ve mentioned before that this room is so dang hard to photograph because it doesn’t get a whole lot of natural light. There’s one window over the sink, but there’s an awning over that window on the outside of the house. So I end up being forced to leave the overhead lights on when I take pictures, and that makes them all look kind of yellow-ish. I’m sure there’s a way to fix the issue with my camera settings…but I’m clearly not a professional photographer. I don’t know what I’m doing! So if anyone has any tips for me, please feel free to share. A lot of people have suggested that I remove or change the awning. I really like having an awning there when the sun is particularly bright so I don’t want to remove it. I like the idea of changing it to a retractable one though so that I can shut it or open it depending on how bright it is – that way I can have the best of both worlds. A few people have suggested that I take a look at this Independent Cut Length Distributor for some advice and to see some of the potential colours and patterns I could have, so I think I will take a look. Hopefully, one way or another, the next pictures of this room won’t be yellow-ish!
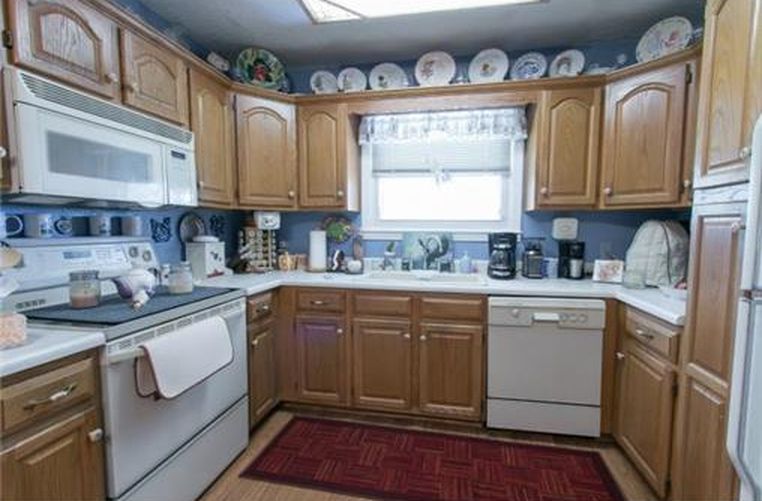
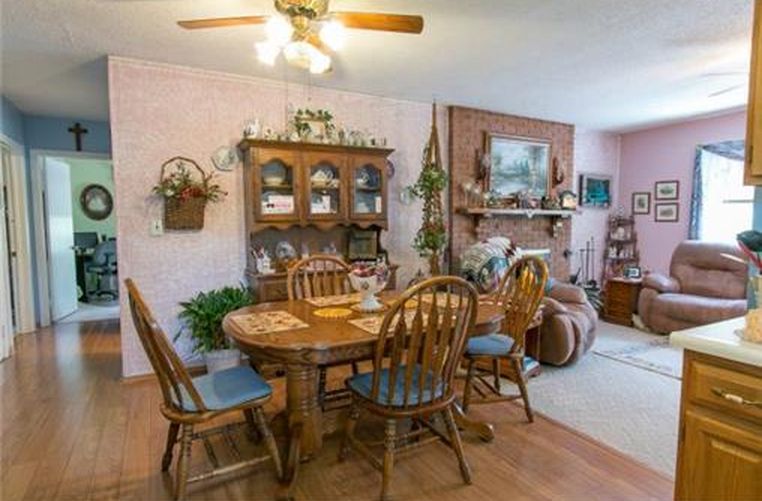
The kitchen is actually the first room I thought about before we moved into the house. It had oak cabinets, blue walls, weird floral hardware, outdated appliances, and laminate flooring. When it came to the floor, I wasn’t a massive fan of it. Plus, I knew that if I wanted to switch things up, it would be easy as doing a google search into something similar to Niagara flooring installation and get in touch with a contractor who would be able to fit flooring that I was happy with. The flooring would have actually been OK if it was throughout the house…but it was one of THREE different types of flooring on the main level. So we fixed that, and a lot of other things.
Then (before we moved in)
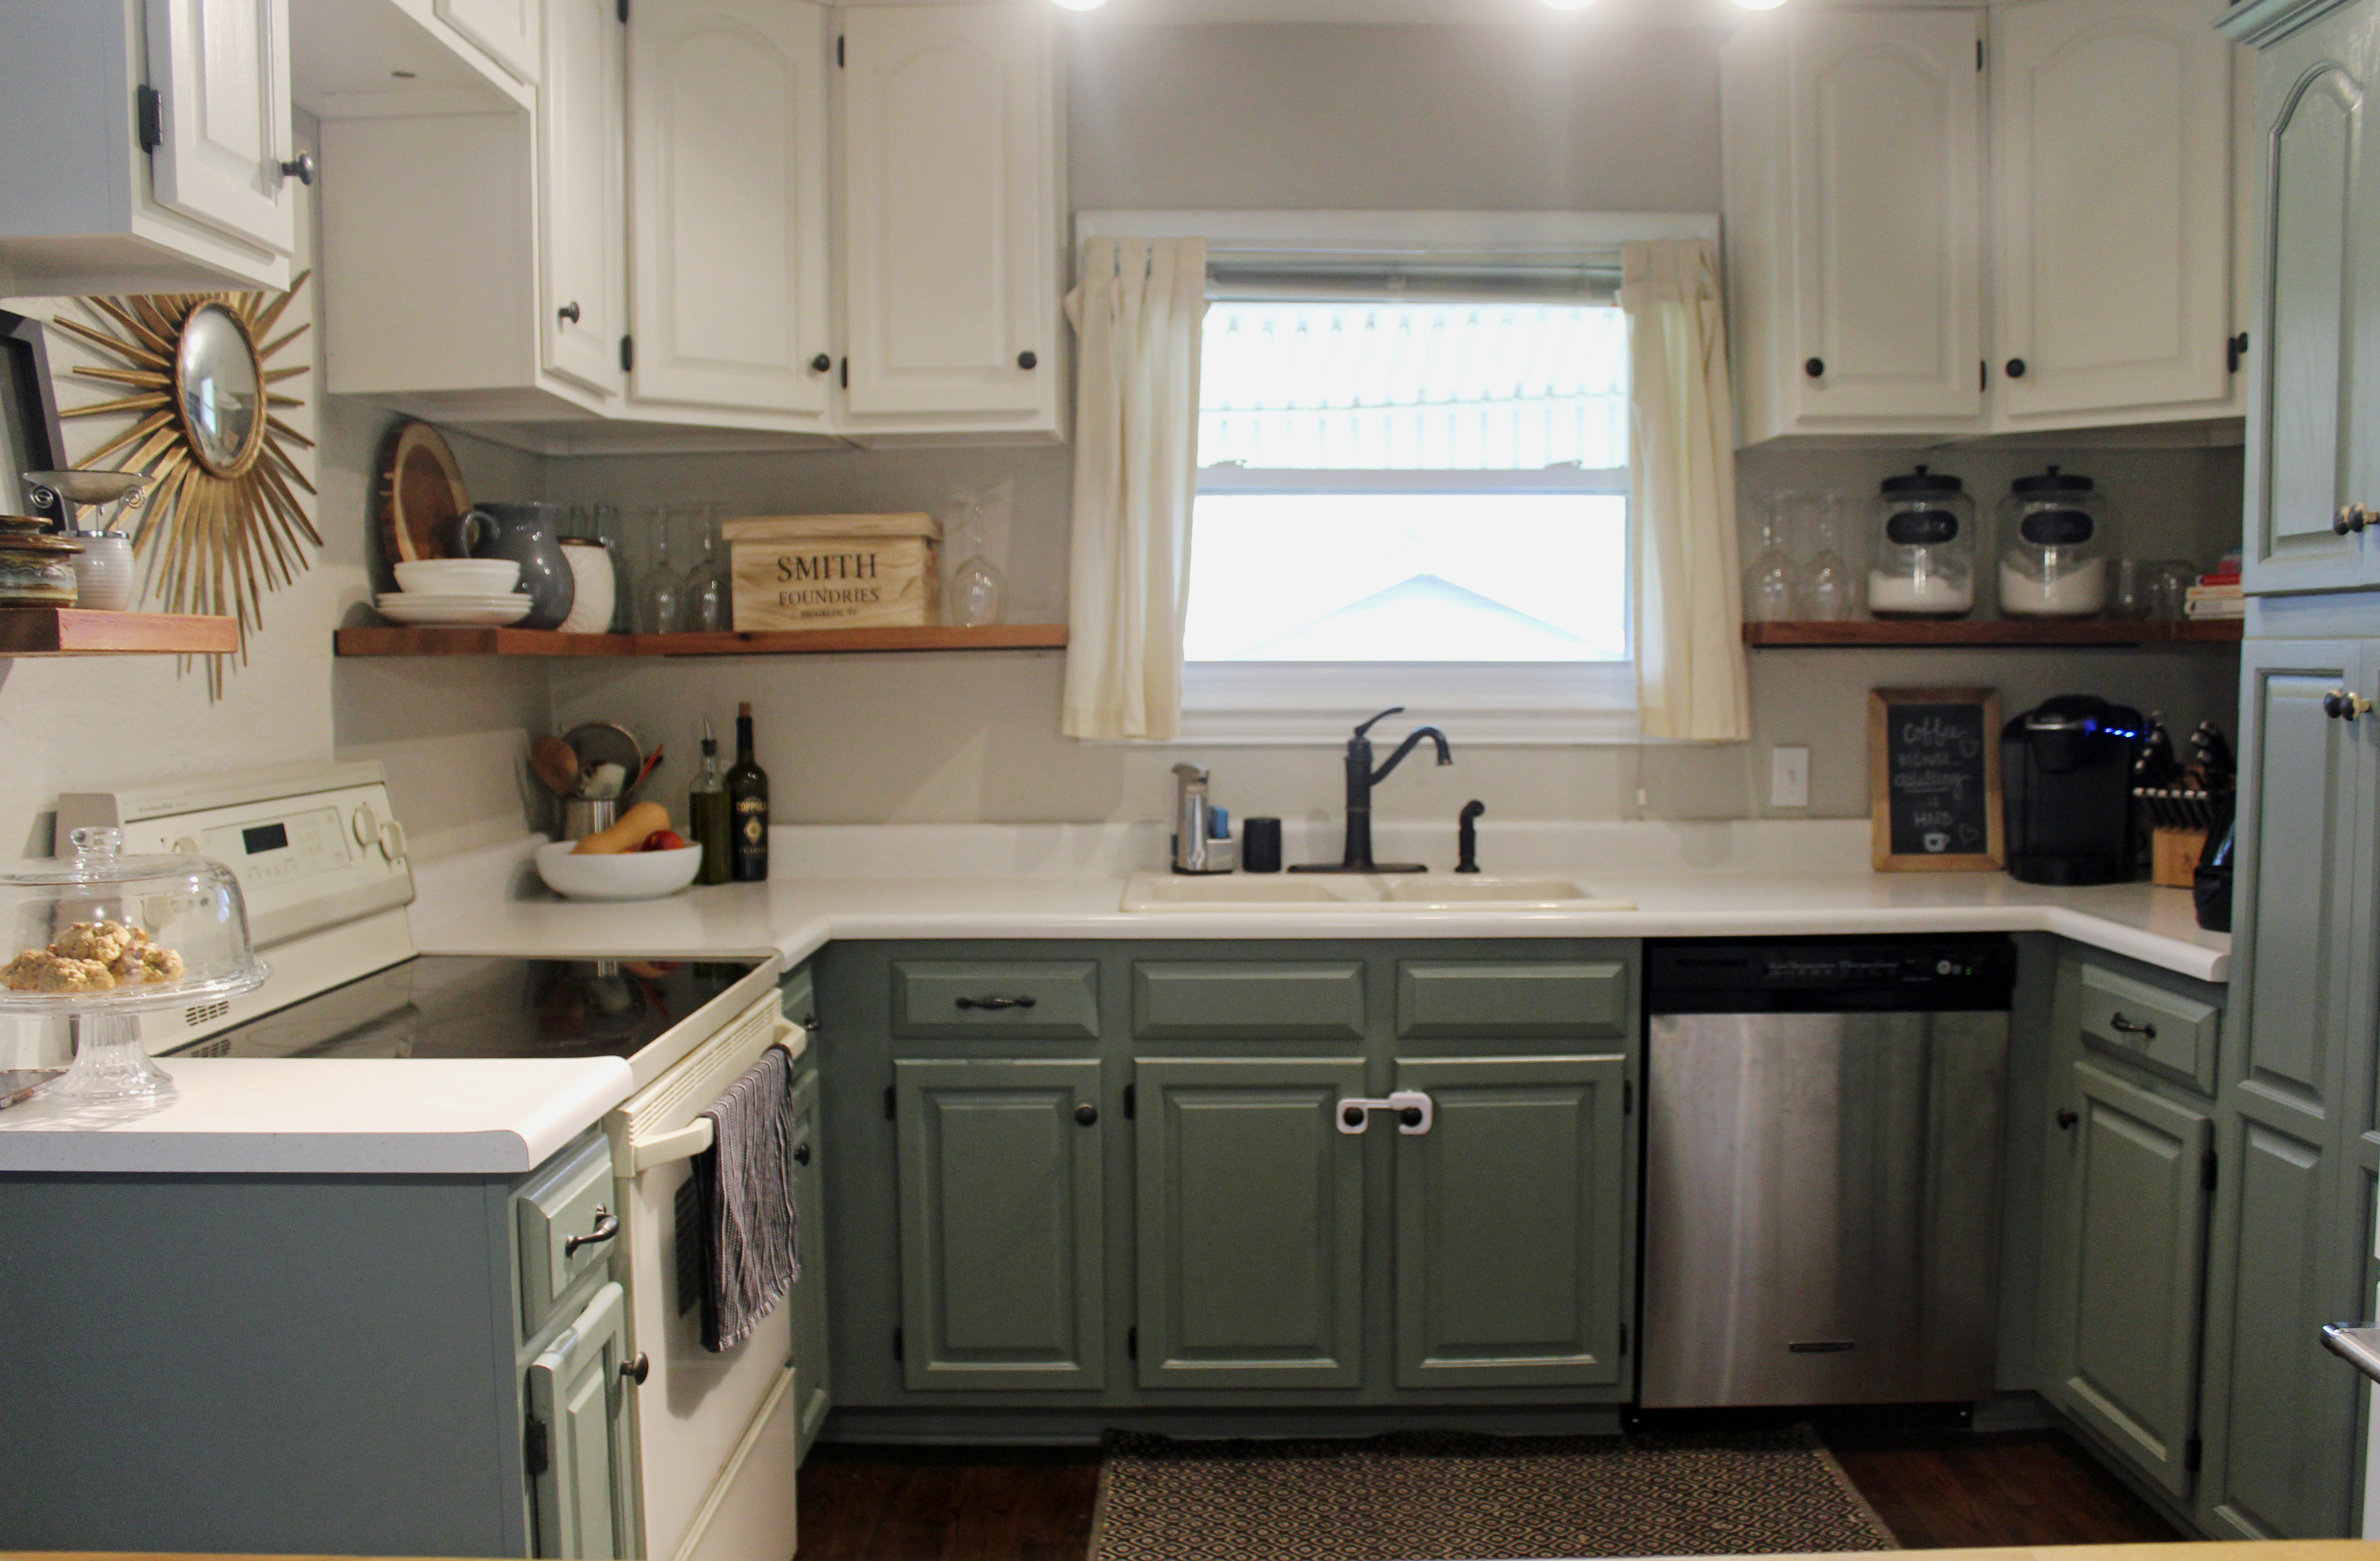
And now
Another view
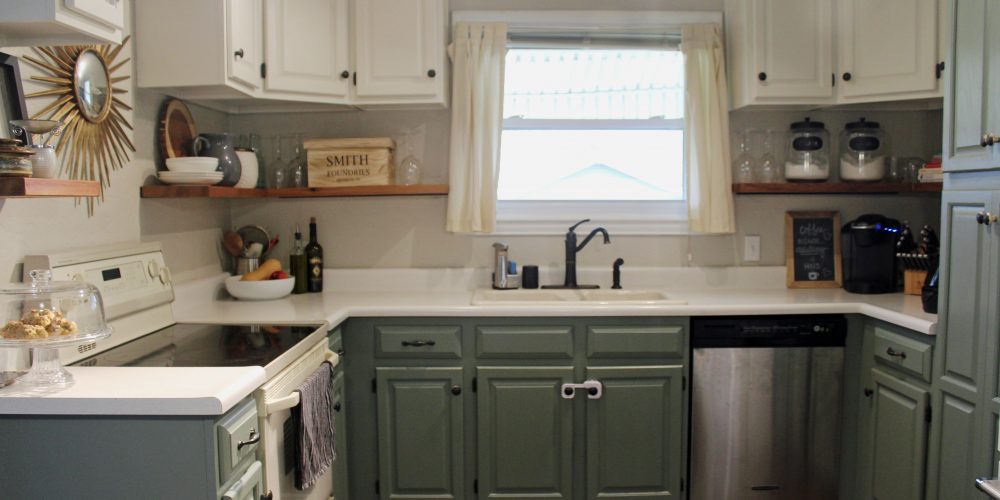
Now
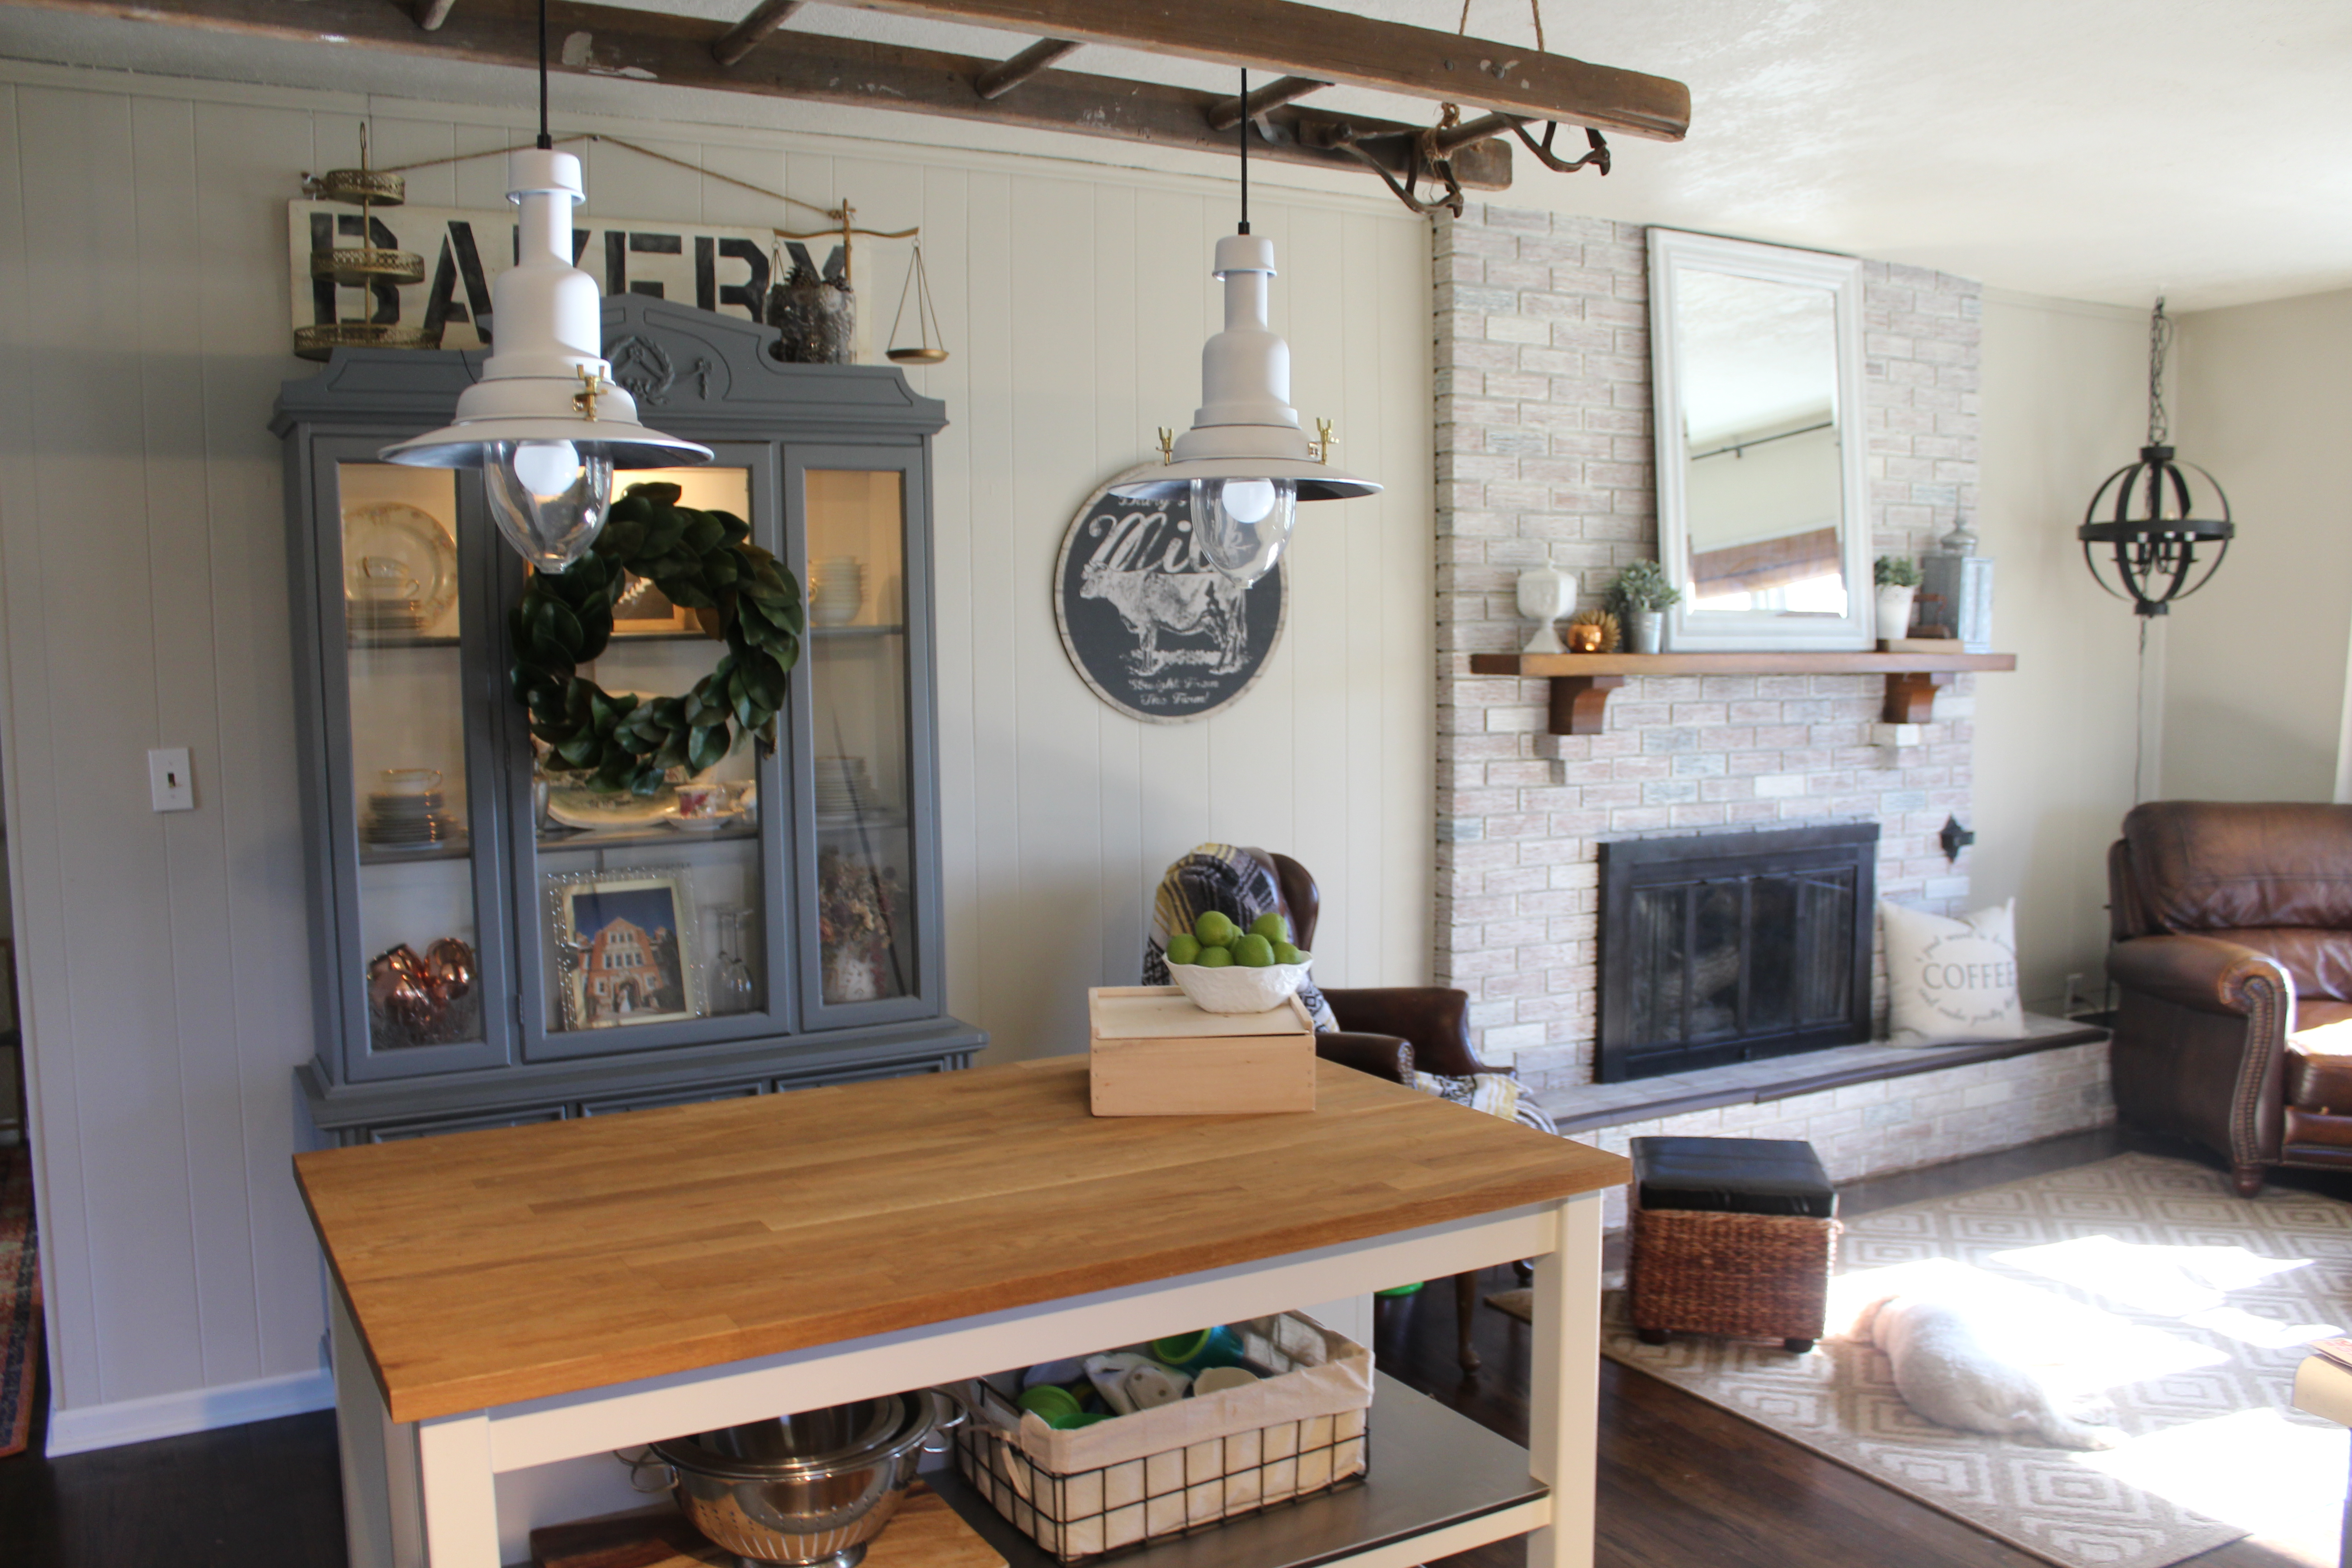

And one more
Now
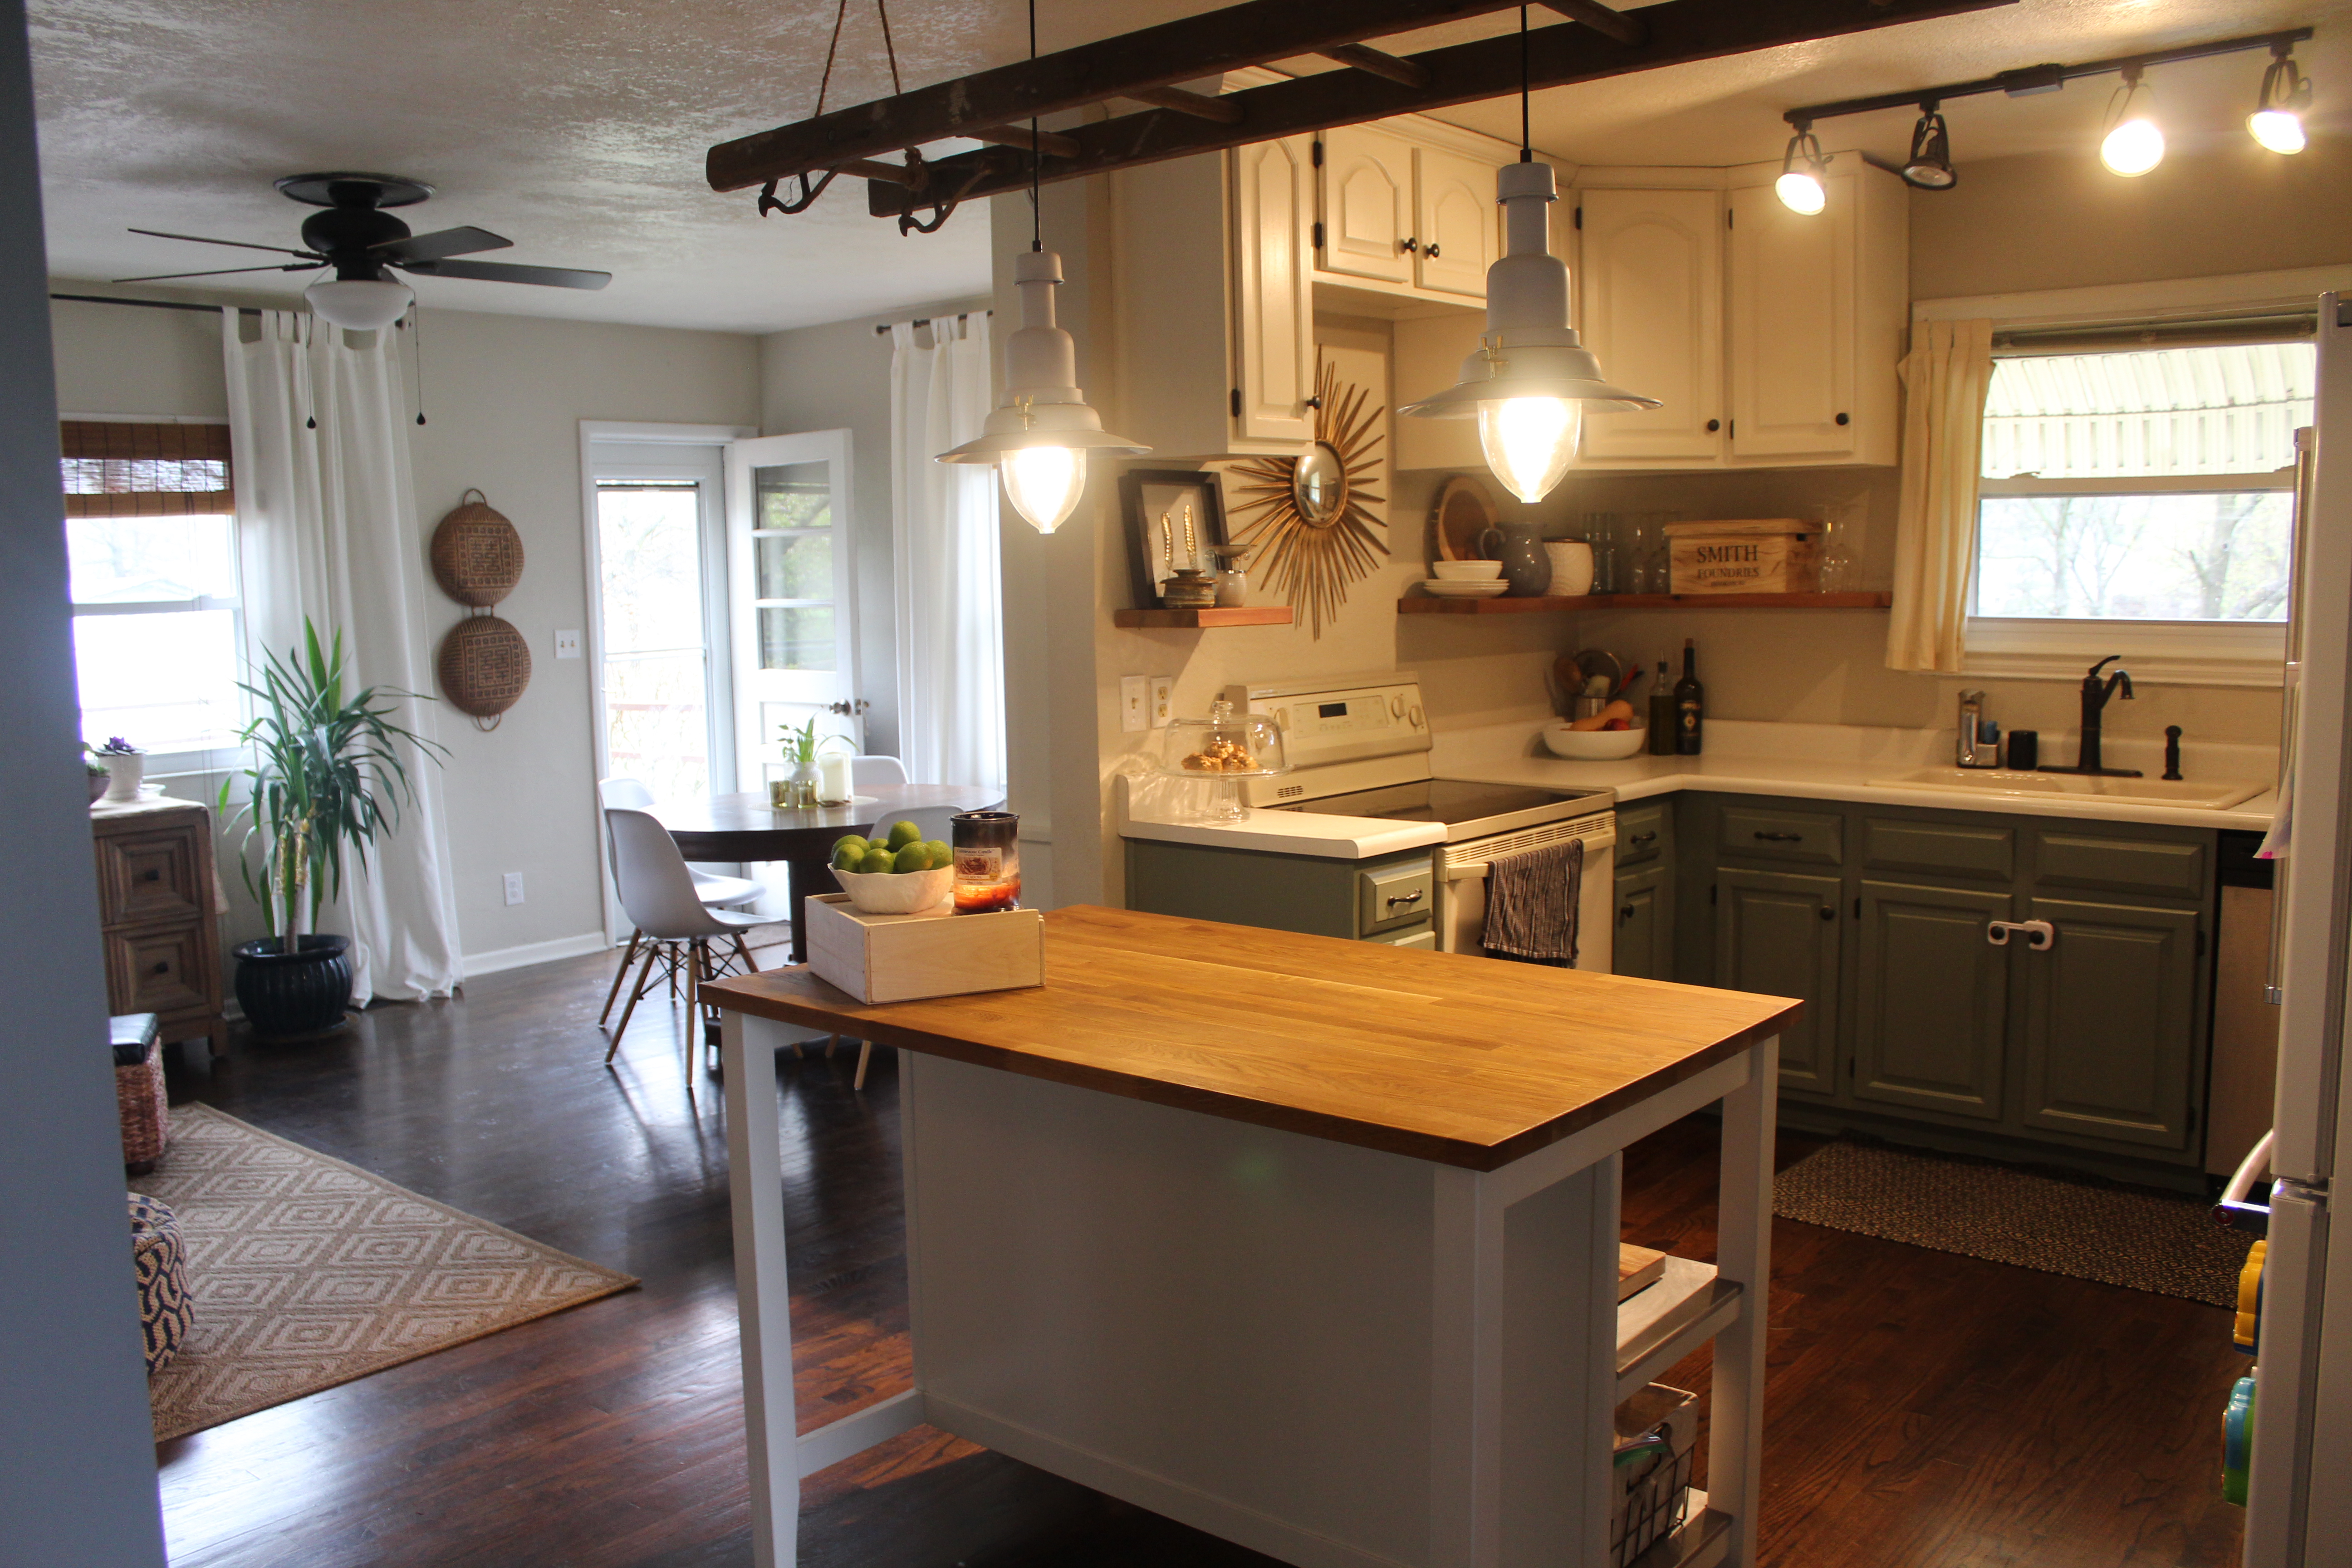
(There’s that funky lighting I’m talking about. Any advice, photographers?!)
How we got here
- Painted the walls. See all of the colors we used in our home [here]
- Painted the kitchen cabinets [here] and raised the uppers to the ceiling [here]
- Added open shelving [here]
- Had carpet and laminate ripped up and hardwoods installed [here]
- Put in a kitchen island [here] – we still need barstools for it, but I haven’t been looking too hard. I think Henry will probably just try to pull them over on himself! So if I come across the “perfect” ones, we’ll get them but for now…we’re doing OK without them.
- Got a new refrigerator and dishwasher. Although, we did get a dishwasher repair in order to sell our old one. I have saved up so long for a new one that fits in nicer with the design of our kitchen.
- Switched out the lighting. We put in pendant lighting and hung an antique ladder, too [here]
I still have plans for this room, like replacing the oven, building a range hood (see my faves here), replacing countertops, and adding some kind of backsplash.
You might like to read these posts next:
The Best Farmhouse Range Hoods
Easter Basket Gift Ideas for Toddlers
I hope you enjoyed this then and now: the kitchen blog post!



You’ve done such an amazing job!! I can’t believe the difference. Looks beautiful.