I mentioned a few weeks ago that we were going to makeover our living room [you can see that post here.] I love our kitchen and dining/hearth room, and just couldn’t bring myself to love our living room for some reason, so I knew we needed a change.
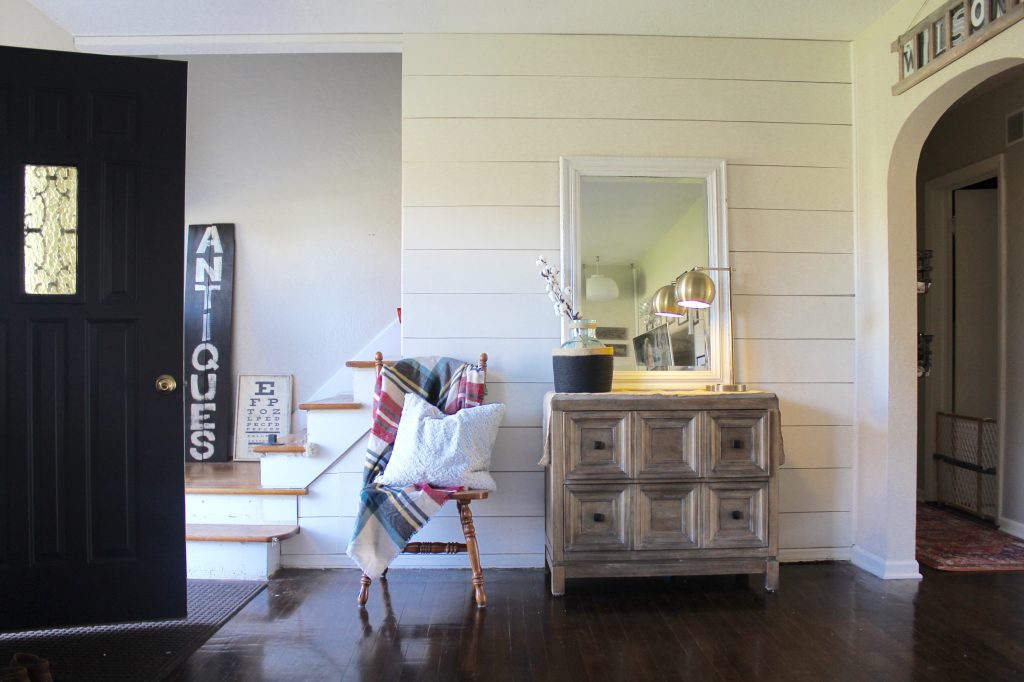
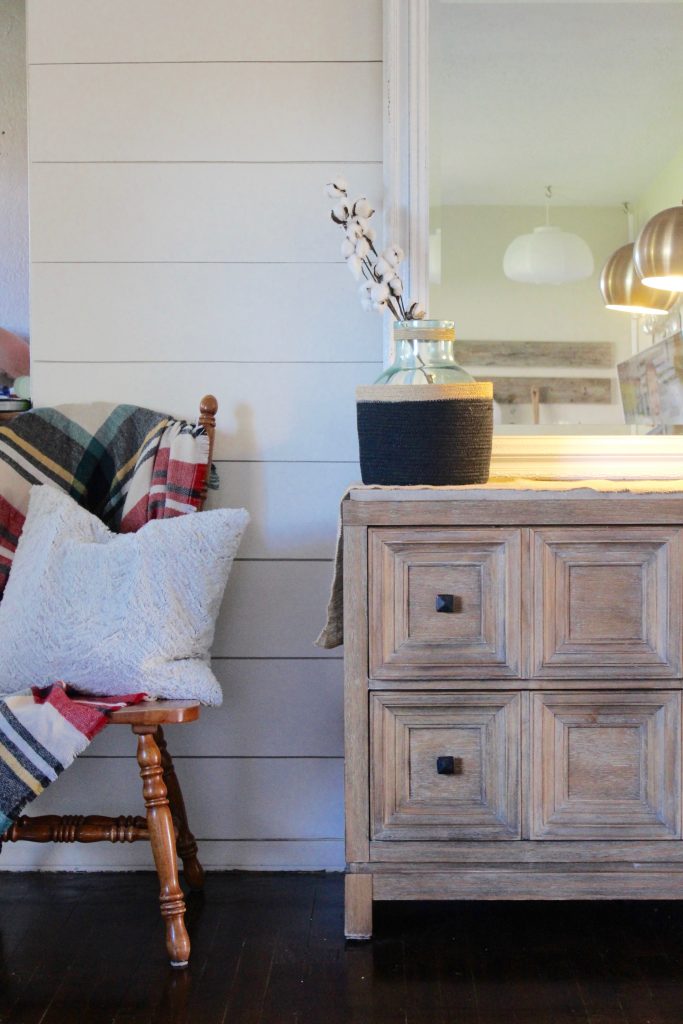
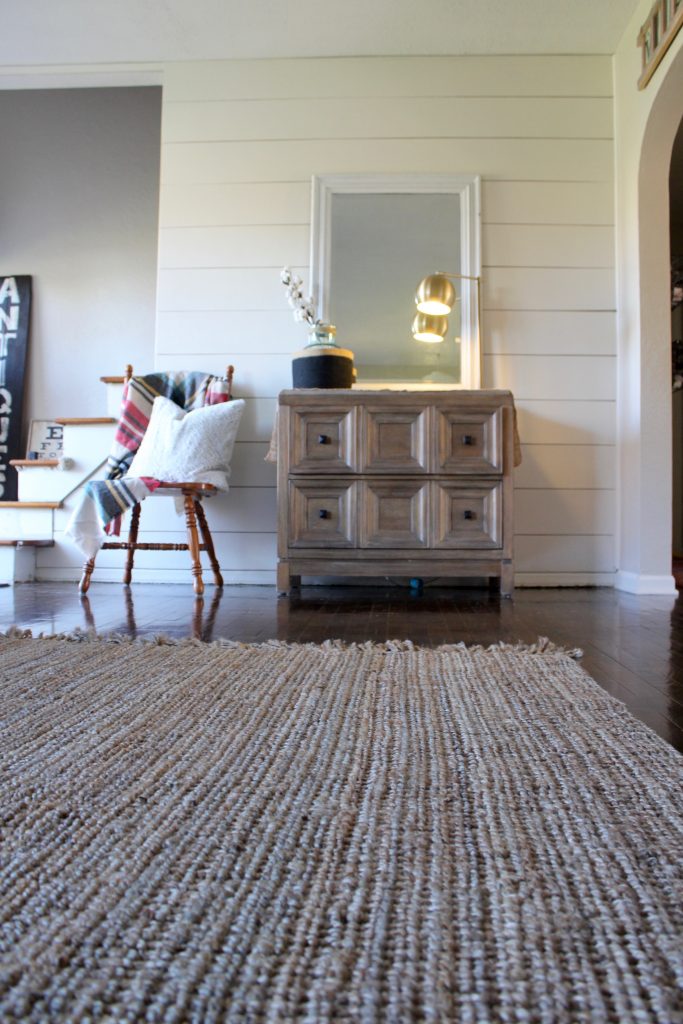
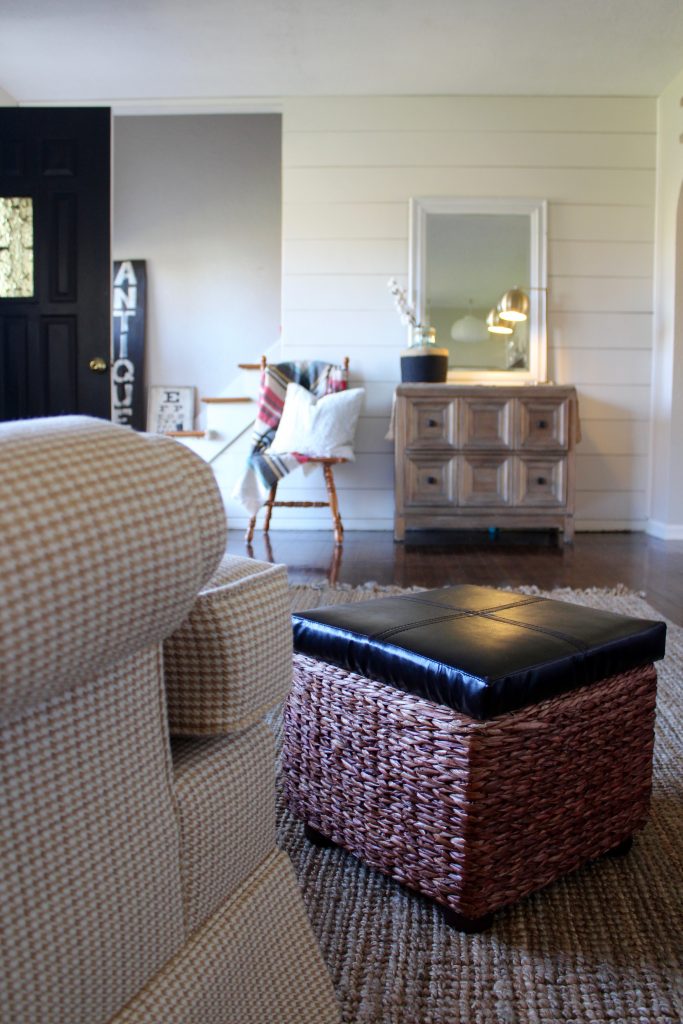
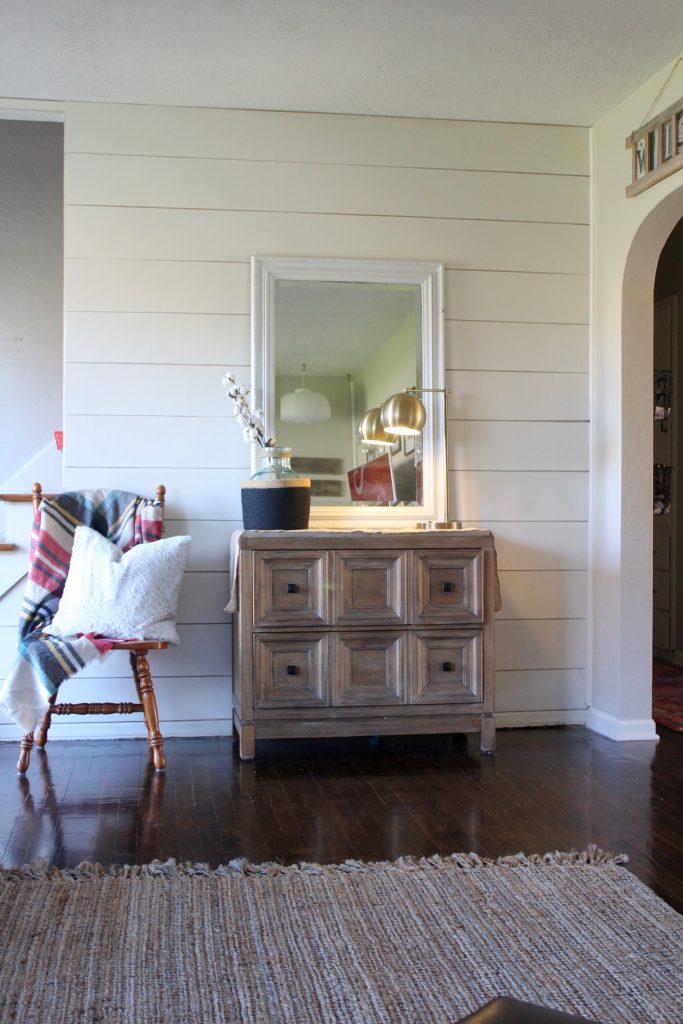
We moved the rug we had in the room and sold our couch, and have since found a new couch and comfy accent chair. The room still needed something to make it “special” though…and I knew that shiplap would do it. And I was sooo right! We shiplapped a small wall really inexpensively, and I thought I’d share it on the blog in case anyone else wants to know how to do it!
I hope you’ll check out some of my other posts while you’re here, too!
See my DIY projects and inspiration [here]
Check out a home tour [here]
Check out some fashion posts [here]
Items Needed
- Plywood: we were only doing a small wall so we used two sheets. However, plywood is about $14/sheet so even a large wall will not cost much.
- A hammer and nails
- Liquid Nails wood & foam molding adhesive (glue)
- Caulking and spackle
- Sandpaper
- A circular saw
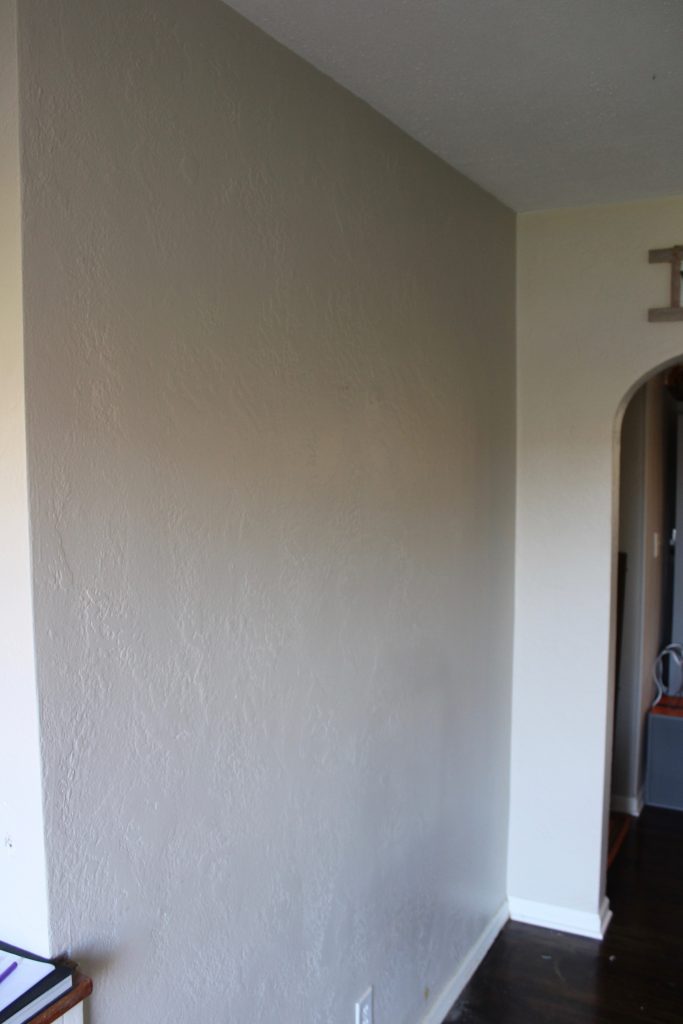
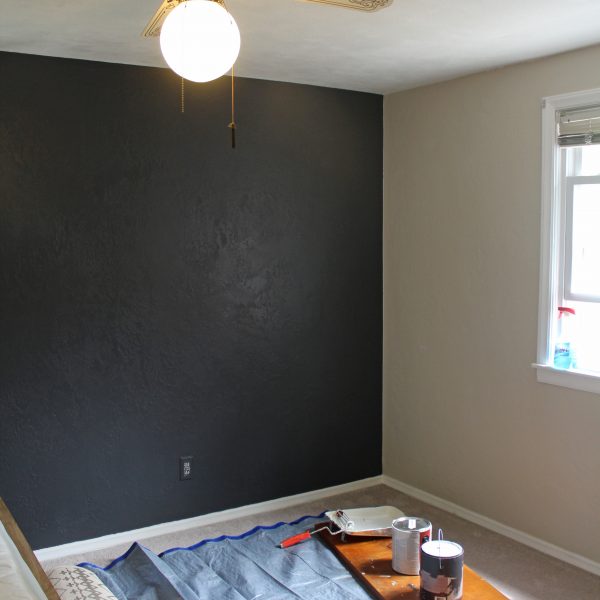
Here is our wall before. It was painted a neutral color so we left it as is, but if your walls are a dark or bright color (i.e. non-neutral) then you’ll probably want to paint them because the spacing in your planks will show the wall underneath.
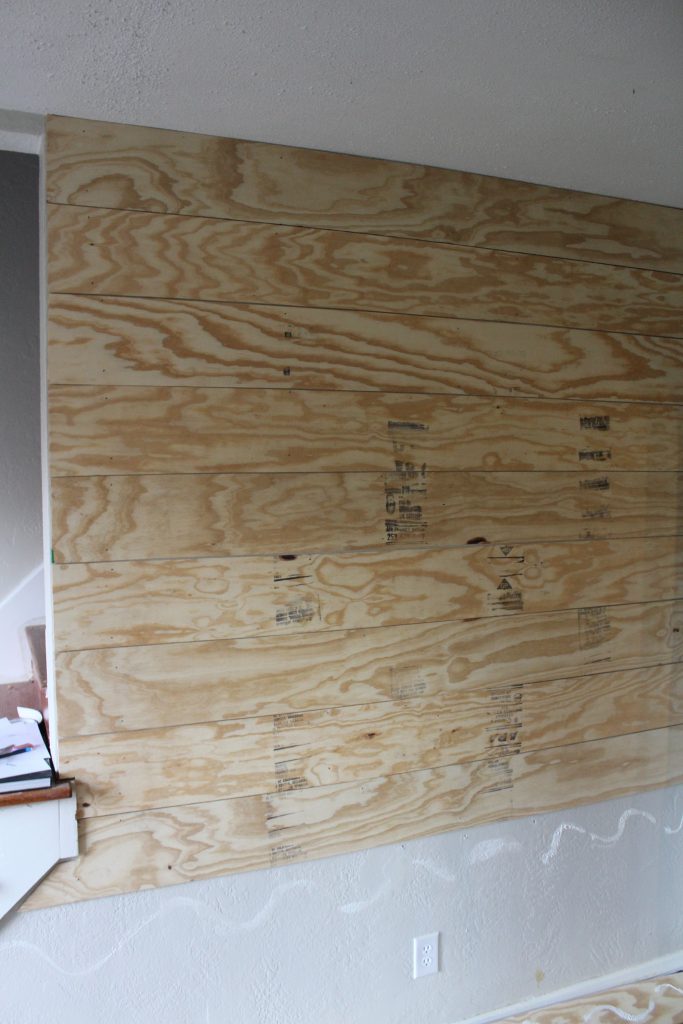
We cut the plywood into 8″ strips. You can do it skinnier or thicker, depending on your preference. 6″ seemed too skinny and 12″ seemed too thick, so 8″ was a happy medium. To make it even easier on yourself, have the hardware store cut your 8″ strips for you.
Cut strips to fit the length of the wall. Ideally, you want to use a circular saw for this. If your wall is longer than your strips, that’s OK – you can just patch the “seams” with spackle and then sand it down.
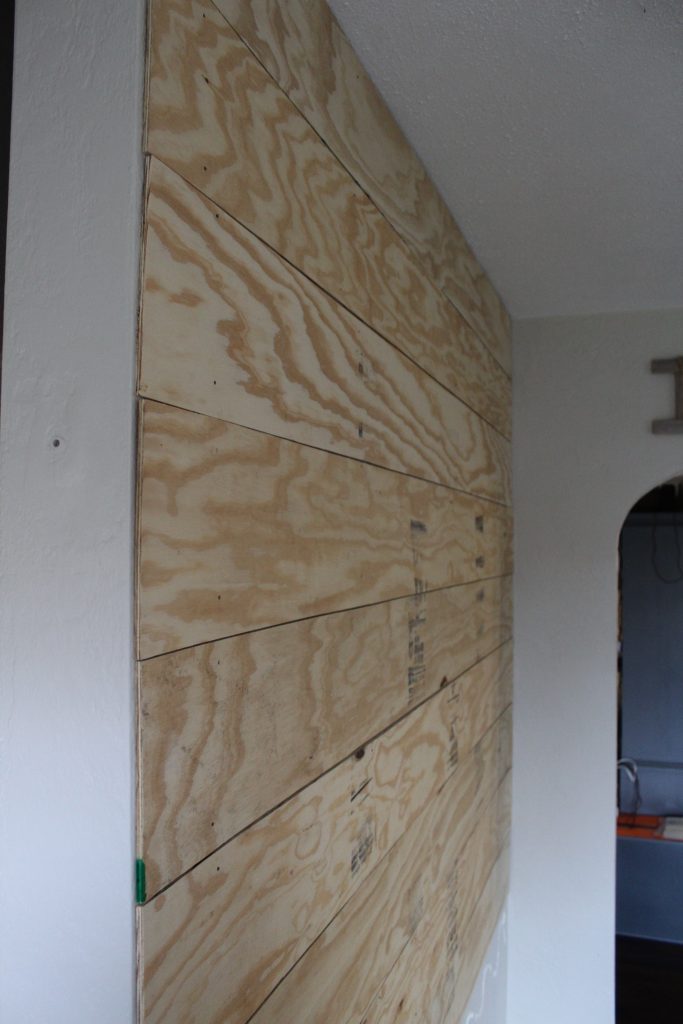
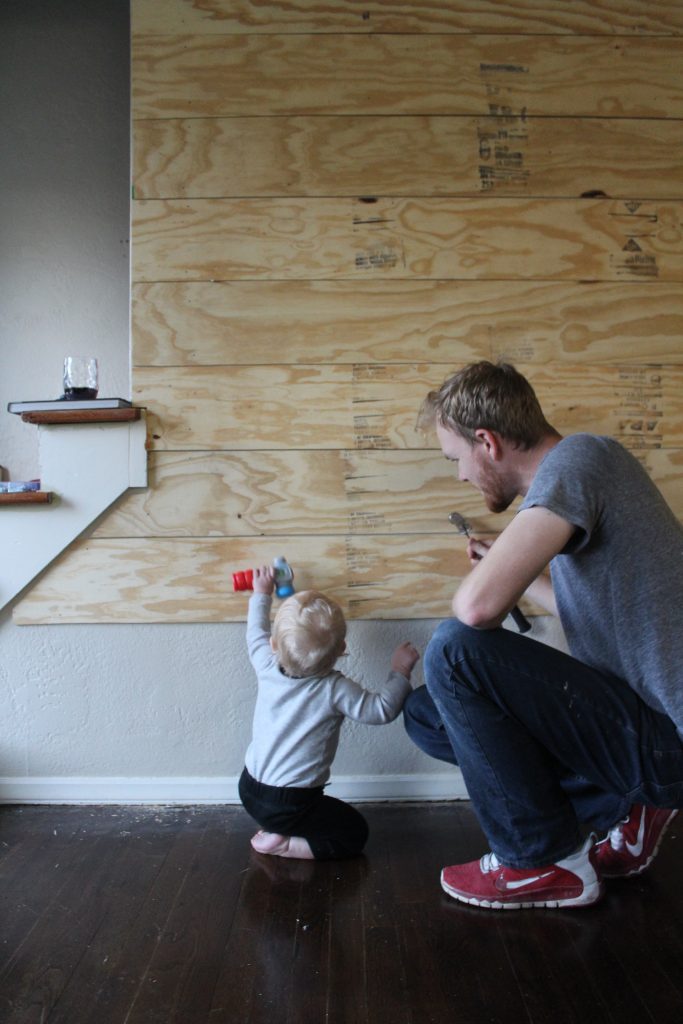
Apply a strip of the Liquid Nails adhesive to the back of your board and begin at the top of the wall. Press board onto the wall and nail each end down. There should be four nails in each board – two on the left and two on the right sides. You may want a nail in the center, but the adhesive should be enough to hold the middle of the board down firmly if not.
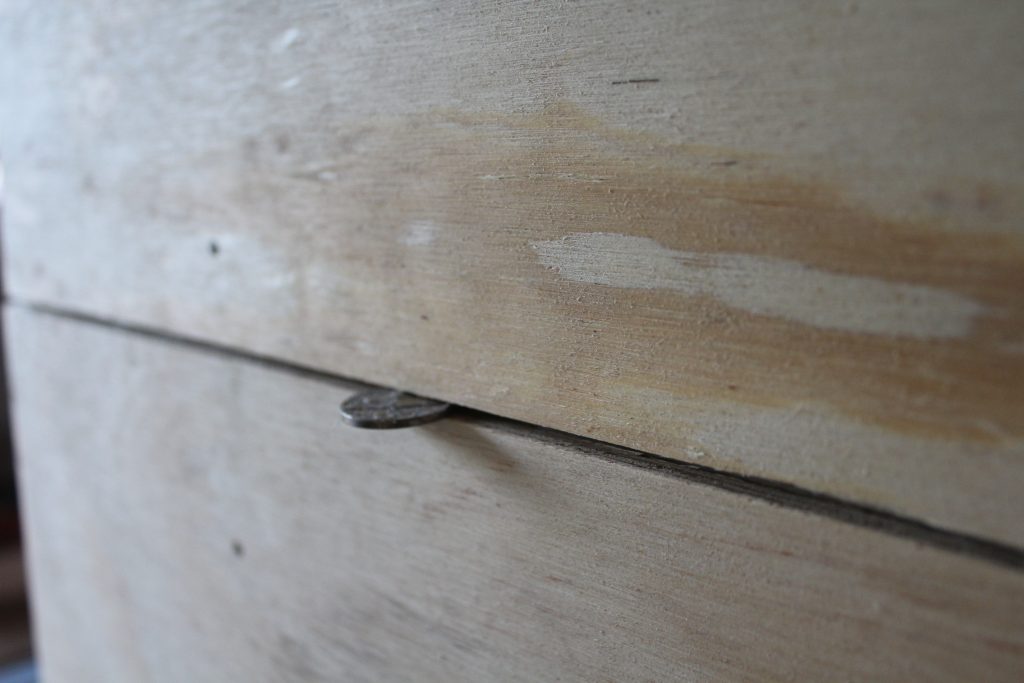
We spaced our plywood planks with about a nickel’s width. All of the spacing is not exact, but we didn’t want it to look absolutely perfect so we were OK with that.
When all of the planks were nailed down and the seams were spackled and sanded (in spots where the planks were not long enough length-wise to cover the wall), we painted everything white.
Once the paint was dry, we finished off the corner with a piece of quarter round. Another option would be to caulk it – either way will work, but this just helps to make it look “finished.” I then painted the quarter round and touched up any spots on the plywood planks that needed a little extra paint coverage.
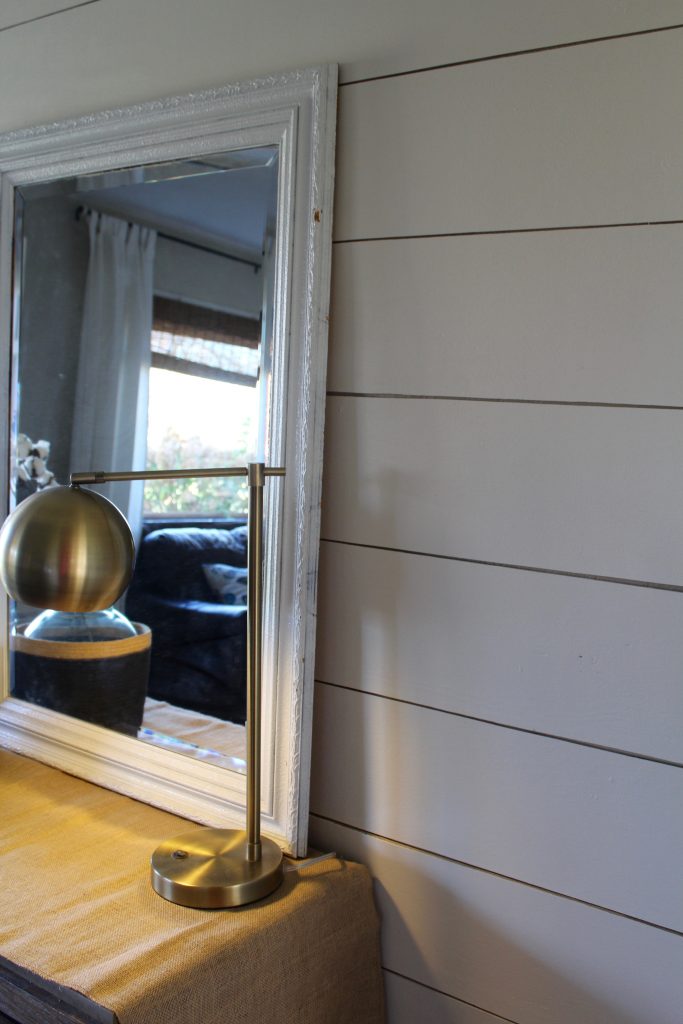
What do you think? I can’t believe how much of a difference it made in our living room and I can’t wait to share the full makeover with you!
Hopefully I explained everything well enough – but if you have any questions, please just let me know in the comments!
I hope you enjoyed this How to shiplap a wall for cheap blog post!


I love your shiplap wall! I want one! It looks so pretty and interesting :)
Sarah | http://www.sugarmaplenotes.com
Thanks so much Sarah!! It was fun (and easy) to do – and it really changes the look of a room. :)
This looks so good! It’s on my list to do this in my girls’ bathroom so this tutorial is perfect – thank you!
Awesome, Lisa!! I’m so glad you found it useful! :)