This post may contain affiliate links
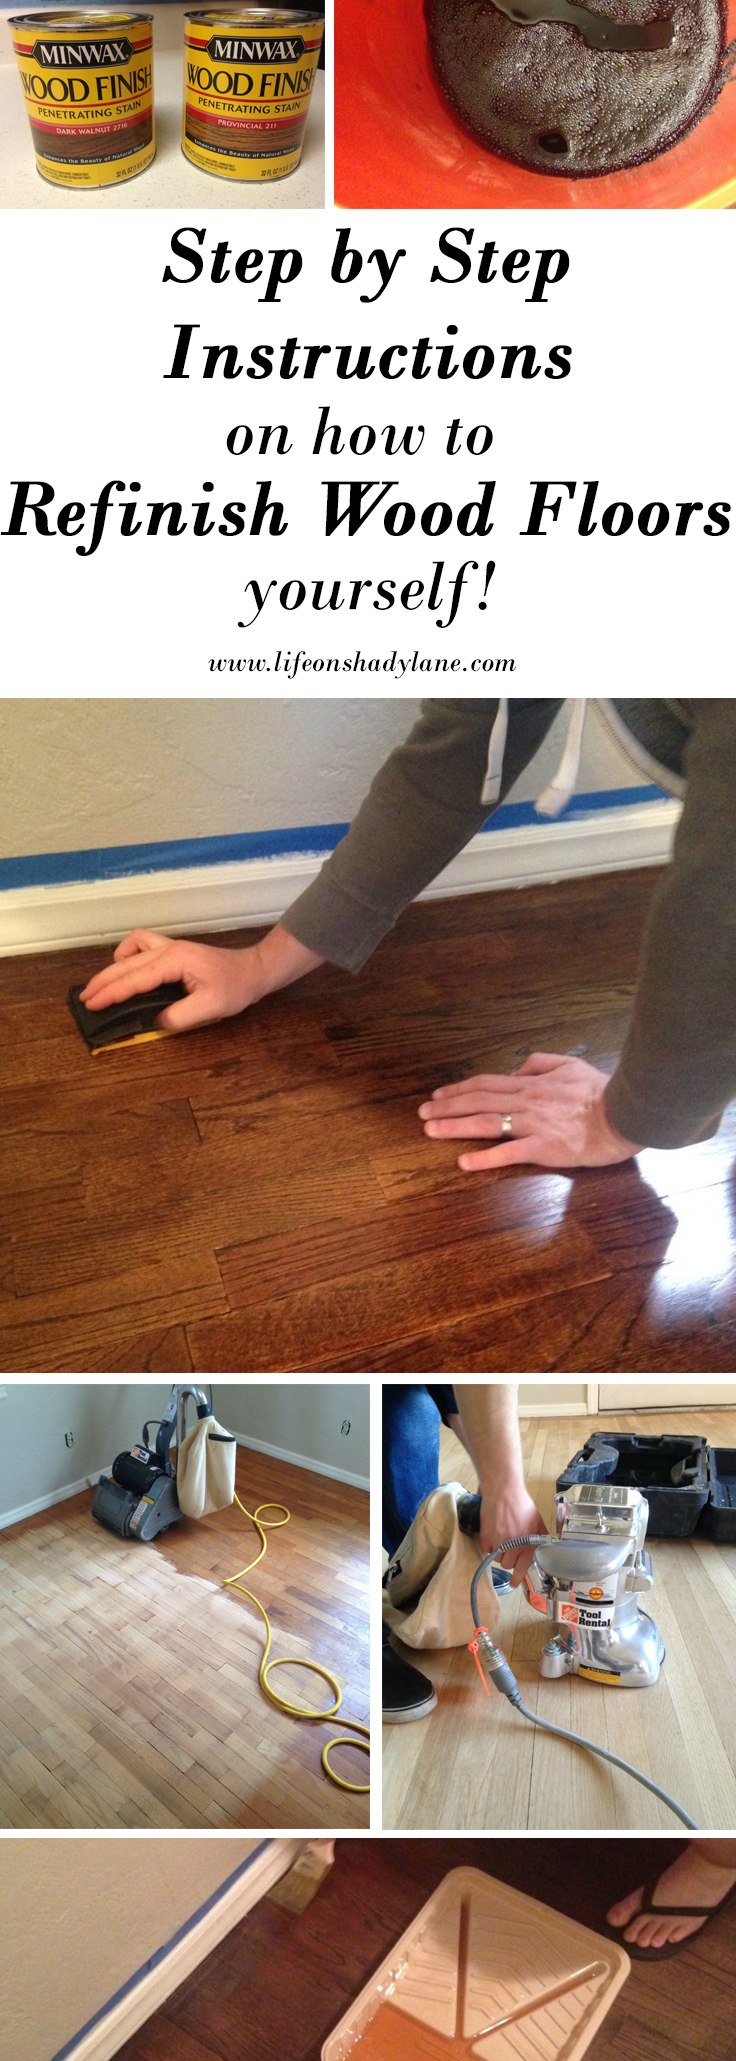
Since purchasing our home, the biggest excitement for us has been pulling up the old, dirty carpet and discovering beautiful wood floors underneath. At first, we didn’t think we would need to refinish them, but upon further inspection, we noticed some imperfections…and then decided that we would like them to be stained a darker color.
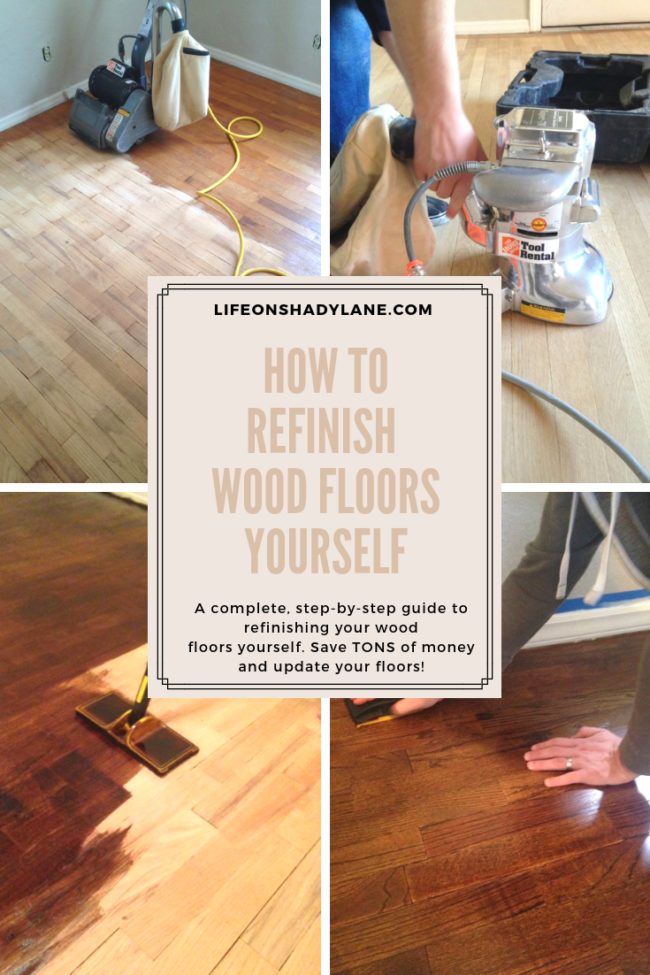
*EDIT: This has, by far, been one of my post popular blog posts and one of the most pinned images on Pinterest. Thank you everyone for reading! If you’re here from Pinterest, WELCOME and thank you for stopping by! If you don’t already follow me on Pinterest, please consider doing so – I pin all kinds of awesome stuff! I’m on Instagram, too!
I hope you’ll check out some of my other posts while you’re here, too!
See more of my DIY projects and inspiration [here]
Check out a home tour [here]
Check out some fashion posts [here]
There are quite a few steps to this process, which means lots and lots of photos, so I decided to split this into two posts. First up: stripping the old finish off. I’ll go over staining and finishing in the next post.
We decided that our bedroom and the baby’s bedroom needed to be our priorities, so that’s what we started with. A few weeks post move-in, our home still does not quite look like we have officially moved in because you guys…re-finishing wood floors take a LONG time. It’s not so much the actual work-time, but sanding multiple times, staining, waiting for stain to dry, then polyurethane to dry…takes what seems like FOREVER. It’s not difficult, just a lot of steps. We finished the nursery first and then did the master bedroom, and have since moved on to the living room. We are making some serious progress around here!
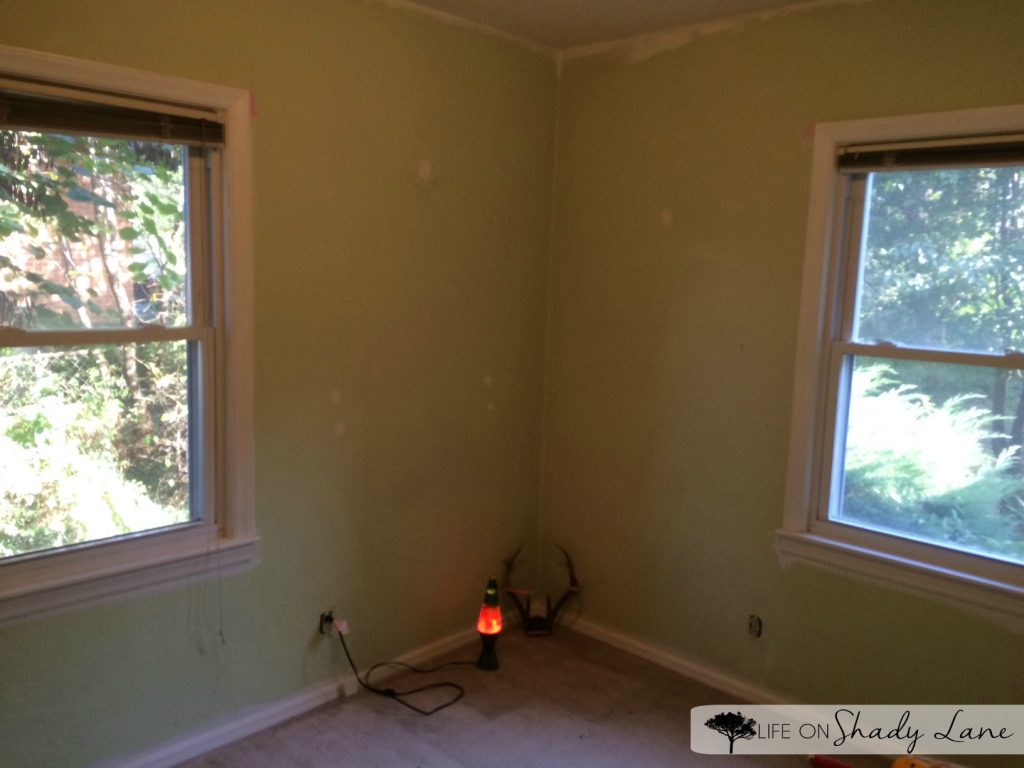
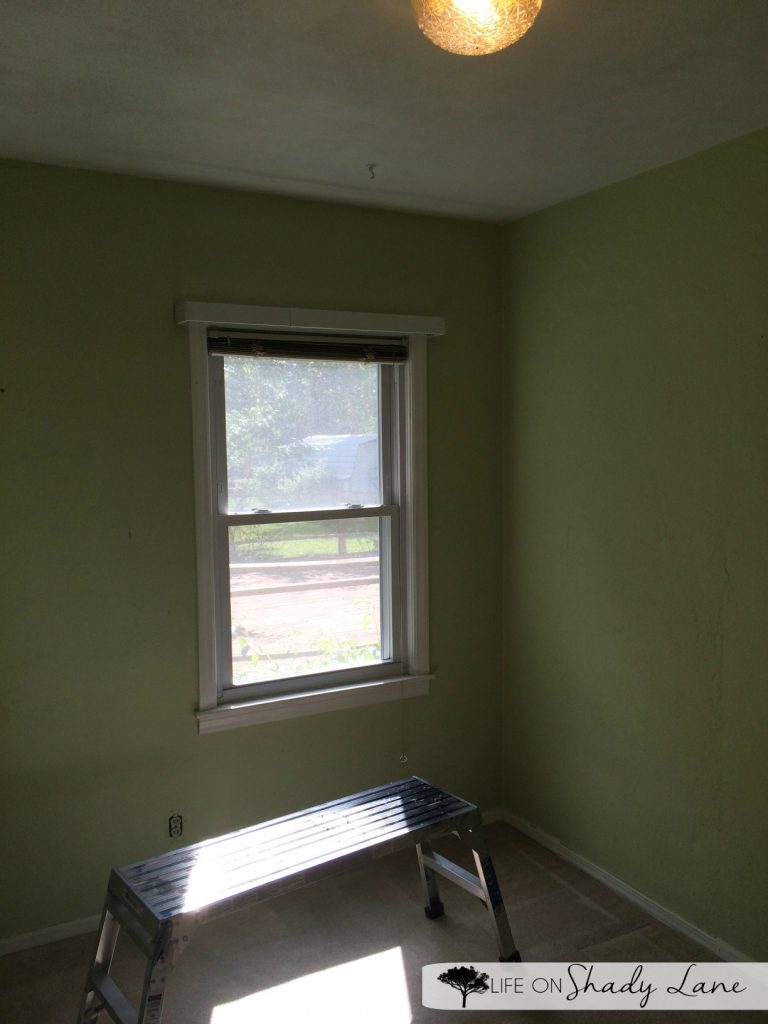
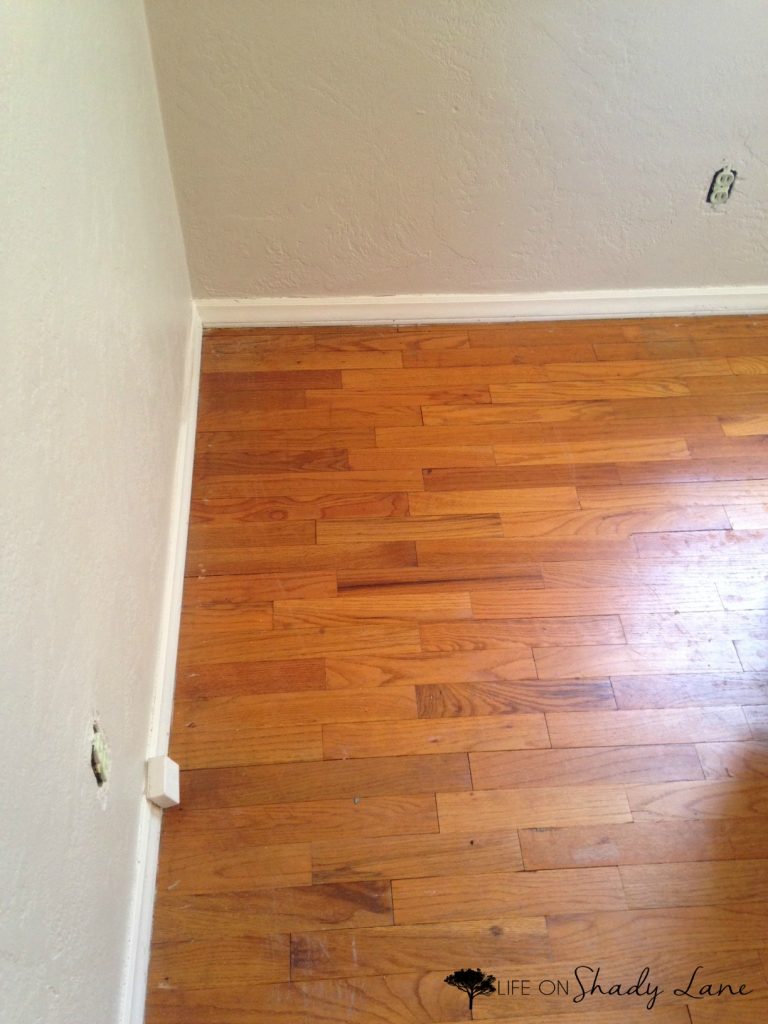
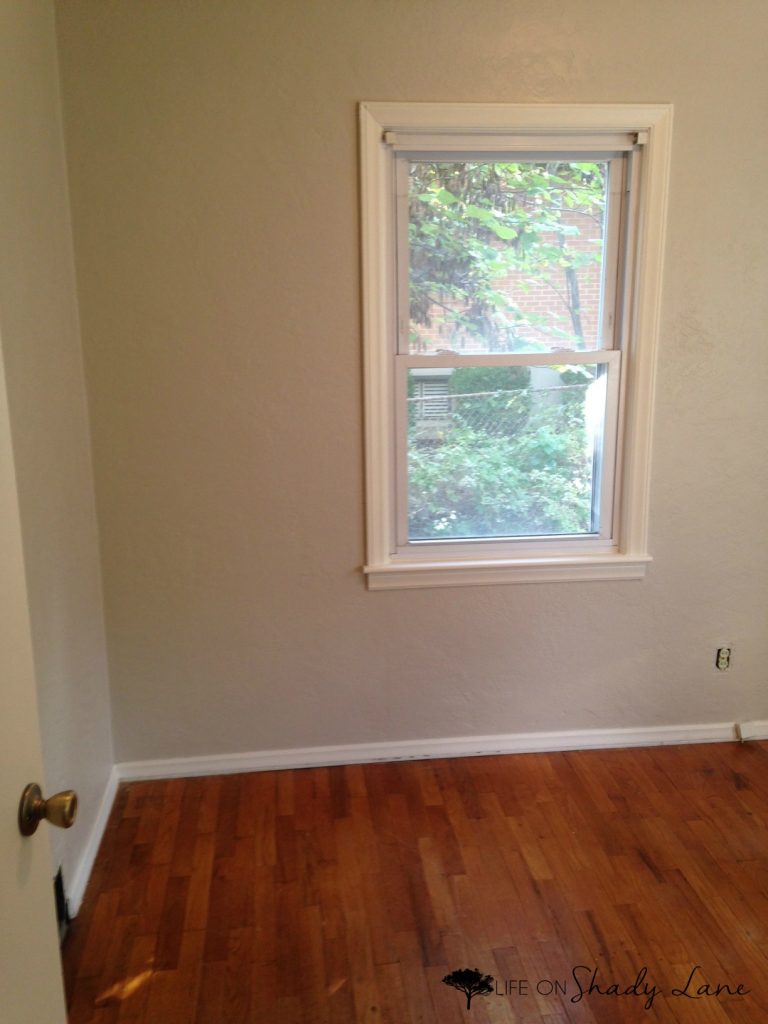
Here a couple “before” shots of the nursery:
Dirty carpet, lime green walls…yup. This place was looking good.
After carpet and tack boards were pulled up + walls painted:
So much better already! Now for the floor refinishing…
You will need:
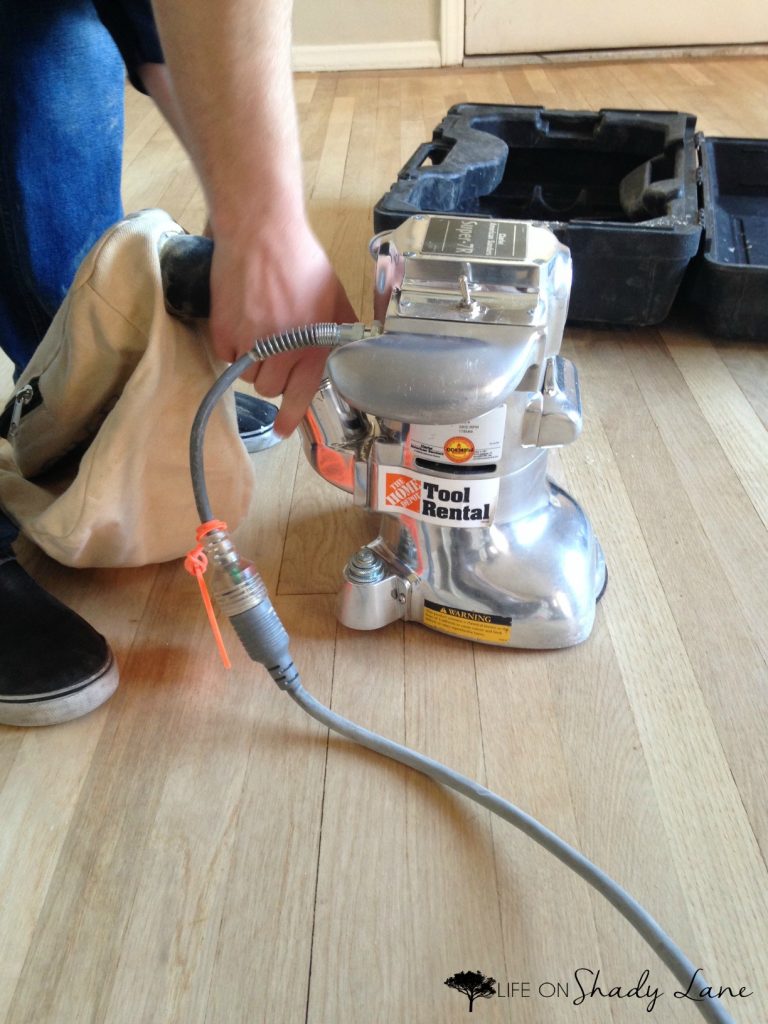
- Drum sander (we rented ours)
- Palm Sander (like this one)
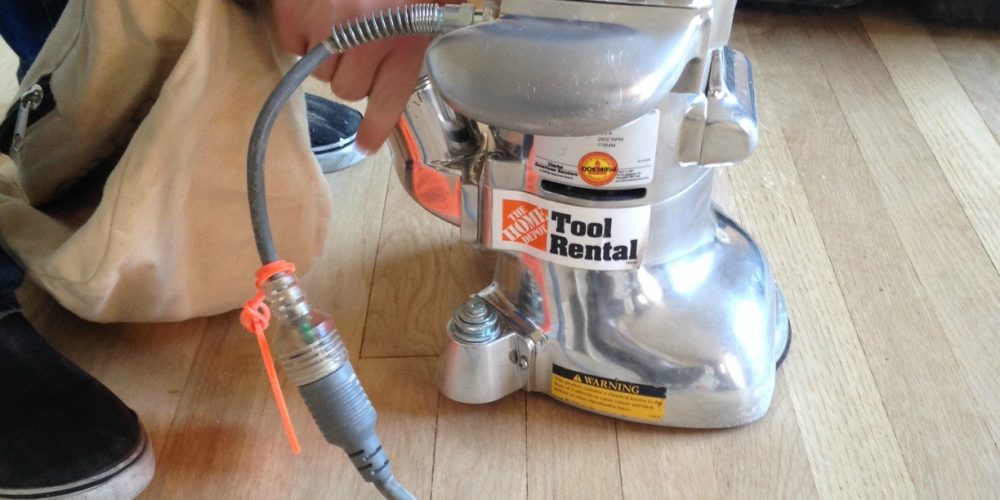
- Edge sander* (also rented – not necessary but definitely makes the job easier)
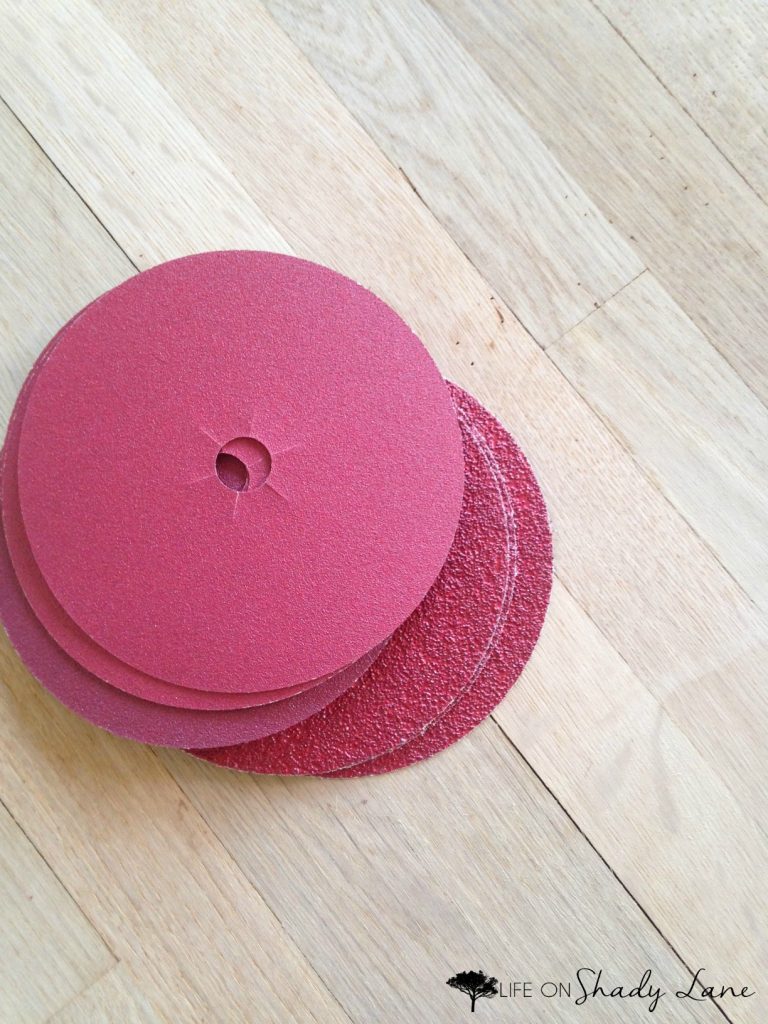
- Sandpaper for both the floor + hand sander: 24 grit, 60 grit, and 80 grit
- Vacuum + Broom
- Wood glue
- Pencil
- Rags
- Face masks
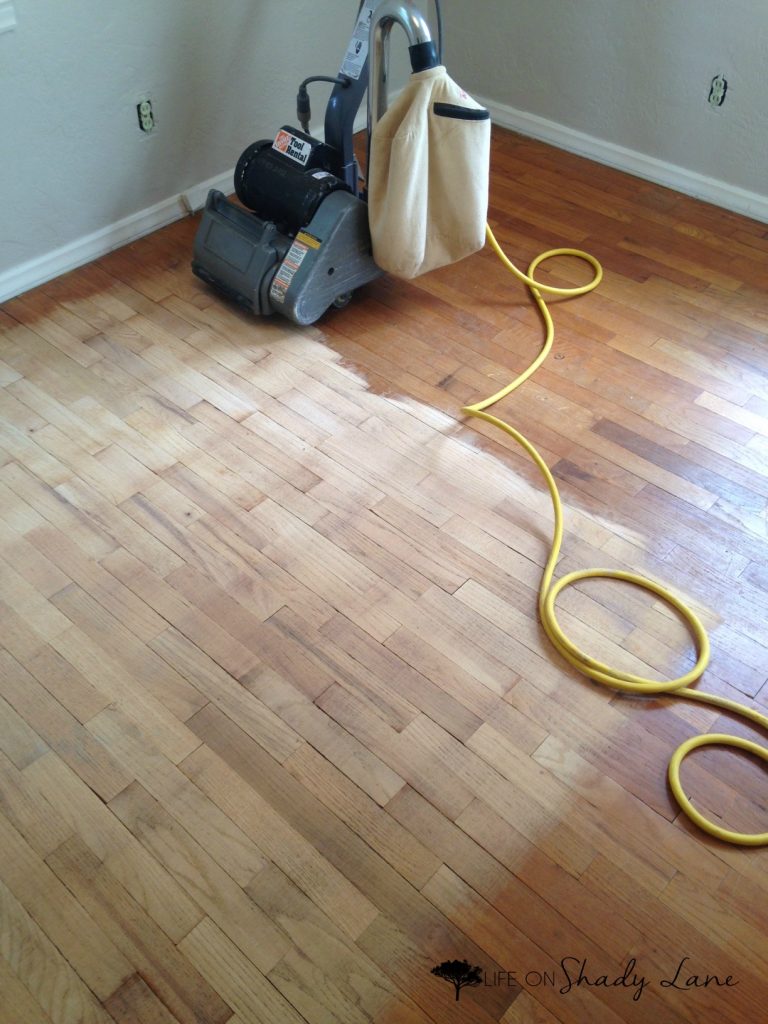
We rented a sander from Home Depot with three different types of sandpaper: a 24, 60, and 80 grit. You’ll want to start with the lowest grit first and work your way up, getting more fine as you go.
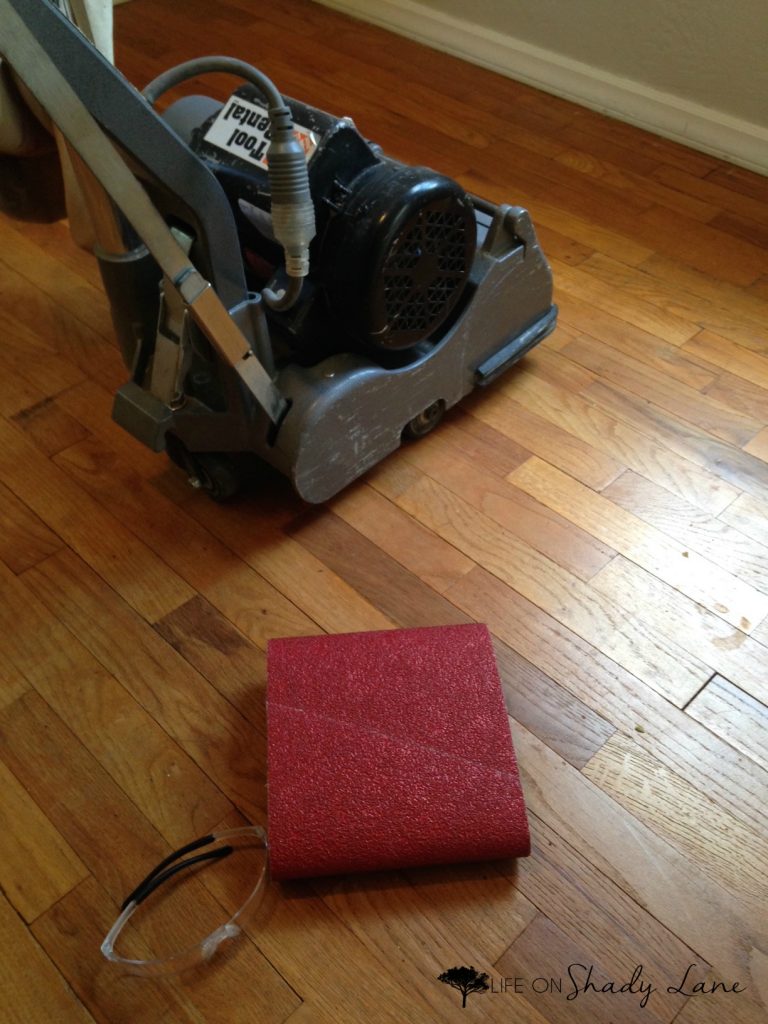
I was nervous at first because I had heard that using these sanders wasn’t easy – you have to begin moving immediately after turning the sander on, or you’ll grind the wood down and destroy your floors. I didn’t sand at all (since I’m pregnant and didn’t want to inhale anything harmful), but Brandon said that the drum sander was the easiest part once he got the hang of it. Before actually engaging the sander, he did a “practice run” by moving the sander across the floor (without the sander engaged) to get a feel for how it moved.
Make sure you wear a face mask the whole time so you don’t inhale anything!
Step 1: Moving with the grain, sand the entire center of the room, getting as close to the edges as possible without touching the trim. Like I mentioned, you’ll have to sand the room first with 24 grit sandpaper. Then, once that is complete, move to 60, and finally to 80, for a total of three times.
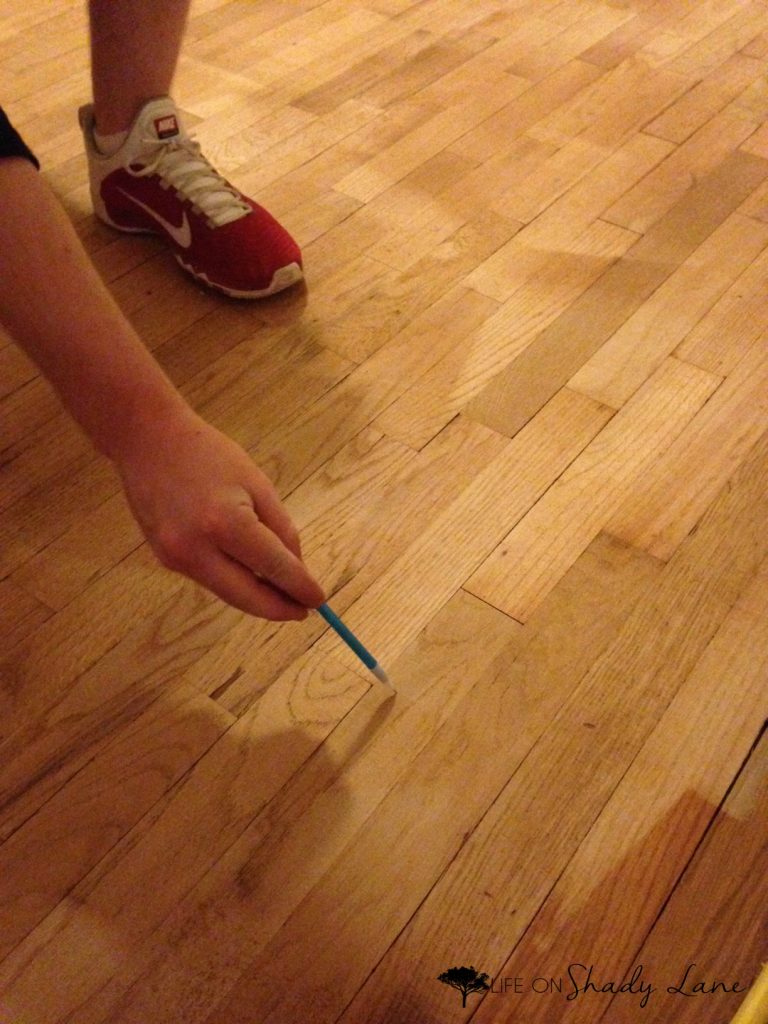
After the first coat (the polyurethane top coat) has been sanded off, it will be difficult to tell where you have sanded and where you haven’t – everything will be the same, raw wood color. So, we used a pencil to lightly make marks on the floor before the 2nd and 3rd rounds, and then sanded right over them. That made it MUCH easier to tell if we had missed any spots.
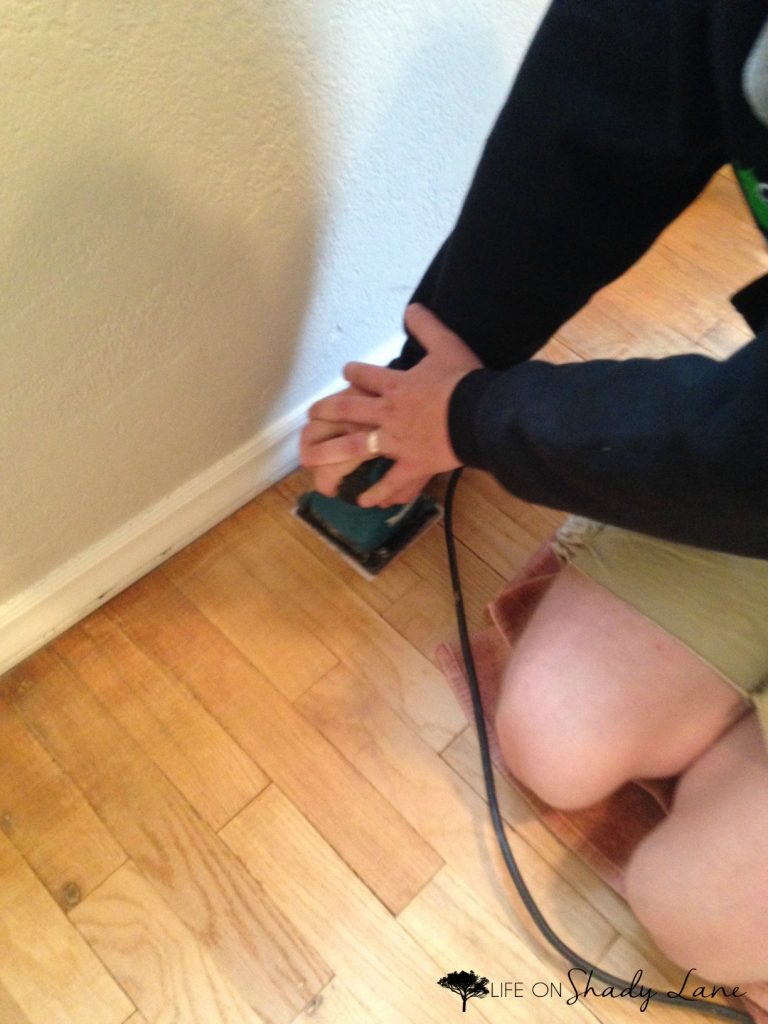
Step 2: Next, you’ll use a palm sander to sand around the edges of the room. Again, you have to do this three times (with 24, 60, and 80 grit sandpaper). Brandon said this was the most difficult portion, just because the hand sander was not as powerful and moved a lot slower.
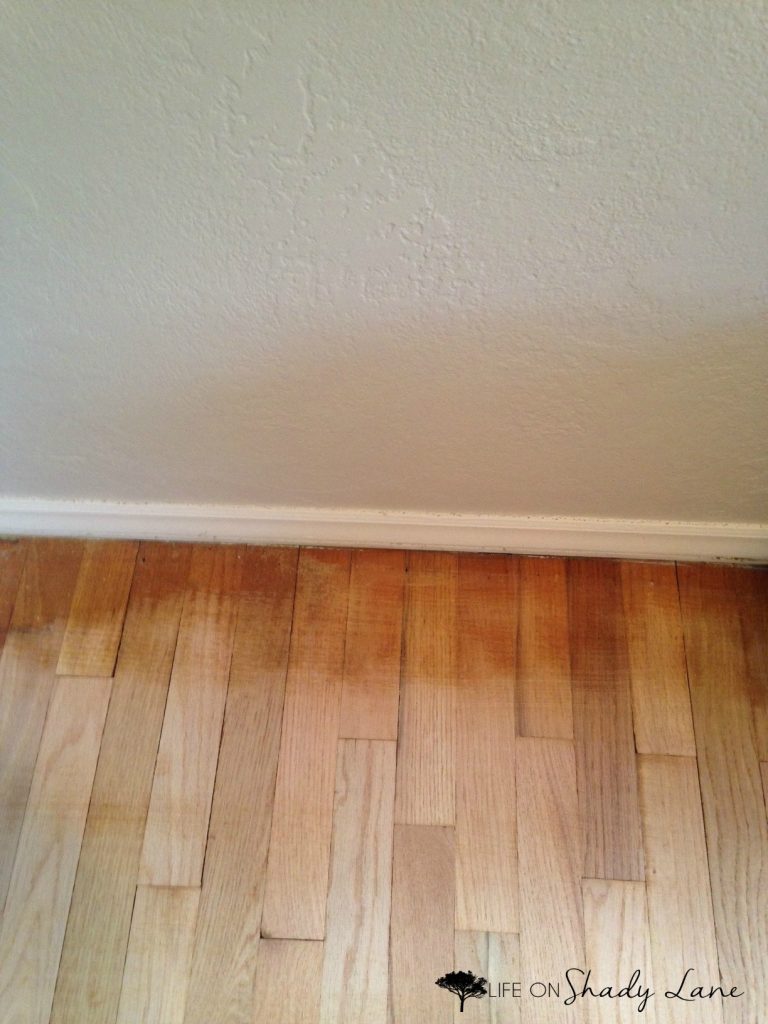
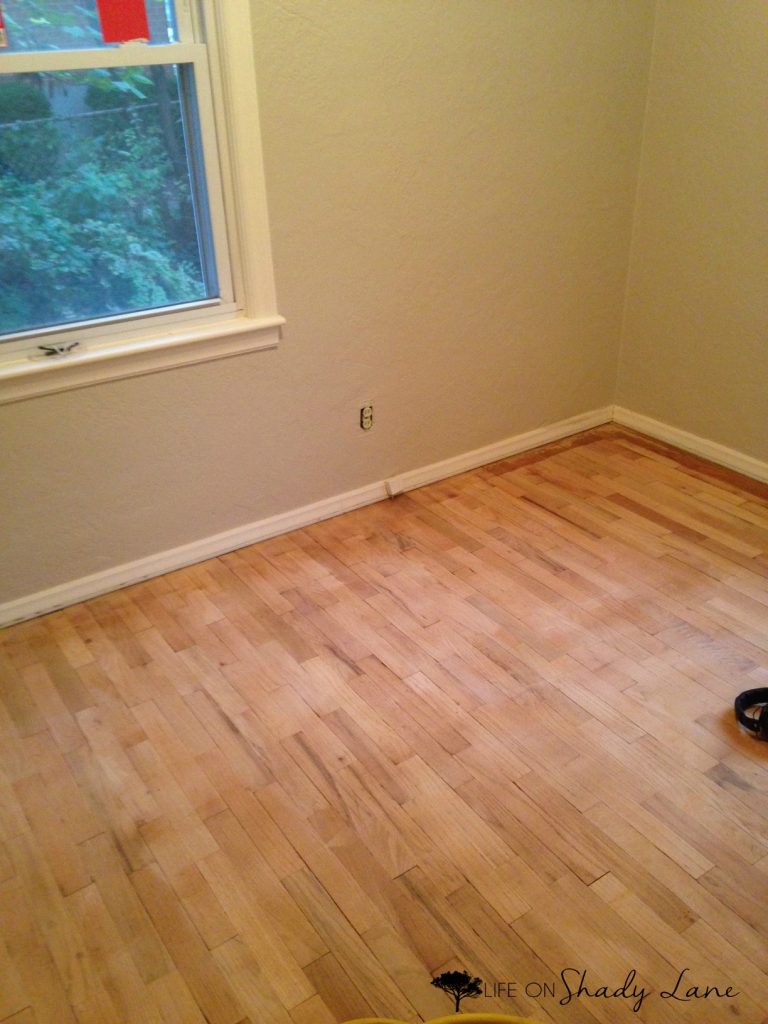
EDIT: The palm sander worked for the perimeter of the baby’s small bedroom and our bedroom, but we have since moved on to the living room…which is a lot larger. Because the edges in the small rooms took a lot longer than the middle of the rooms, we decided to try renting an edge floor sander for the living room. Needless to say it went MUCH faster. I would absolutely recommend this method if you’re sanding your own floors! It’s hard to get the edge sander into corners, though, so you may still want to use a palm sander just to finish it off.
Step 3: Sweep, sweep, sweep! Sanding floors down leaves a LOT of dust, and while the big floor sander had a dust bag, the palm sander did not. Be sure to sweep the floors really well…and save some of the sawdust. You’ll want it for step 4!
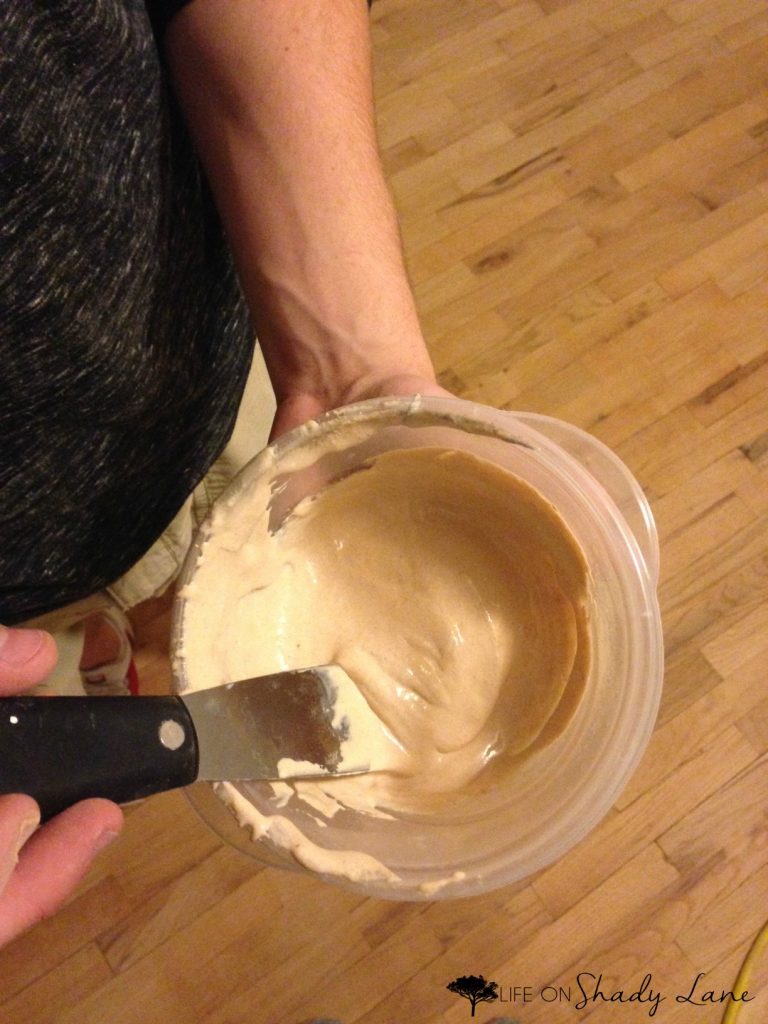
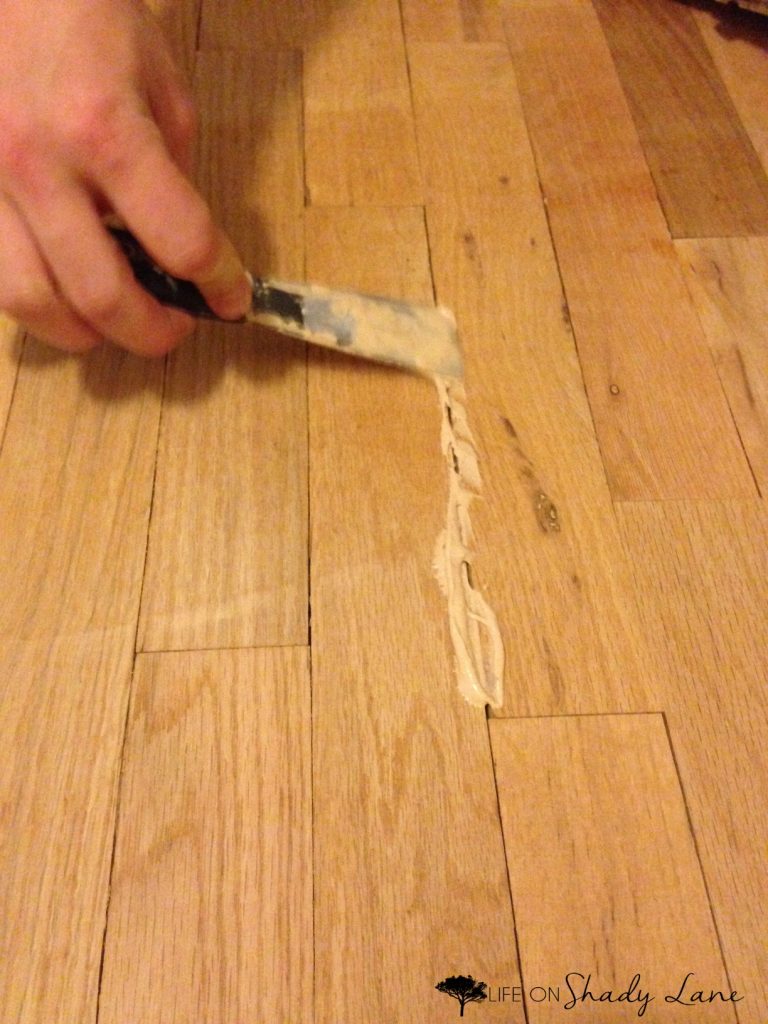
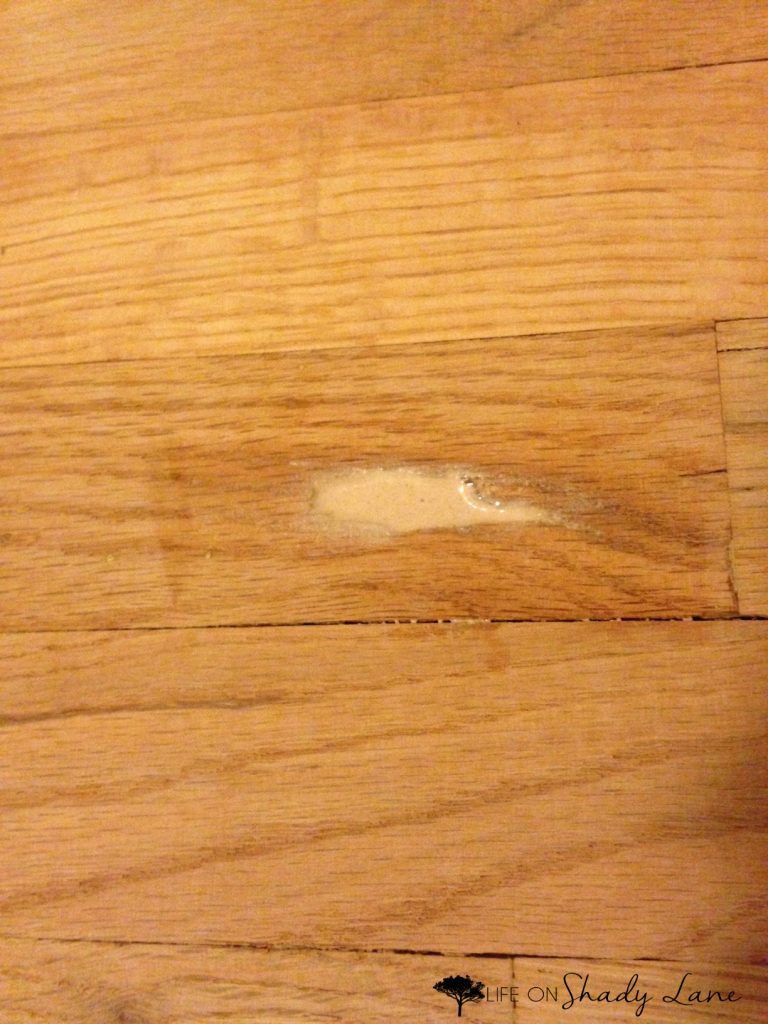
Step 4: Mix wood glue with some saw dust – we didn’t measure anything out, but just mixed the two together until we came up with a thick paste consistency. This mixture was used to fill in a couple holes and gaps that we found in the floor. Let the glue-holes dry really well, and then go over them lightly with a sander just to ensure that the surface is smooth.
*We had one pretty good-sized hole in our bedroom, and found that we needed to fill it with the glue/sand it down twice because it just sunk down the first time and left a less-deep hole.
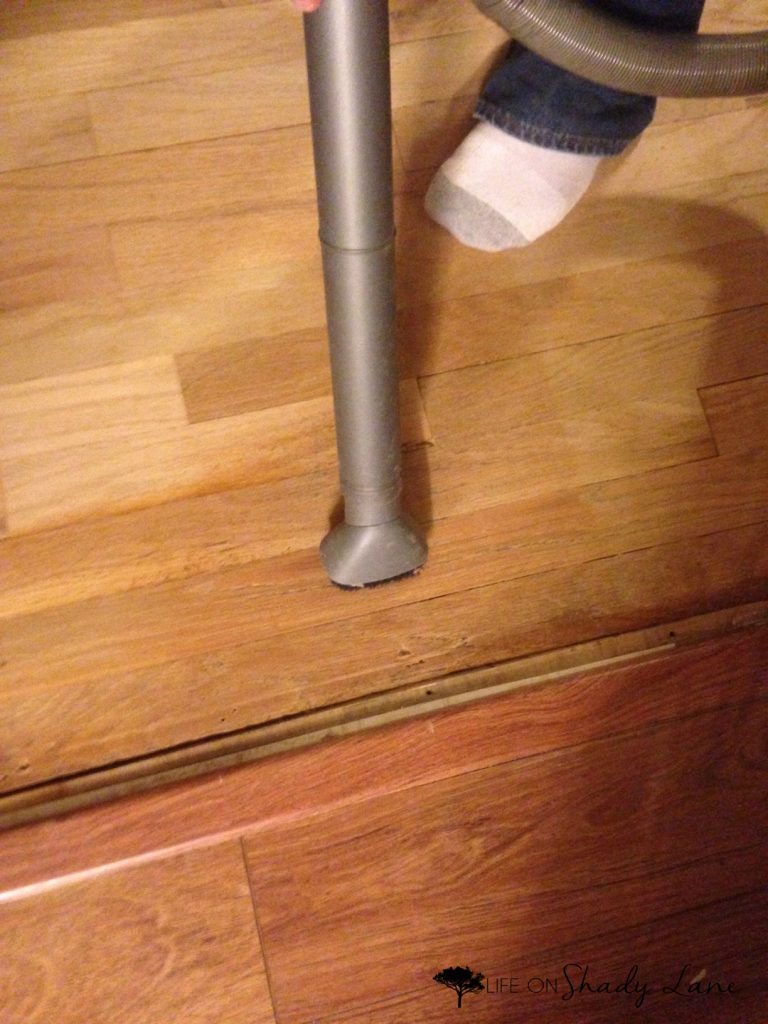
Step 5: Vacuum + wipe down. We used a brush attachment to vacuum walls and trim, then around the edges of the room, and finally the center of the room.
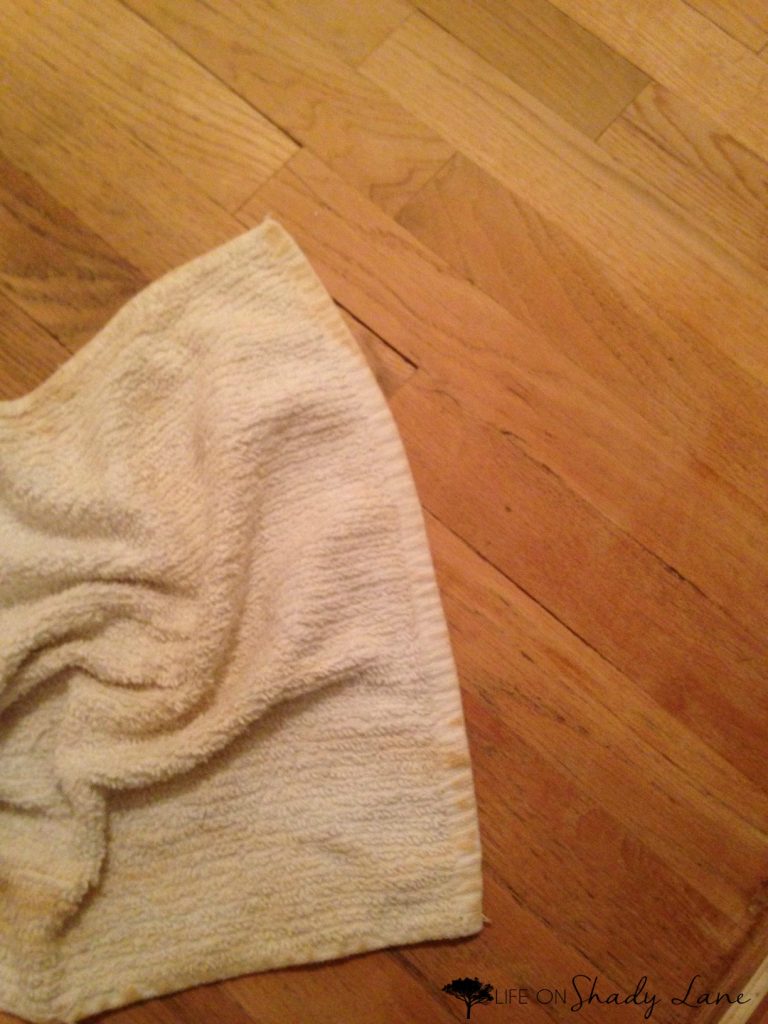
Next, we used a cloth to wipe the floors down really well. You’ll want to get it super-clean for the next step: staining!
EDIT: This is our fave vacuum!
Note: do not….I repeat: do NOT attempt to clean the raw wood floors (or walls) with water. We started to make that (rookie) mistake – brought a bucket of water into the room and it got knocked just slightly and left a ring on the floor. We promptly removed the bucket from the room and brought in a box fax to dry the ring + water splashes…but after staining realized we had made a mistake.
[YOU CAN FIND PART 2 HERE]
Check out more of our home-related projects [here]!
Follow me on Instagram and Pinterest!
I hope you enjoyed this How to Refinish Hardwood Floors: Part 1 blog post! If you did, please consider leaving a comment! OR feel free to ask any questions – I love to hear from you guys!



Wow! Your floors look great! I’m considering refinishing the hardwood floors in our 1950’s split and stumbled across your post on Pinterest. After reading a bit, I realized you’re in KC, too! Then I looked even closer and realized we used to work together! Glad to see life is treating you well! :)
Oh how funny! It’s great to hear from you, Val! I’d love to hear how the refinishing goes – it’s such a fun transformation!
how much did you have to buy of everything
How long did it take you to refurbish your hardwood floors? I’m off work for a week and I’m redoing my daughters room just wondering if i have enough time while I’m off to do her floors … thanks
Hi Amanda, I think it just depends on how quickly you want to work. There’s drying time, of course, but I would say that a week would be great!
Great tips and wonderful results! Thanks for sharing!
Thanks so much Sarah!