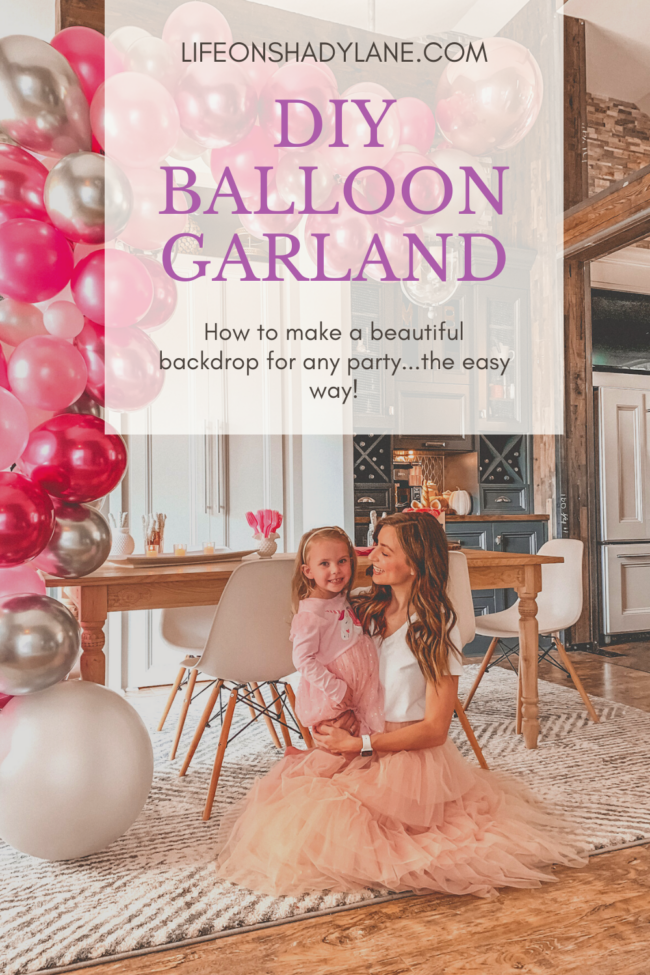
A balloon garland is such a fun and easy way to decorate for any kind of party. It makes a big impact for a photo backdrop and is actually really simple! Today I’m going to show you how to make your own DIY balloon garland or balloon arch.
This post may contain affiliate links.
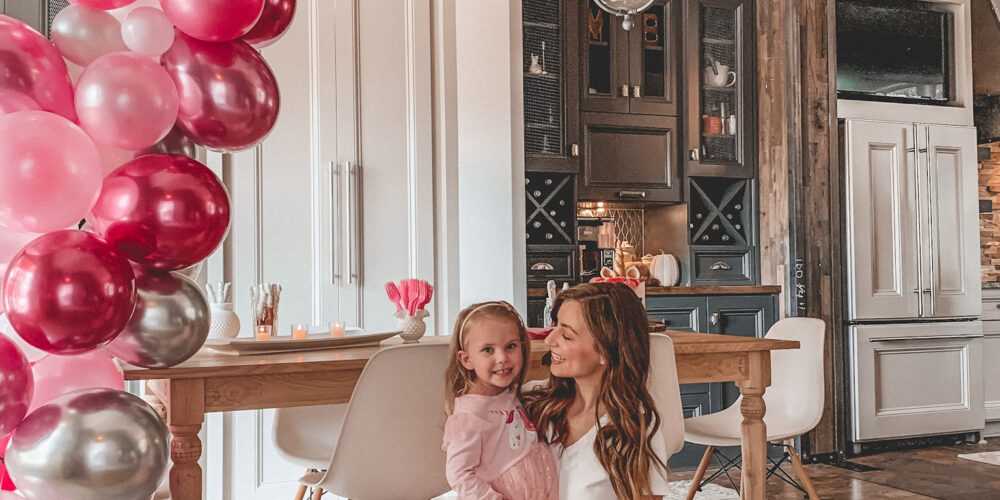
Two years ago, I wanted a really pretty backdrop for my daughter’s first birthday party and as I scrolled through Pinterest for birthday party inspiration, I couldn’t help but fall in love with the beautiful balloon garland I kept seeing. It just makes such a big impact for photos and is an easy way to add in lots of color to your party! So I decided to try one out, and found that it’s honestly SO much more simple than it looks.
————–
I hope you’ll check out some of my other posts while you’re here, too!
See my DIY projects and inspiration [here]
Check out a home tour [here]
Check out some fashion posts [here]
Here’s what you’ll need:
- Balloons – You’ll need about 100 balloons of varying sizes to create a balloon garland similar in size to the one I created. My advice is to skip the balloon garland kits that you see and just to mix and match your own! OR you could buy a kit and then just a few separate colors of balloons to add in. I like a really full-looking balloon arch and I also like to choose my own colors, so I pick and choose my own balloons.
To get you started, you can find a really pretty set of pink metallic and rose gold balloons right here.
I used four metallic 24 inch balloons (two on each end) as well. You can find those here.
I really love these matte pink and white balloons
Here are some pearl white 5 inch small balloons
- Air compressor – you can find the one we have right here (it includes an air hose). This makes creating your balloon garland SO much faster – you can blow one balloon up in seconds! Note: An air compressor is not inexpensive but they can be used a lot of different ways. AND if you’re only going to use it on balloon arches, consider the fact that hiring someone to create a balloon arch for you can be REALLY expensive. If you’re going to make several balloon garlands, buying your own air compressor is the way to go! You’ll save so much money (and time!).
If you don’t want to buy an air compressor, there is the option of using an electric portable balloon inflator. I haven’t ever gone this route, but it has a lot of great reviews!
- Air hose attachment kit – this is the one we have
- Thick plastic string – I’ve used a couple different kinds of plastic string to put my balloons together. The best type to use is one that you can just puncture through the end of the balloon to string it on, but if it’s not heavy-duty enough to do that, you can just use scissors to poke a tiny hole and then insert the plastic string! I used one like this.
- Command hooks – optional! I secured this particular balloon garland to a dining chair on the floor and our light fixture above our dining table. BUT if you’re hanging yours somewhere where there is not a fixture etc. to hang from….command hooks are a really great option!
Another option is to use balloon tape strip – it’s basically a strip that has holes in it to push the balloons through (instead of using a plastic string). I’ve never used one like this because I like to customize how close together my balloons are, but this kit looks like it would be really handy! I may try it next time.
How to Make a Balloon Garland
- Start by inflating all of those balloons! I like to blow them all up so I can actually see how big each of the balloons are, what they look like inflated, etc. For this balloon garland, I wanted some larger balloons near the bottom (floor) and near the top – I used a total of four 24 inch balloons for that!
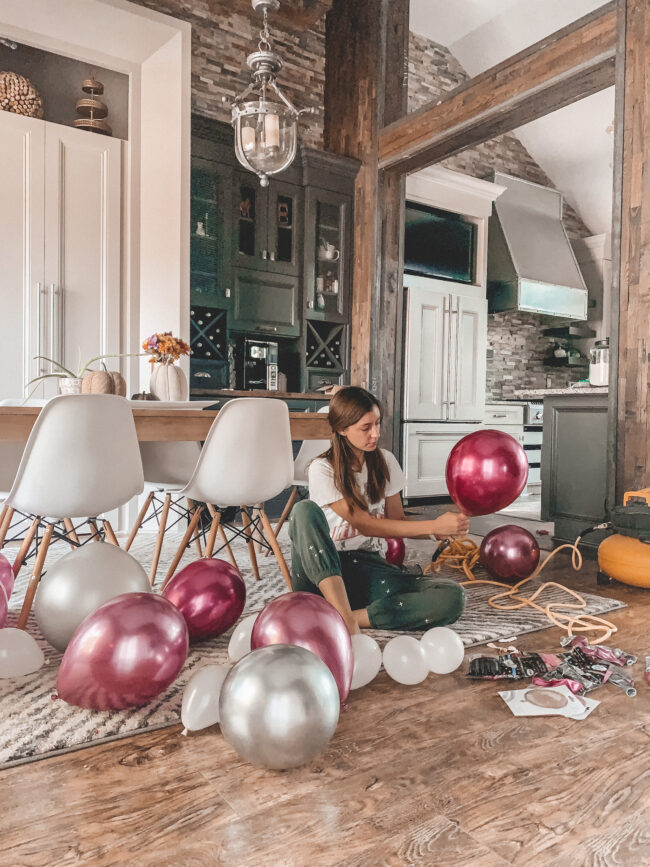
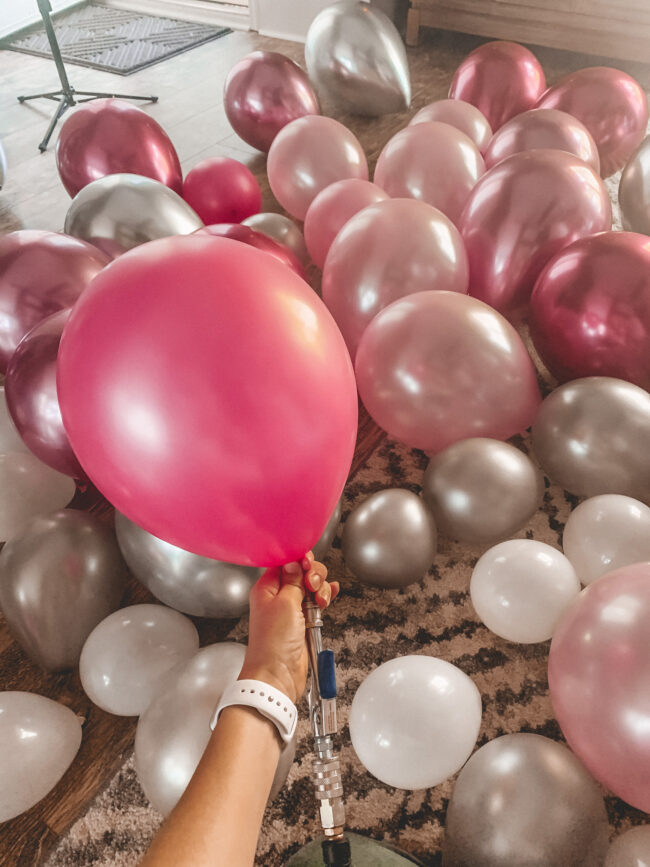

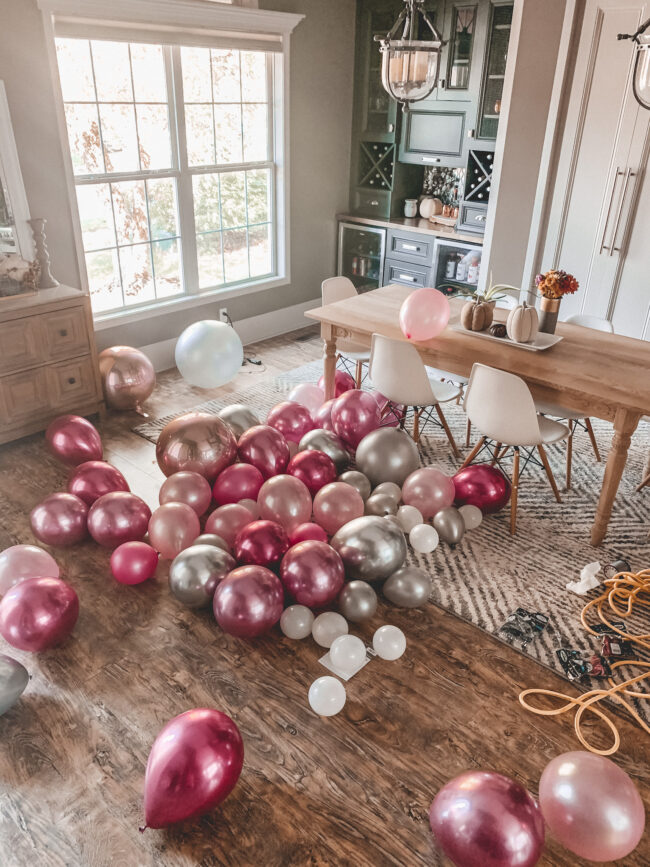
You can see that I used various sizes, including little 9 inch balloons! The little ones are easy to tuck into the “gaps” to help cover your string, and this just gives it an overall more filled out look.
2. Once everything is blown up, or once you’ve blown up what you think you’ll need, begin to add them onto your string. Like I mentioned, I have used a thick plastic string in the past that was able to puncture right through the bottom of the balloon. That was a super easy way to string them. For this balloon garland, though, I wasn’t able to find that same string. So I just used one that was a bit flimsier and punctured a tiny hole with scissors and threaded the balloons that way!
If you’re using a balloon strip (like the one included in this kit), you’ll essentially do the same thing – just begin adding balloons on to the strip!
I honestly don’t worry so much about the color pattern, I just try to evenly space out the small 9 inch balloons, metallic balloons, etc. so there’s not a big grouping of anything. It would be really pretty to do an ombre garland (that goes from darkest to lightest color balloon) – if you’re doing something like that, you’d obviously need to pay attention to what color balloon you’re adding on to the string BUT….typically I’d say it doesn’t matter a whole lot!
I like to periodically hold the garland up where it will be hanging to check the length and to make sure I’m liking the way it’s looking!
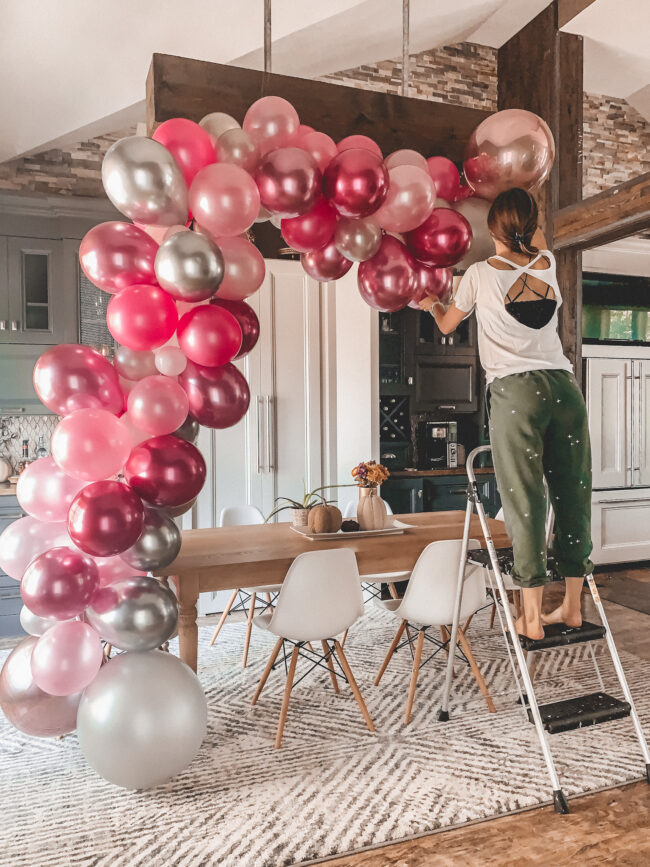
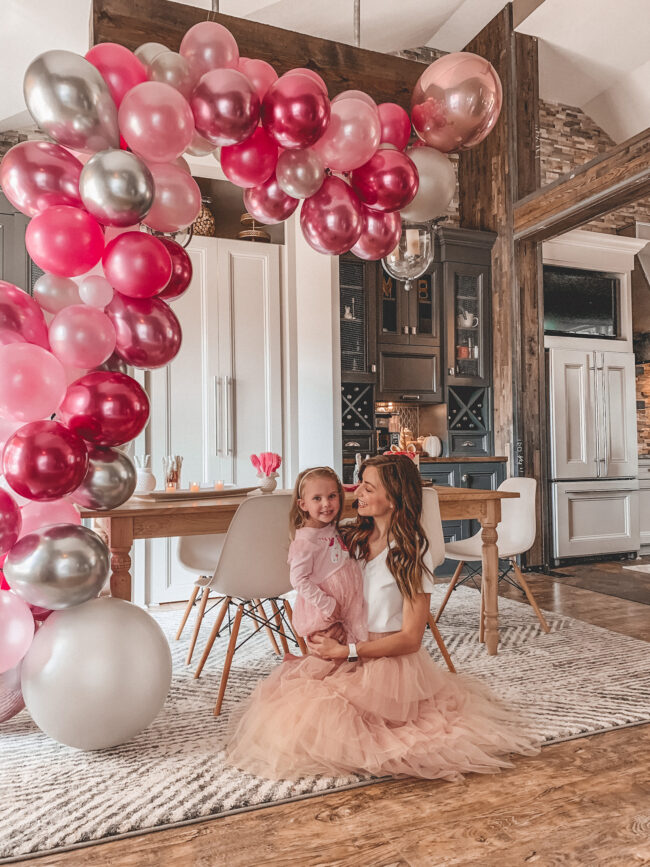
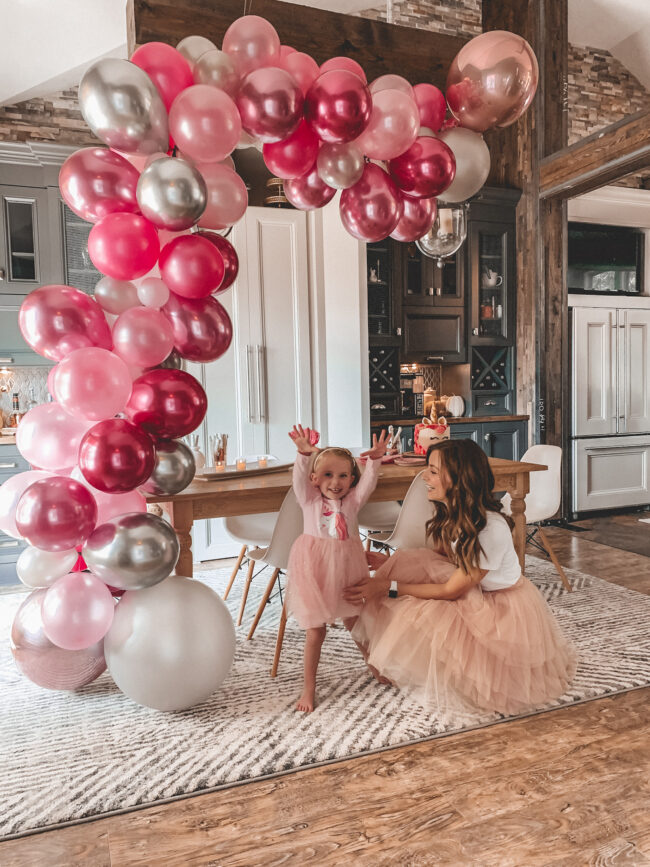
3. Hang that garland up! Once you’ve used up all the balloons or reached the length you want, it’s time to hang it. For this particular balloon garland I secured the bottom end (near the floor) to a dining chair leg and then used our light fixture to secure the top.
If you’re not hanging from a light fixture or other structure, the easiest thing to use is command hooks! I love these and use them a ton.
————–
I hope you’ll check out some of my other posts while you’re here, too!
See my DIY projects and inspiration [here]
Check out a home tour [here]
Check out some fashion posts [here]

