A DIY bottle opener – great for your outdoor entertaining space!
Thank you to National Hardware for sponsoring this post!
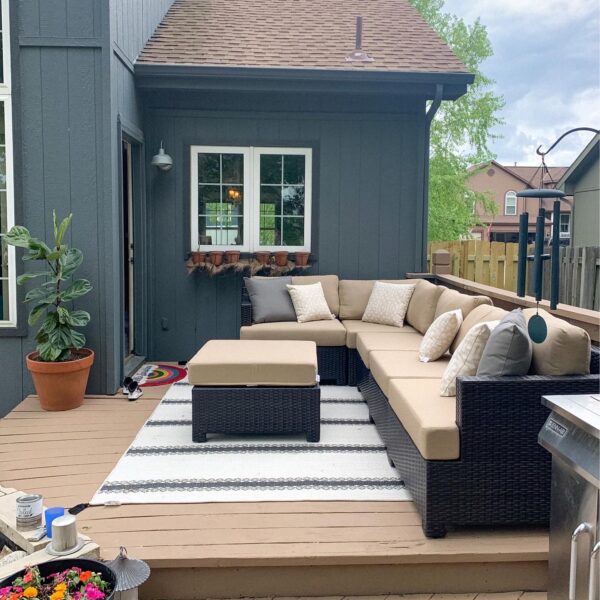
As the weather starts to cool off in Kansas City, we’re taking full advantage of spending time outdoors. We built a screened in porch about two years ago and have slowly been working on furnishing it and making it feel like a space people really want to hang out in.
You can see more of our screened in porch [here] and [here].
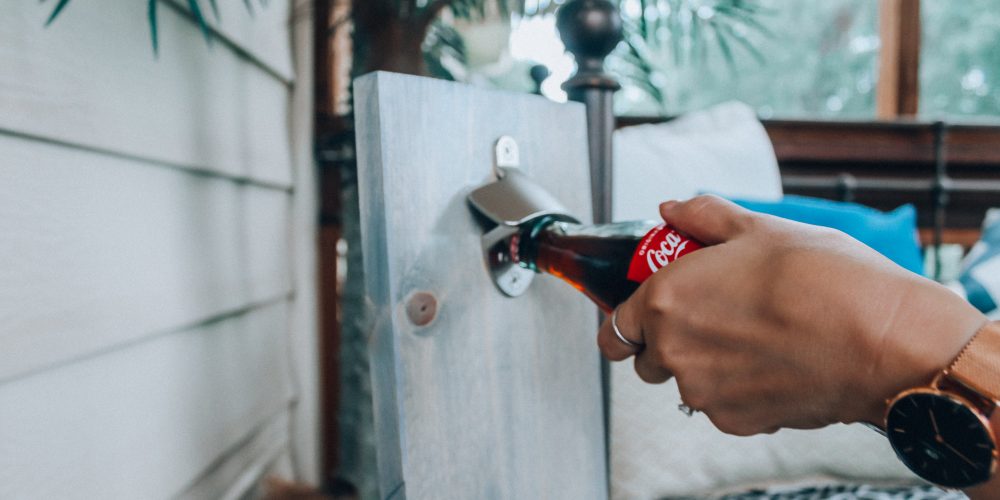
We created the cutest bottle opener to use in our outdoor space so people don’t have to run back inside to open up a drink. I intend on mounting it to a wall somewhere, but haven’t quite figured out where yet. National Hardware was so sweet and sent me the bottle opener to use, but you can find it on Amazon [here]!
This would make such a great homemade gift for your husband or dad, too (for any occasion!). It’s perfect for your outdoor entertaining space, but would also be great in a man cave. Plus it could be customized any way you want, too: stained or painted to match your decor, stenciled with your favorite team’s logo or initials, etc.
PS I shared a cool ring toss game at the bottom of this post. It’s also from National Hardware and is one more thing we used to make our screened in porch fun! Scroll down to check that out.
This post may contain affiliate links
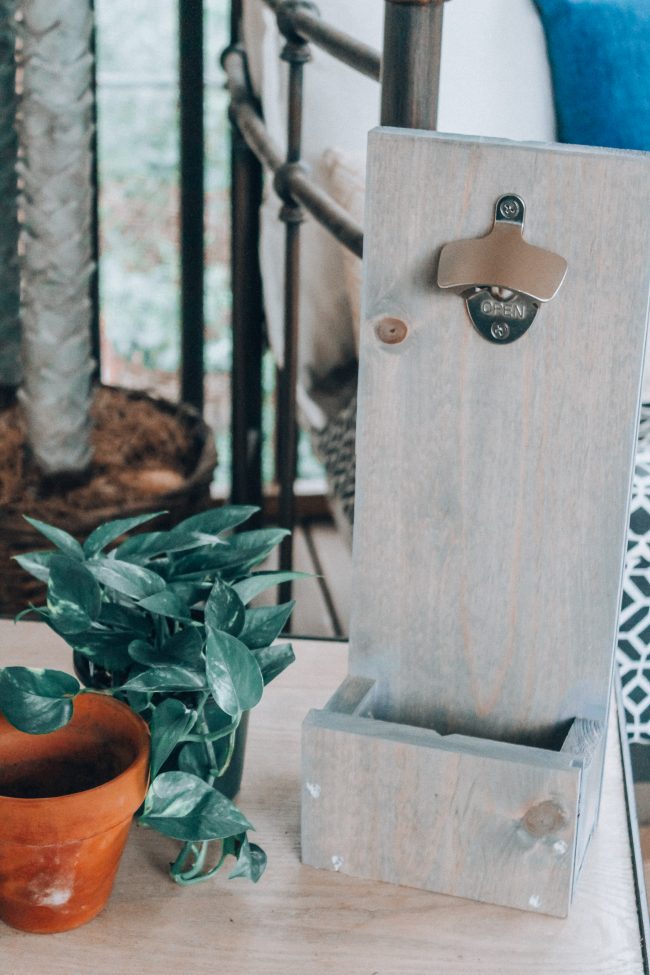
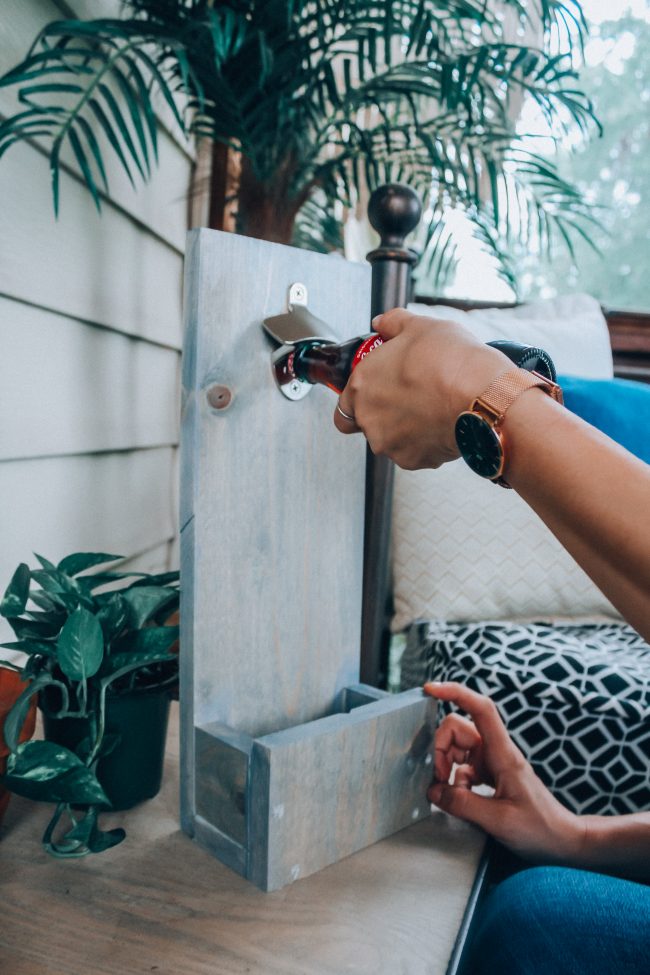
Materials used
1in x 6in x 4 ft piece of wood
Nails/hammer
Remember the interlocking wood planks we used to shiplap our bathroom [here]? We had some leftover planks, and decided to use one for this project. We just cut off the “interlocking” side! I’ve linked to the one we used above, but you could use any type of board. A hardware store will cut it for you for free, too!
So, I first stained the board with [this stain] using a soft, clean rag [like this] and then put on a coat of [this polycrylic] with a foam brush [like this]. I typically do a polyurethane (oil based) over wood stains, but it does change the color/warmth of the wood and I didn’t want to change the coloring of this one. Polycrylic is water based and does not change the stain’s look.
At first I was just planning on prettying up the piece of scrap wood and screwing the bottle opener to it (I used this one from National Hardware, and the quality is awesome!). It would be functional, but I wanted to “fancy” it up a little bit by building out a box at the bottom to catch the bottle tops. So after the poly dried completely, I cut the interlocking edge off and started to build out the box. OBVIOUSLY things would have been a little simpler had I decided that beforehand. But sometimes I work a little bit backwards.
Please excuse the terrible photos we took in my basement – the lighting isn’t great, the floors are messy. But what can ya do? It’s a basement. ;)
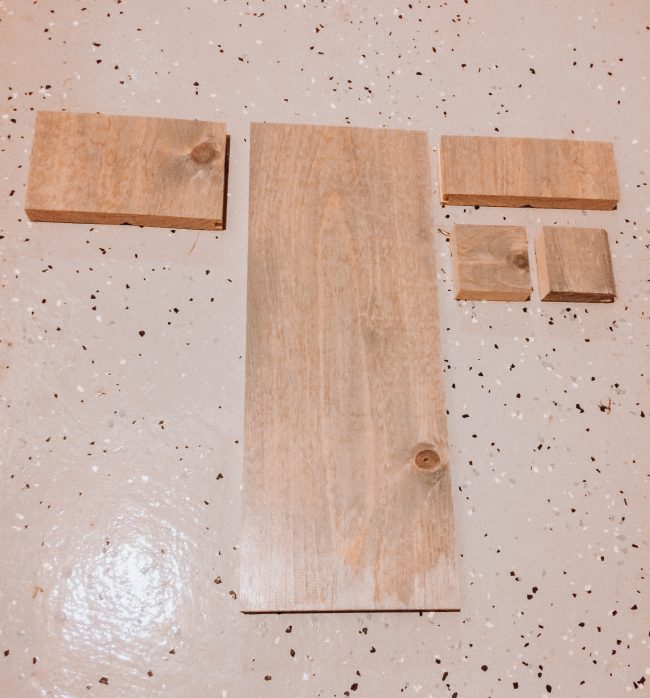
So we started with one long piece of wood. Below is after we cut that piece into five separate pieces so that we could build the box.
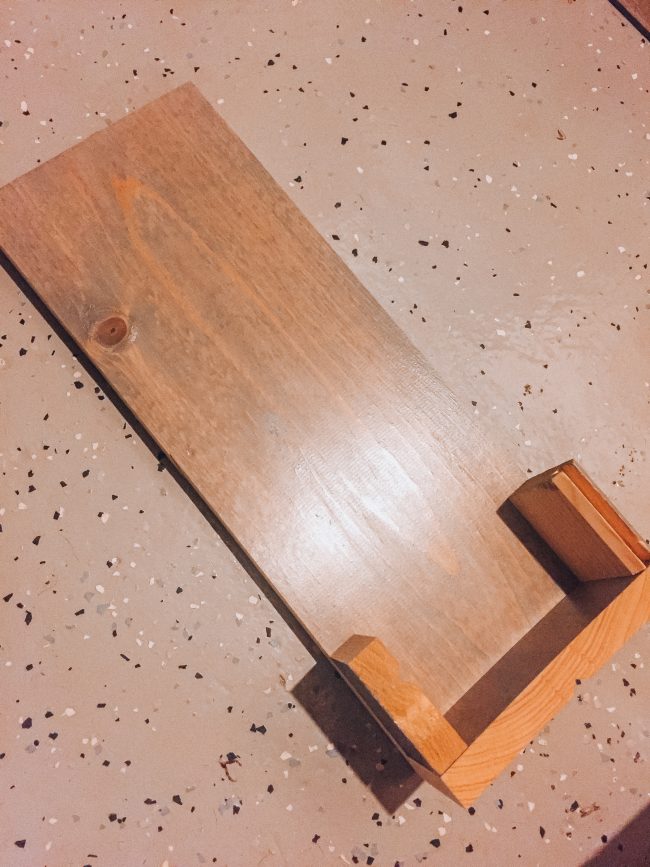
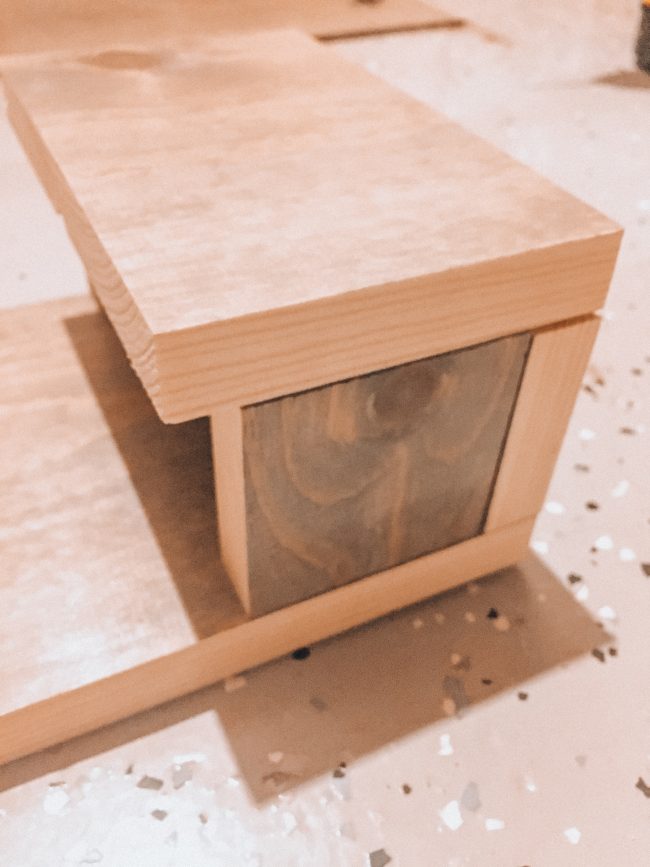
After we nailed the box together, I stained the bare edges and then put another coat of polycrylic on the entire thing.
Like I mentioned, I do want to eventually mount it somewhere on the wall, but we haven’t decided where just yet. It’s functional on a tabletop, too, so if you don’t feel like hanging it on the wall that’s fine!
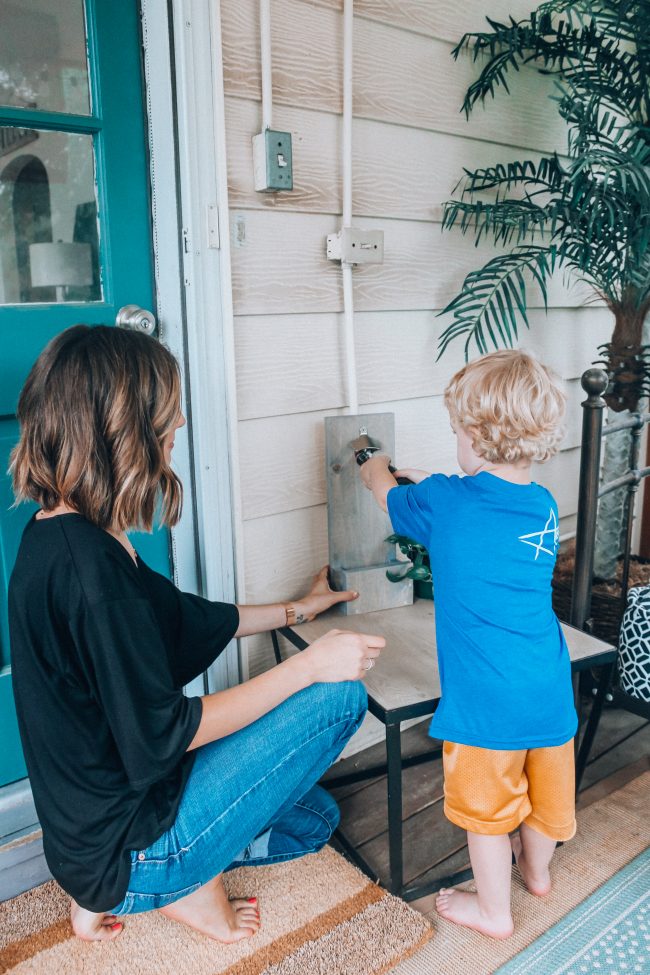
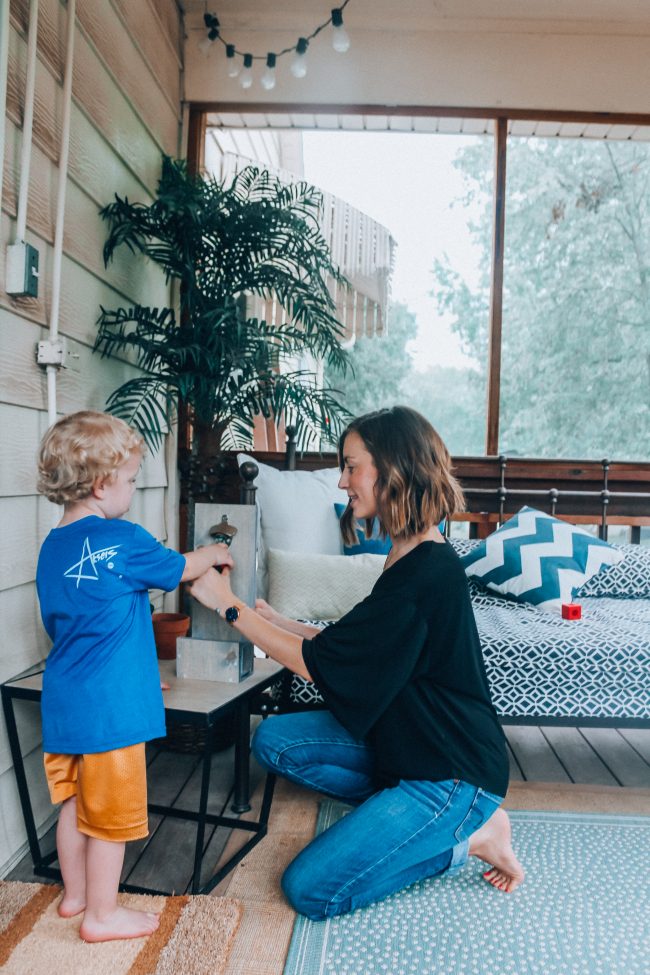
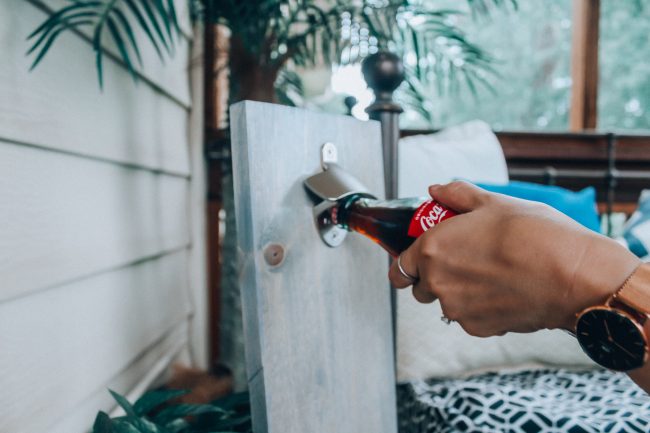
I hope this “how to” made sense! Please let me know if you have any questions at all!
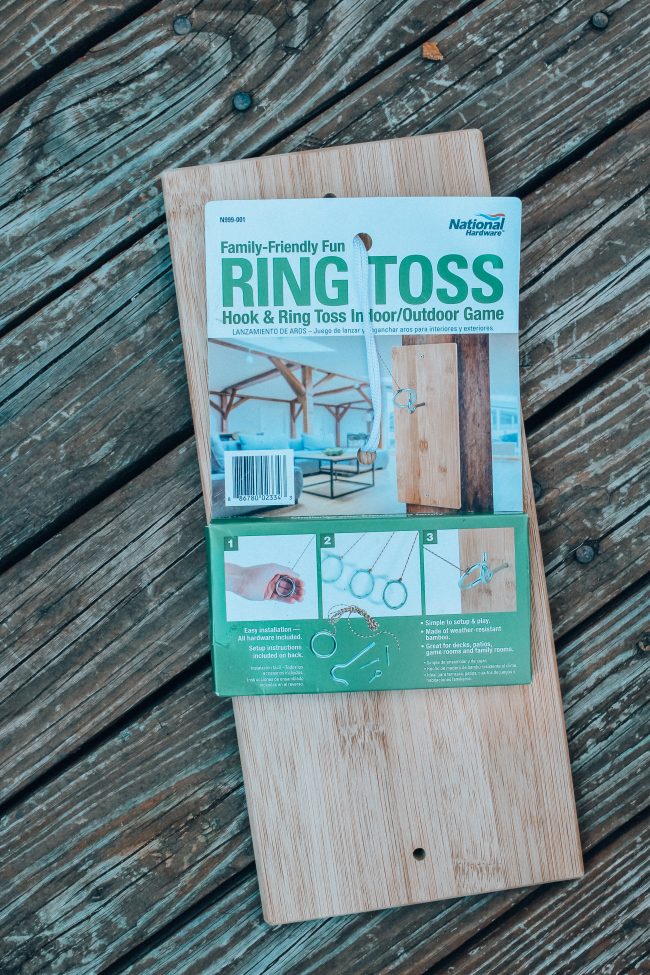
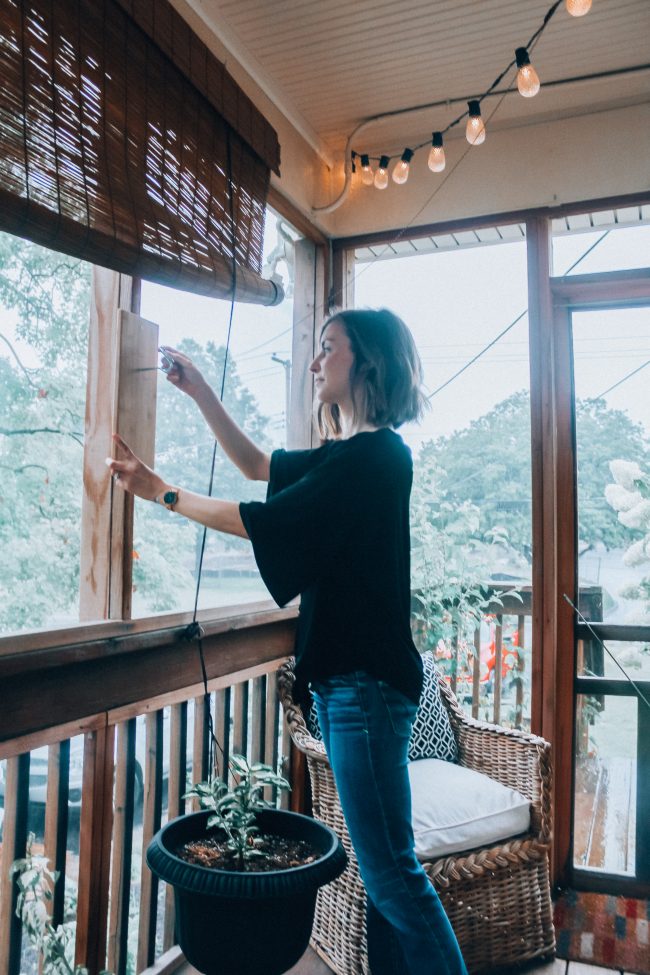
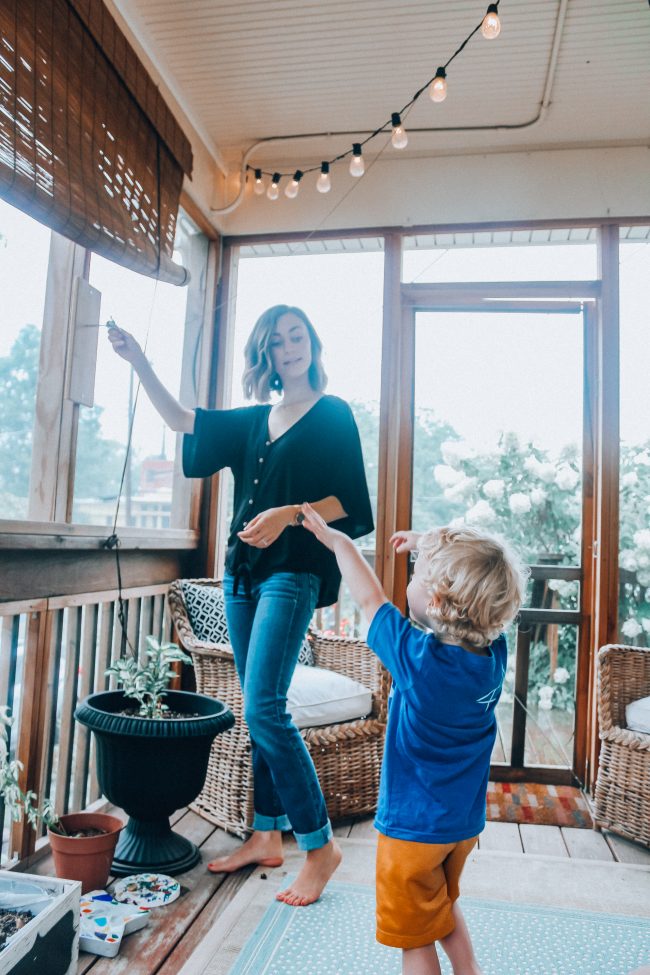
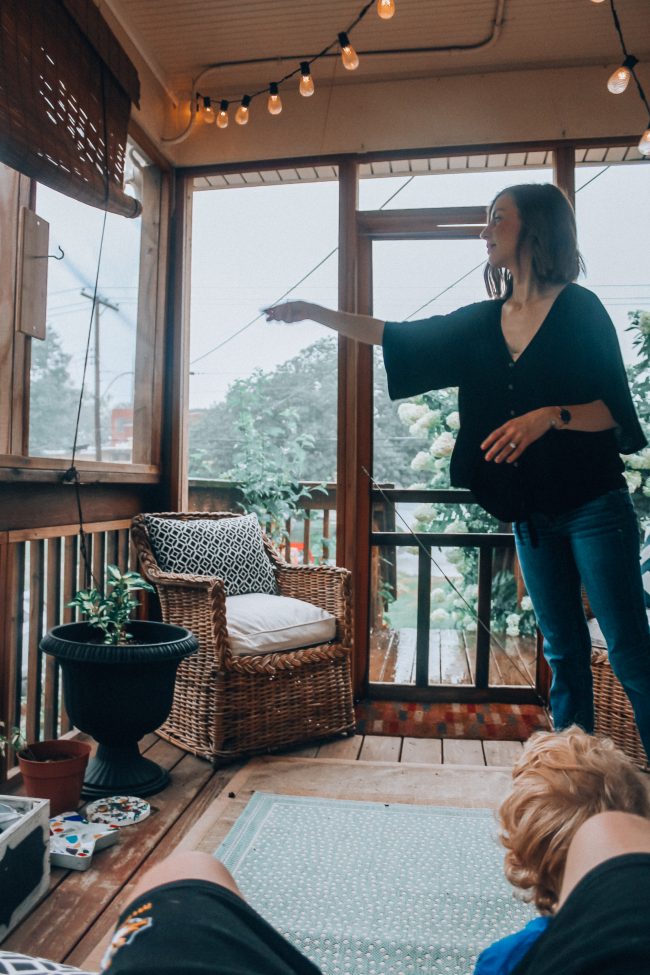
OK and before I go… I also have to add in another thing we discovered from National Hardware – this ring toss game (find it here). Its super easy to install (literally takes about 5 minutes!) and is a simple but fun game to play while you’re hanging out outside. We put it on our porch just like the bottle opener. Two simple things that make it feel a little more homey and fun – I love that!
PS this one is available for Amazon Prime. HEYYYY!


Very good idea, Meg!
Thank you so much Nancy!