This post may contain affiliate links
We moved into our house about five months ago…on Halloween, actually! So this spring is the first time we’ve spent time in the backyard, and we have some fun plans to pretty things up!
————–
I hope you’ll check out some of my other posts while you’re here, too!
See my DIY projects and inspiration [here]
Check out a home tour [here]
Check out some fashion posts [here]
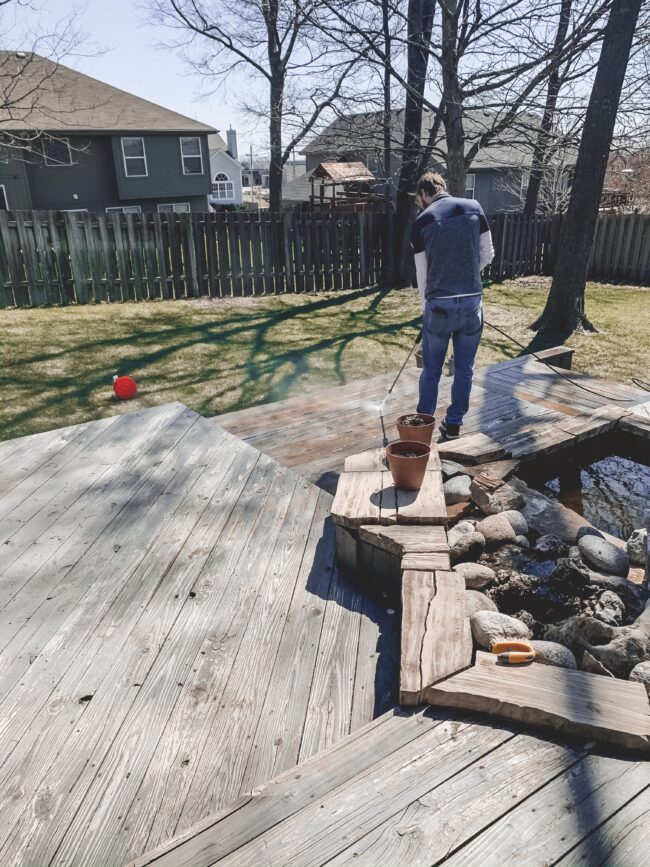
When we moved in, the deck was kind of in rough shape. It had been painted, but it was peeling and coming off in spots. I’m not convinced it was even deck paint that was used – it may have just been a regular indoor/outdoor paint. Needless to say, it wasn’t holding up well and we needed to give it some love, or the wood was going to start rotting and falling apart.
I’m going to share the insanely EASY deck makeover we did here today!
We used this deck paint in the color “Castle Gray” … and we went with the textured option. It comes in smooth, textured, and extra textured finishes…and we went with the one right in the middle. I was worried about the texture being a little too rough and scratchy, but it’s not at all. Plus, with little kids running around, I’m glad we went with a slip resistant one!
The deck paint is not cheap…but when you consider the cost of building an entirely brand new deck, it’s not that bad. Exposed raw wood is just that…exposed to the elements. It will break down quickly outdoors, so your deck needs something protective on top of it. This deck paint is waterproof and slip resistant!
OK so here’s how we did it:
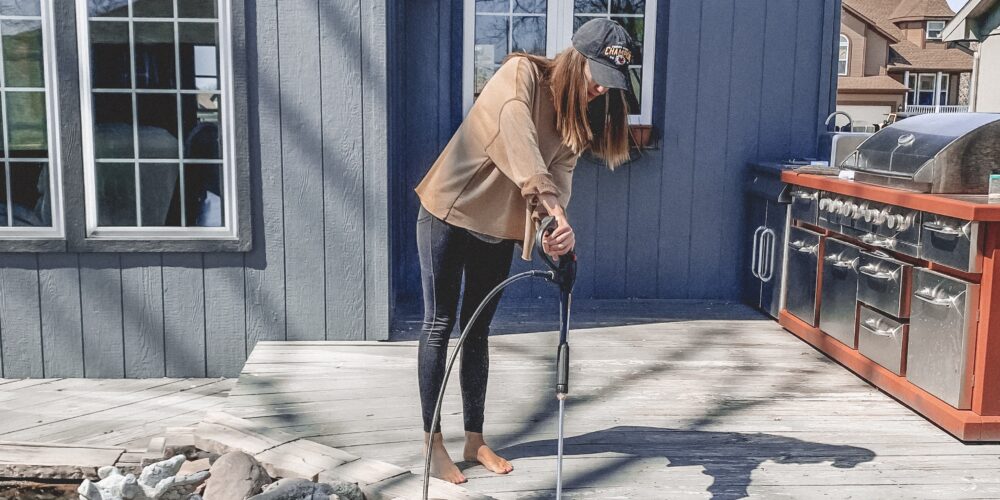
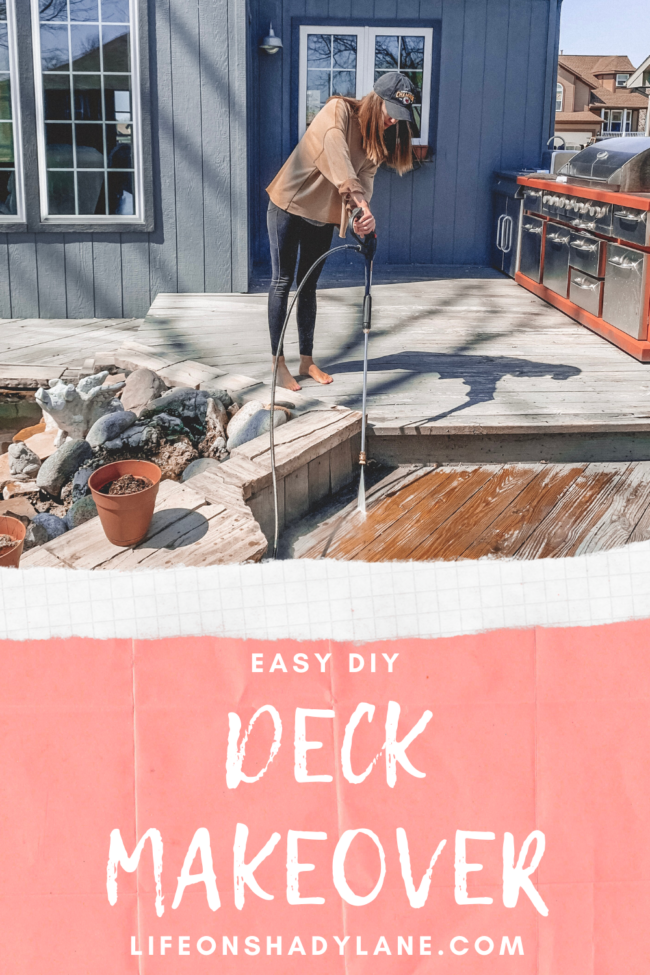
The directions on the container of paint recommended cleaning your deck first with THIS CLEANER, but we opted to just use our power washer instead. So we power washed, spraying away any existing loose/flaking paint, and then let the deck dry.
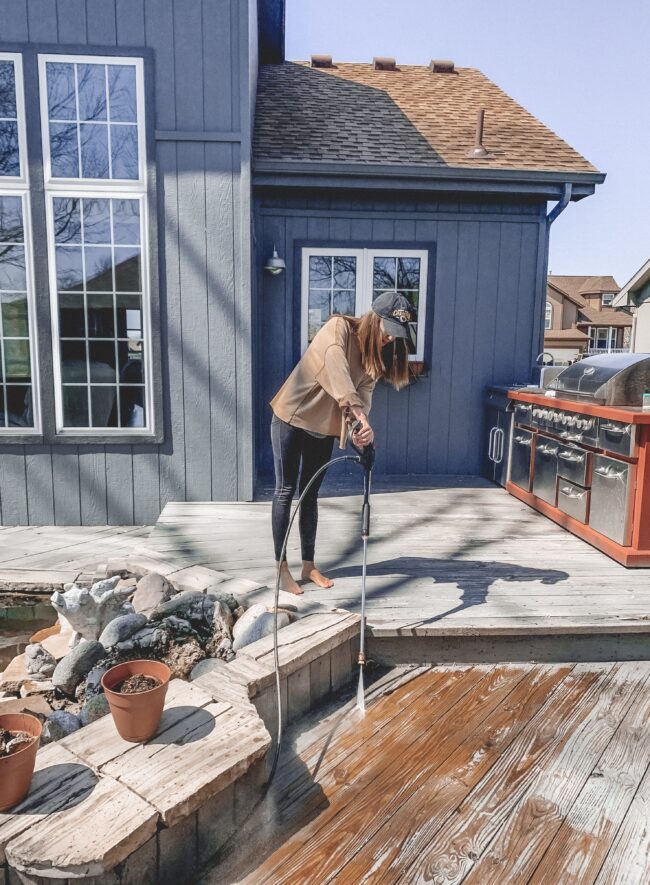
Once your deck is clean and free of debris, it’s time to paint!
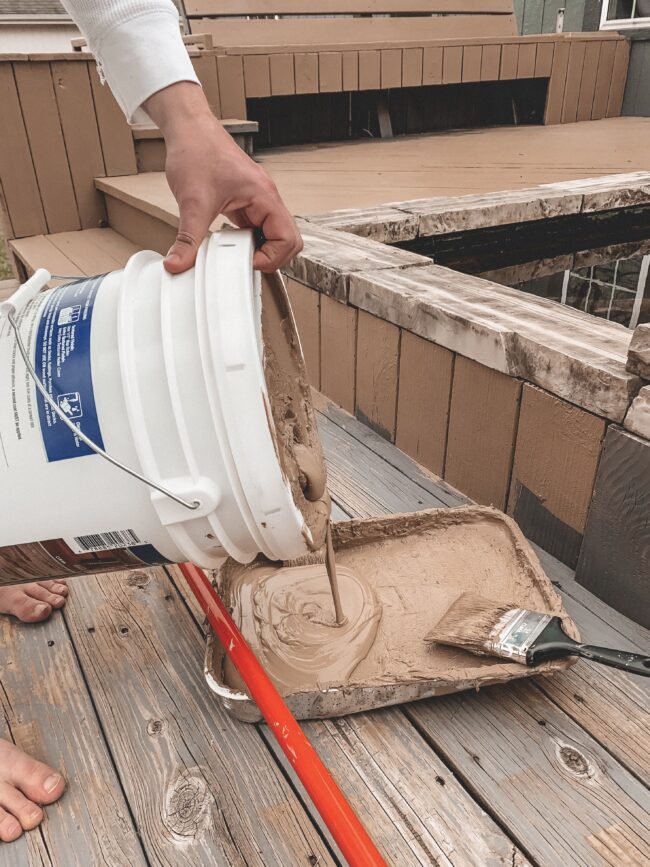
As a reminder, we used this paint in the color “Castle Gray” (the textured finish!)
We started rolling the deck paint on at first, and it was pretty slow going – the paint seemed to go on a little thin. The deck paint is super thick (it’s supposed to be that way!) so it took a little bit to figure out the best way to work with it. We kept rolling, using a regular paint brush to “cut in” on the edges.
If you want to roll the paint on, you’ll need a 1/2 inch nap roller for the textured finish paint.
I finally decided to try just using a wide paint brush for the whole thing, and it went a lot better. It’s a little slower, but it just felt easier to work with that way (and it went on more evenly, too!). FYI: you’ll need several paint brushes, because the deck paint requires two coats (with 4-6 hours dry time in between). It dries really quickly, and we just threw away the brush after using it. Like I mentioned, the paint is super thick – it wasn’t even worth trying to clean the brush!
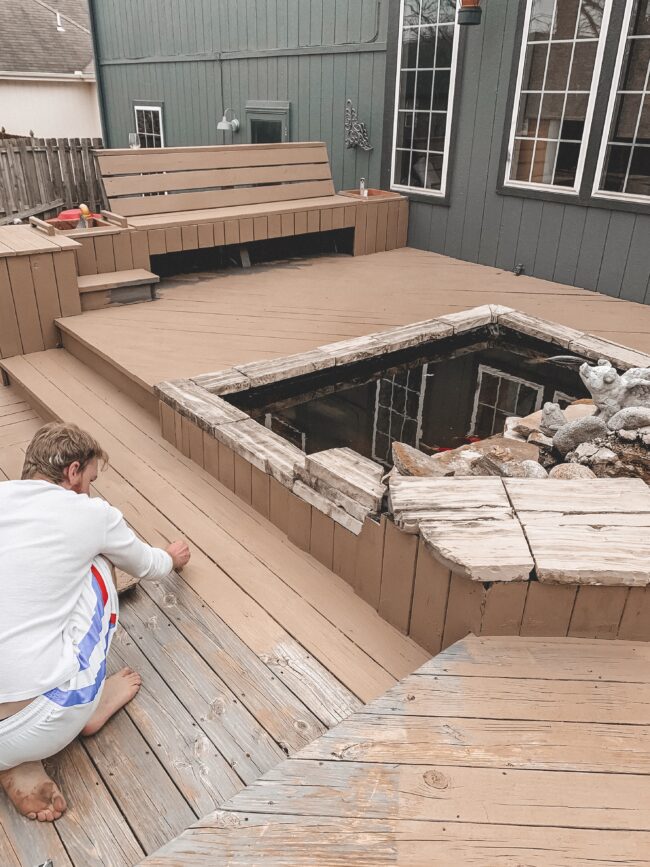
You’ll need to work relatively quickly while painting. The paint dries fast, so any drips/globs of paint need to be smoothed out fast before they dry.
We let the first coat dry for about 4 hours, and then started on the second coat. Because we brushed it on, the paint was already laid on pretty thick/smooth…so there were some spots we didn’t feel needed to be 100% painted over again, but I can see that you’d need to if you use a roller (since that method went on with a more thin application). We mostly focused on going over the “thin” looking spots and just quickly brushed over the rest of the deck.
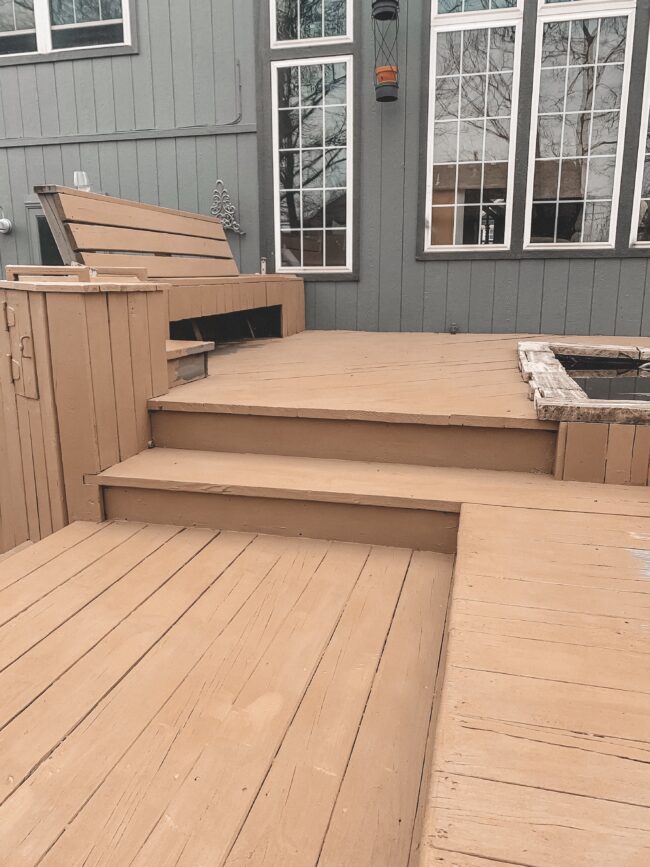
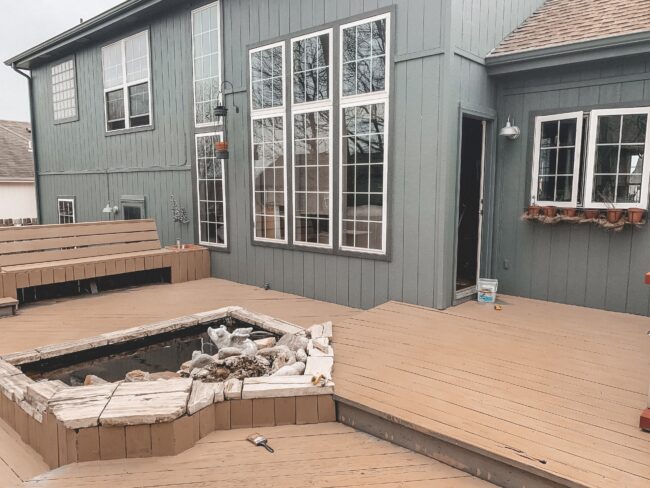
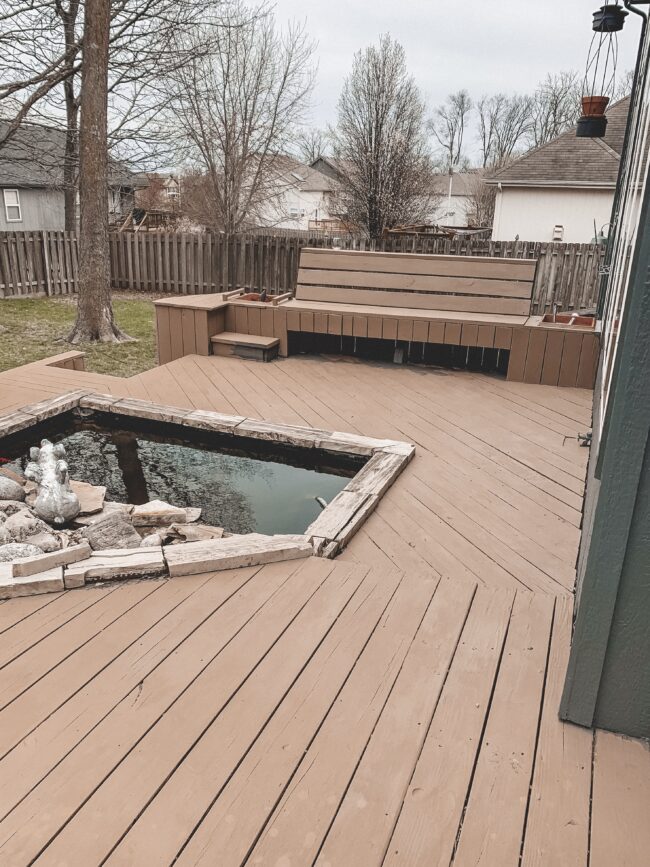
We still need to clean underneath the bench really well and paint that – we skipped it for now and are waiting until it gets a little warmer outside (it’s been chilly the past few days!). And we also need to finish off the little step near the bench…But after that, we’ll be finished!
Honestly I can’t believe the difference some paint made in the appearance of our deck. I can’t wait to decorate, get some furniture and lights, plants, etc. Plus it’s protected from the elements, so I feel so much better about that. We’ll hopefully have several more years before we need to replace boards on the deck, so that makes it totally worth it!
Once the second coat was on, we let it dry overnight before “fully” using the deck. The kids definitely did walk on it before that, but because it dries so quickly it wasn’t really an issue. We don’t have any furniture on the deck yet, but I might wait about 24 hours before putting furniture back on if you’re painting your deck.
Pin it for later:
We have more fun plans for the backyard, and I can’t wait to share them here. Stay tuned!

