This post may contain affiliate links
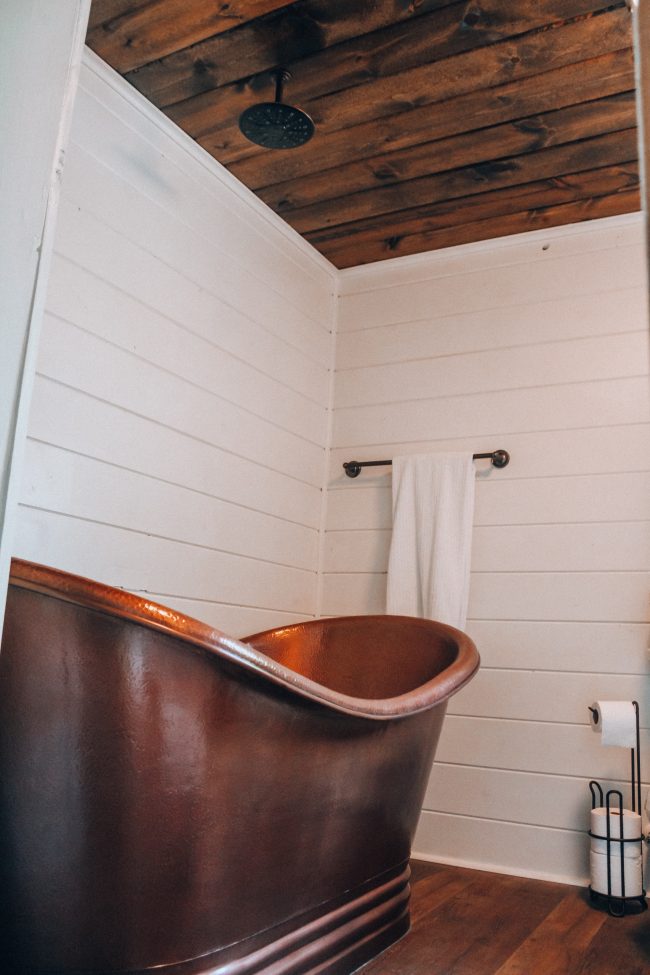
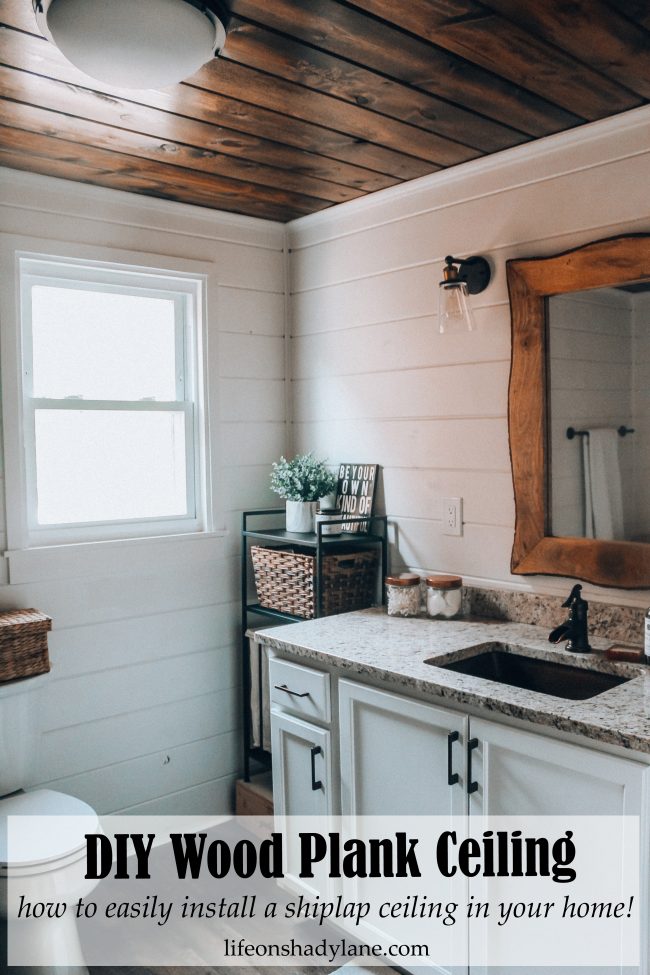
A while back I shared my modern farmhouse bathroom makeover [here]. Honestly, I love every single aspect of it…but one thing I am so proud of is how the ceiling turned out. It’s exactly how I pictured it would look, and makes the bathroom feel cozy but still modern. This DIY wood plank ceiling is super easy to do, and can be painted white to give it a shiplap feel, or stained (which is what we chose to do).
I hope you’ll check out some of my other posts while you’re here, too!
See more of my DIY projects and inspiration [here]
Check out a home tour [here]
Check out some fashion posts [here]
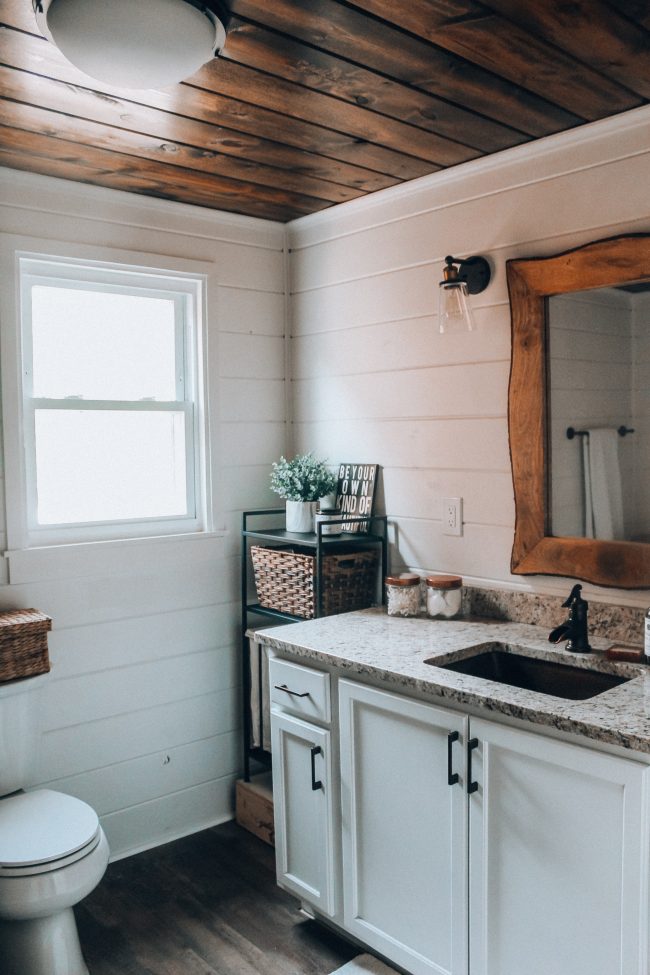
We completely gutted this bathroom down to nothing before beginning the remodel. We could have drywalled the entire room, but that would have been a lot more difficult…and it wasn’t the look I was going for. So we completely skipped drywall and just installed tongue and groove boards like these. We used them on the walls AND the ceiling, just painted our walls white (you can read more about specific colors and additional bathroom selections here) and stained the ceiling boards.
Buy tongue and groove boards here
My biggest tip: measure your room first, cut the boards accordingly, and then stain them – BEFORE you put them up! We installed the wall boards before painting, and that worked great…but the ceiling is a different ballgame. I didn’t want to be standing on a ladder craning my neck to apply stain…plus it would have dripped everywhere and created a huge mess. So while I was super anxious to get the boards up, exercising a little bit of patience was definitely the right move here.
PS: I had Brandon cut the boards with his miter saw, but if you don’t have one most hardware stores will cut the boards for you!
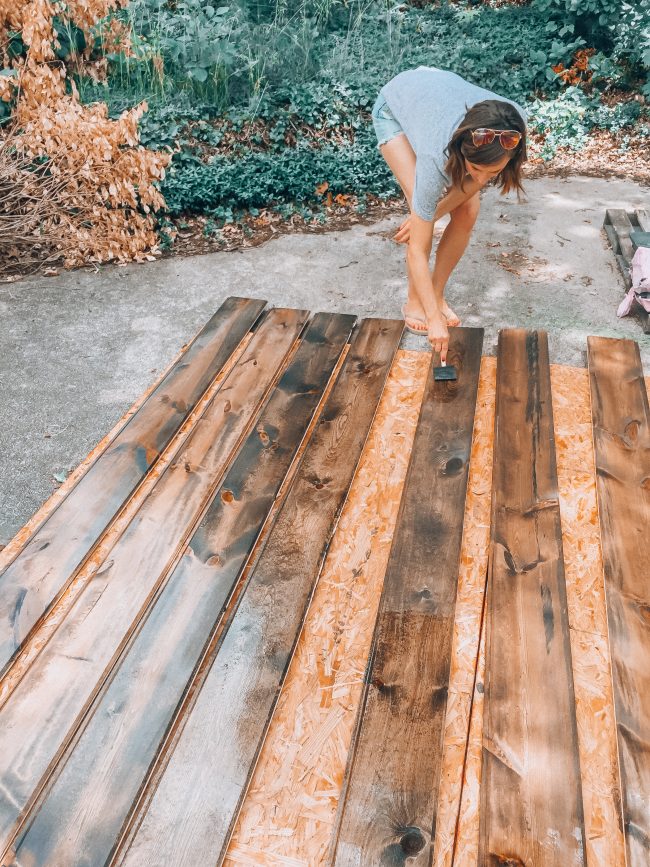
I used Minwax wood stain in the color Jacobean and applied it with a soft rag [like this one].
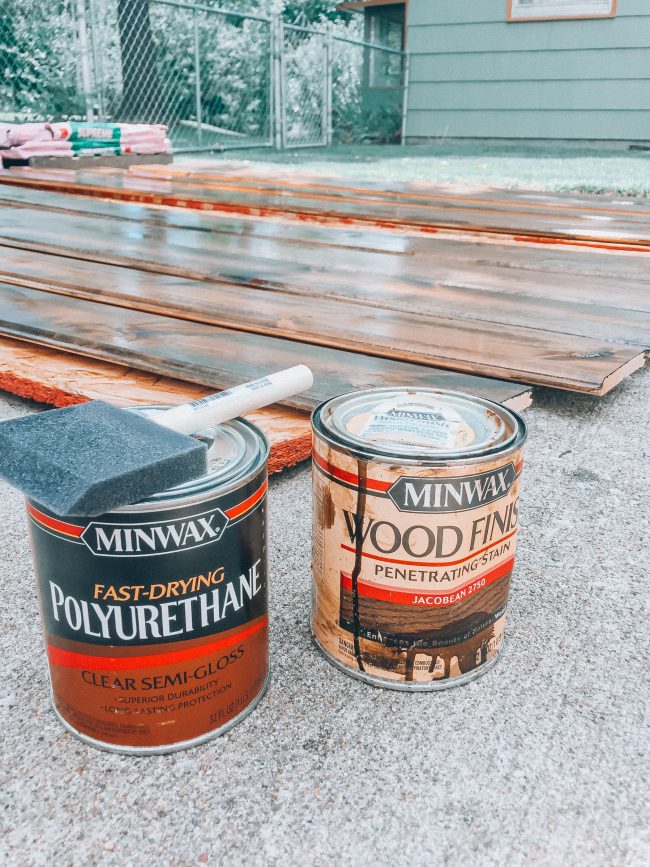
I let the stain soak in and dry completely, for about 24 hours, and then used a foam brush to apply Minwax fast-drying polyurethane. They aren’t kidding when they say this stuff dries fast – it only took about four hours until I felt like it was totally dry. I actually waited another 24 hours before applying a second coat, though, just to be on the safe side.
Buy fast-drying Polyurethane here
I could have sanded in between coats of polyurethane, but since this was going on the ceiling, I didn’t need the boards to be super-smooth. So, I skipped sanding and applied a second coat of poly, let that dry, and then the boards were ready to go up!
Starting at the back of the room, we put one board up and used a nail gun to secure it in place. Then, each following board fits into the one before it (hence the name “tongue and groove”!). Each board was nailed in as we went.
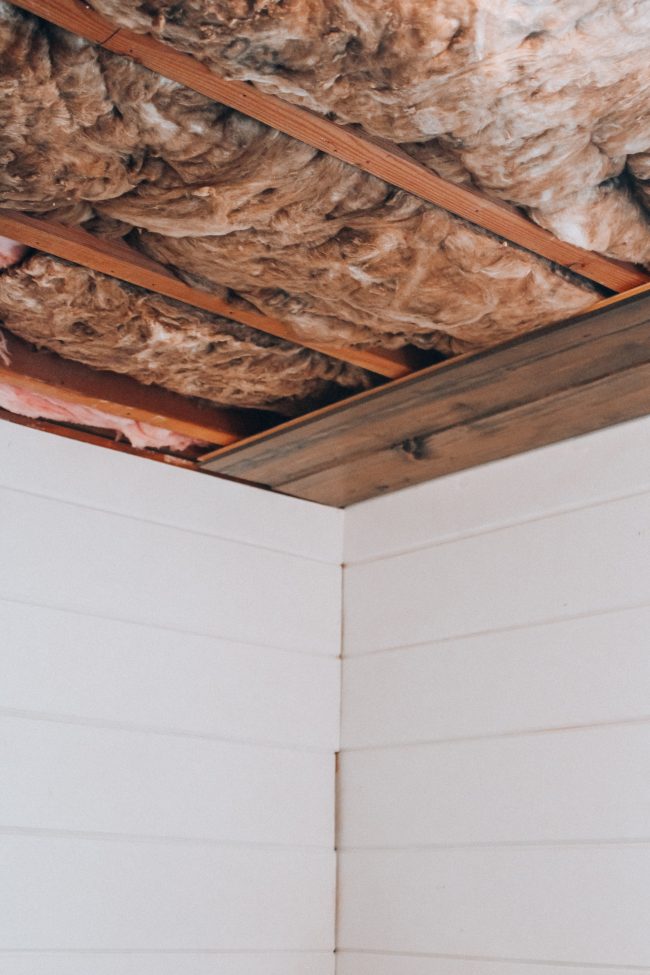
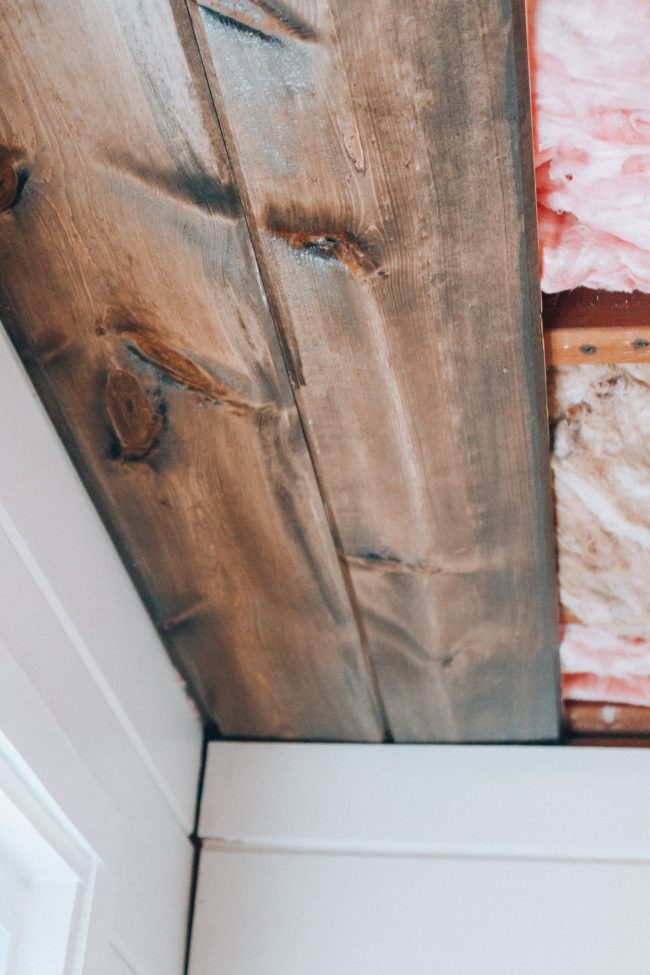
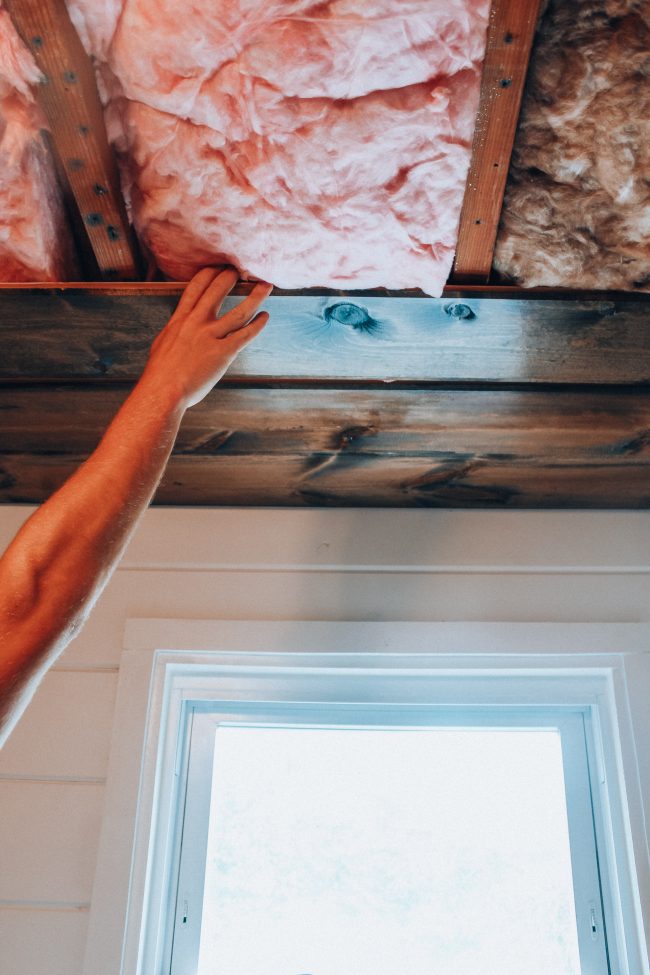
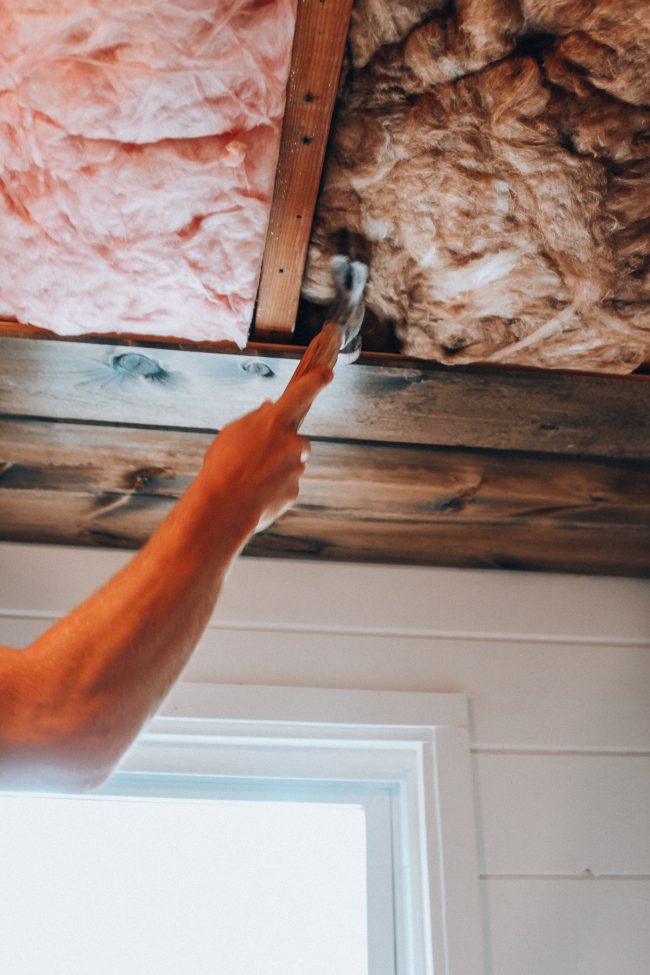
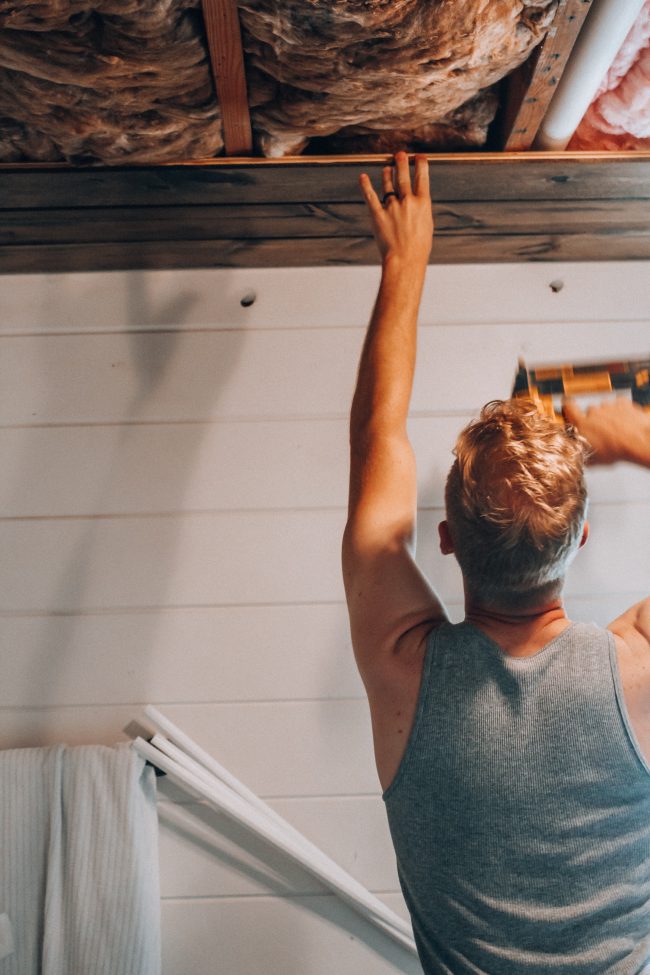
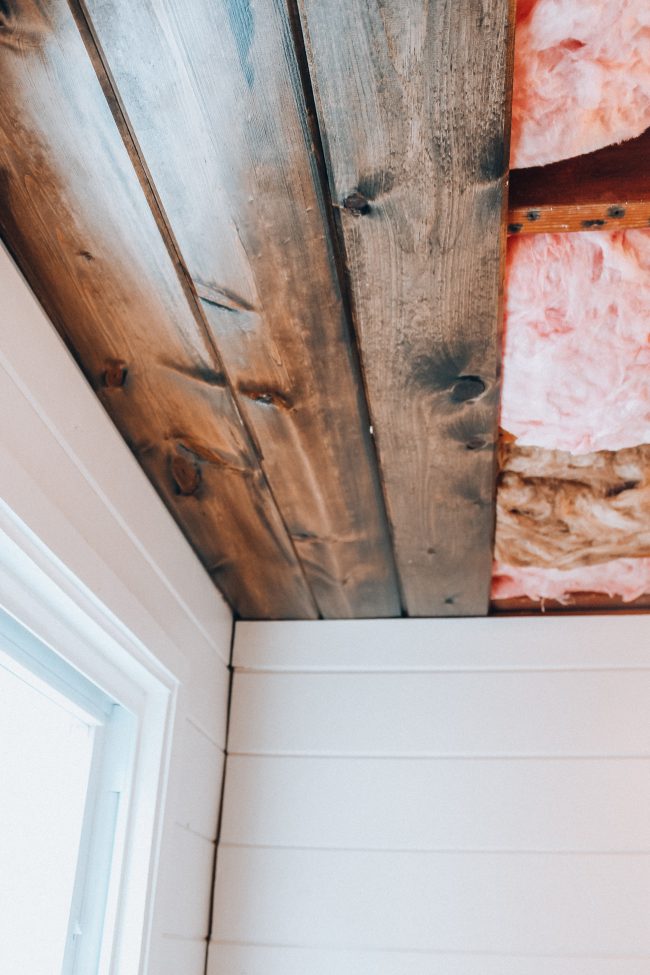
Some of the boards weren’t perfectly straight, so they had to be tapped in with a hammer so the tongue/groove parts met up. The trickiest part of the whole project was probably cutting the boards to fit around our ceiling light and shower head. Brandon used his Dremel multitool to do it, and it worked perfectly!
Source List
If you want to check out more of my posts…
You can see another (cheaper!) method we used to shiplap a wall [here]
Modern Farmhouse Bathroom Makeover
Affordable (and pretty!) Bathroom Faucets
Vintage Modern Farmhouse Bathroom Plan
Upstairs Bathroom Flooring, Paint, Tub, and Sink Selections
Upstairs Bathroom: Shiplap, Tub, Flooring, and Vanity
Upstairs Bathroom: Countertops and a Copper Sink
I hope you enjoyed this DIY wood plank ceiling blog post!



Looks great! What size and profile of crown molding did you use?