This Master bedroom progress: stenciled wall blog post may contain affiliate links
I wanted to share a little bit of our master bedroom progress today, because I’ve shown the stenciled wall a little bit on Instagram, but not here on the blog! The last time I showed bedroom’s progress, the accent wall was just painted a gray/black color. You can see that post [here].
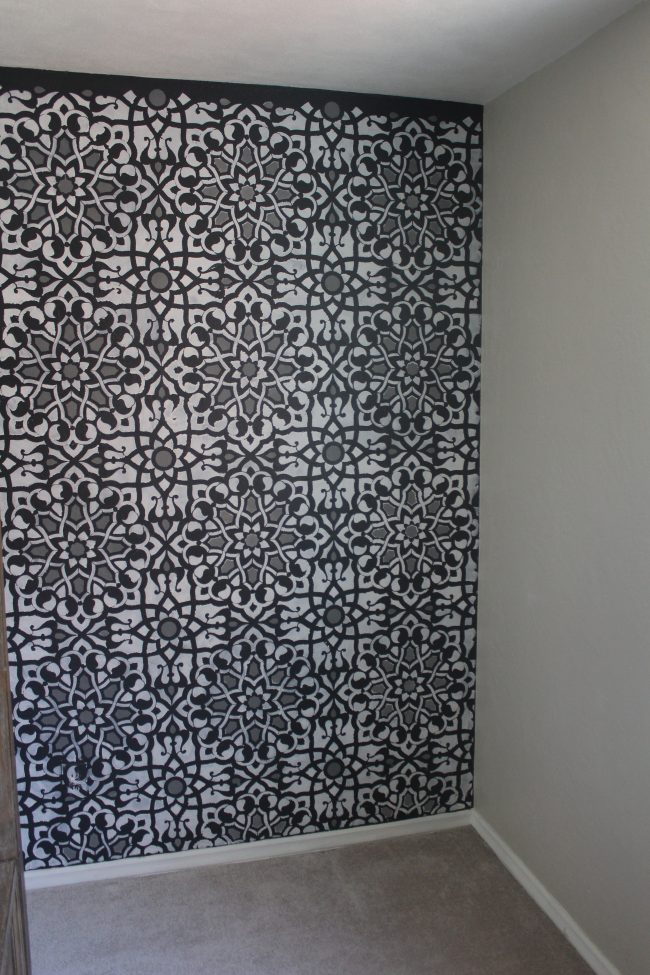
I wanted to liven it up, though, and was thrilled when Royal Design Studio said they would send me a stencil to use. I went with the Zahara Moroccan Stencil and was nervous about the project because I hadn’t ever used a stencil to paint a wall. But this one came with plenty of directions and I just went for it…and I love, love, LOVE how it turned out!!
I hope you’ll check out some of my other posts while you’re here, too!
See more of my DIY projects and inspiration [here]
Check out a home tour [here]
Check out some fashion posts [here]
Sidenote: Sometimes I’m tempted to wait until a project is finished to show it here on the blog, but that wouldn’t be authentic because let’s be real…projects tend to take a while with a toddler! There has never been a time we’ve lived in this house without a project (or five) going on, so it only feels right to show you things “in progress”…because that’s how we live!
So here’s our stenciled wall! And maybe you all can help me with my dilemma: should I paint that little strip at the top near the ceiling, or leave it as-is? Royal Design Studio sent a special ceiling stencil just for this little part, but I can’t decide if I want to fill it in or if I like it with the strip at the top. What are your thoughts?
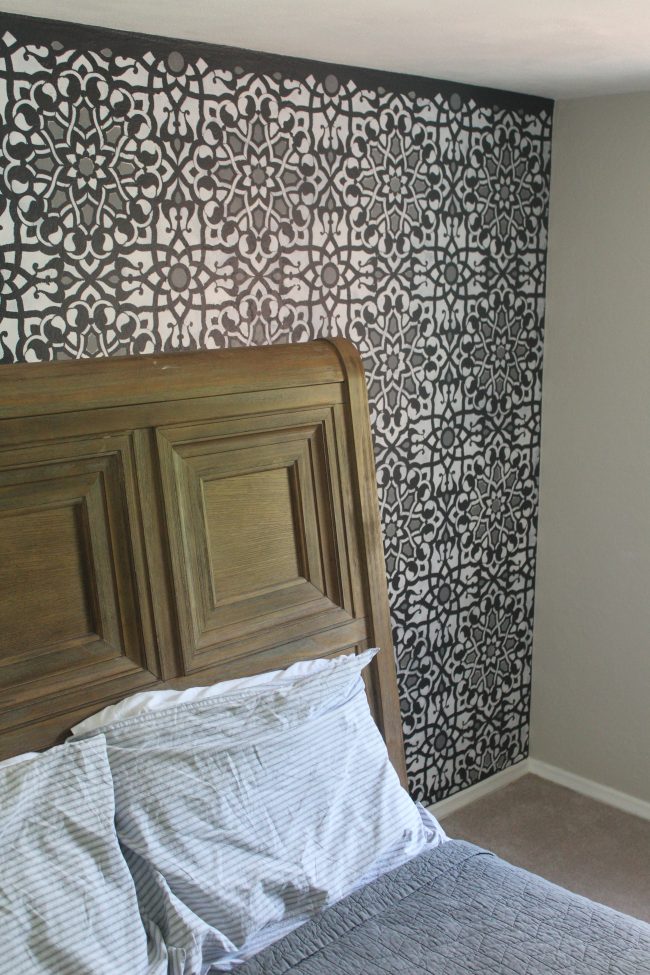
FYI: Colors used are Valspar’s Mark Twain Gray Brick (black), Sherwin Williams Dover White (white), aaand…a color I mixed up myself from several other colors (gray). I know that last one’s not helpful, but sometimes I like to mix up my own paint colors from stuff I already have. LOL!
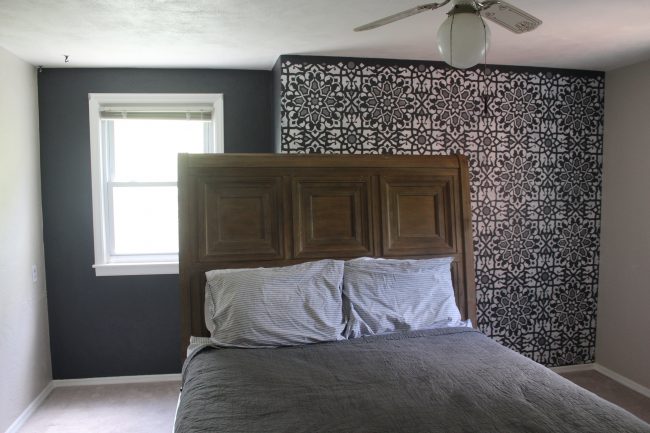
We’re obviously not going to leave the bed in the middle of the room – it will be pushed over to the right side (so the stenciled wall is its backdrop). So I have another dilemma: do I also stencil the little window nook on the left side or leave that as-is? I don’t want the room to look too busy and will most likely hang curtains over that window…so I’m not quite sure what to do here yet either.
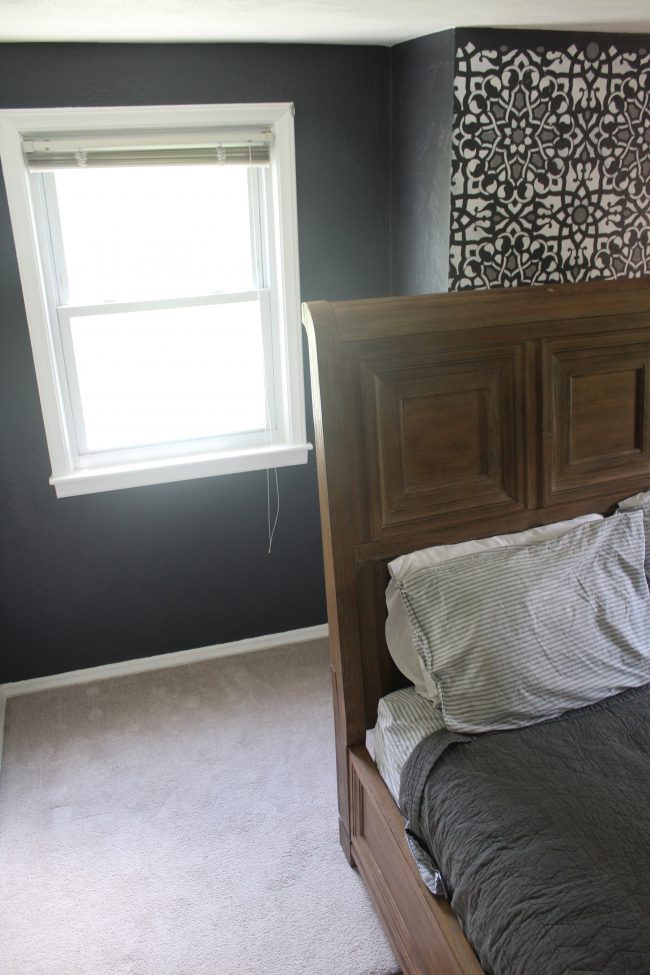
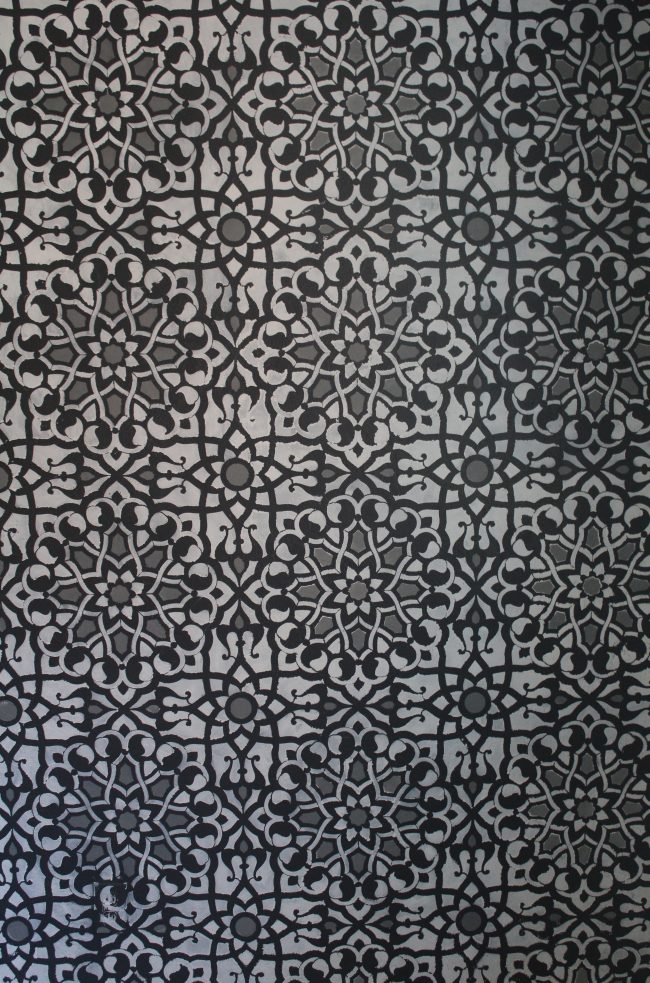
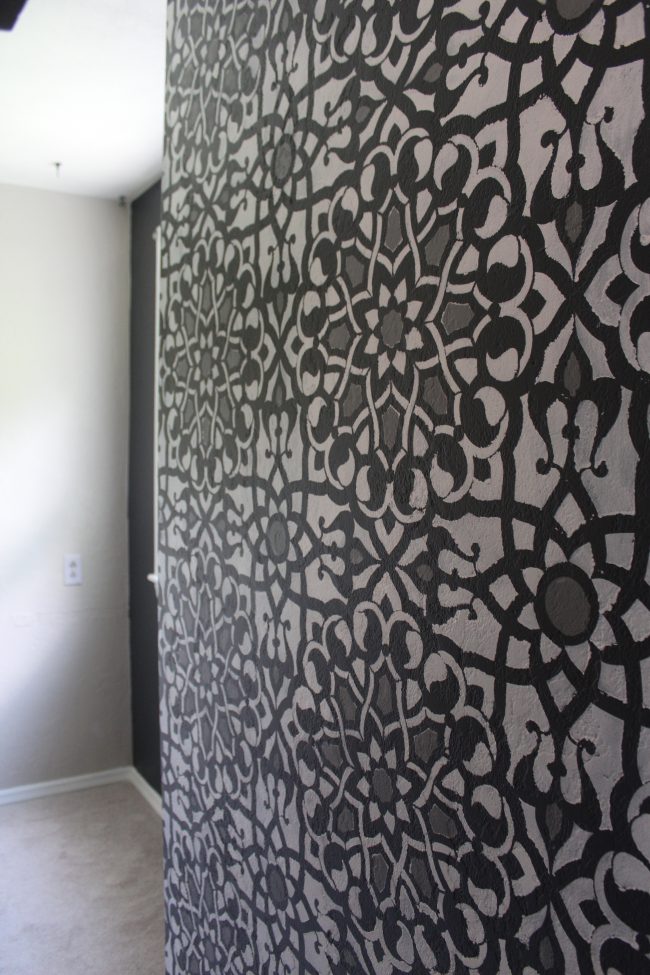
The stenciling is definitely NOT perfect but I’m seriously so impressed with how it turned out, especially because I was a complete beginner. Plus, when the whole wall comes together it’s hard to spot all of the imperfections! ;)
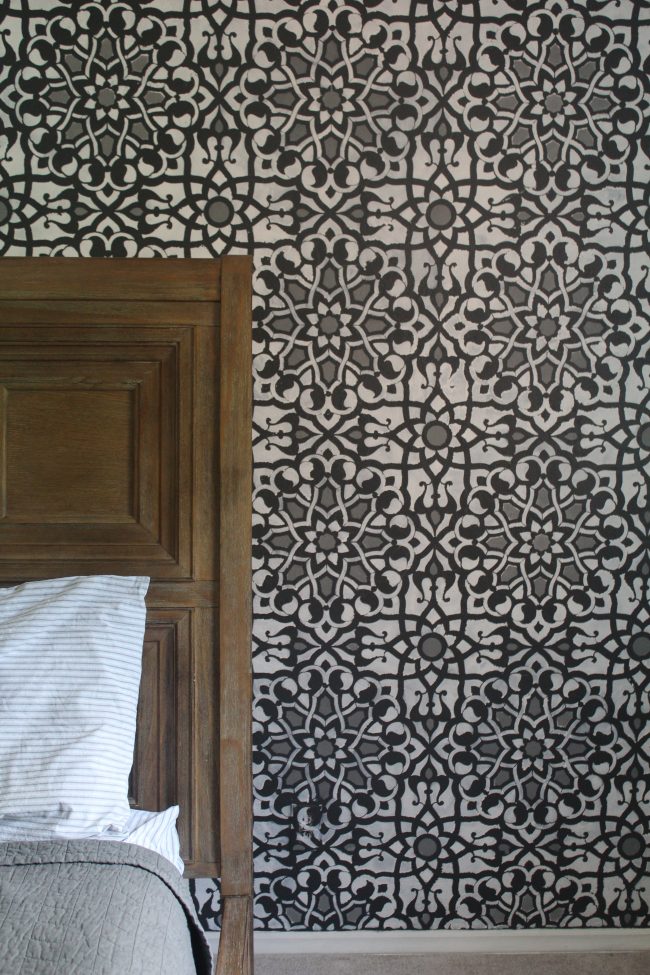
Stay tuned for more updates on our master bedroom. We have some other fun stuff planned!
See more of my DIY projects here
Follow me on Instagram and Pinterest!
I hope you enjoyed this Master bedroom progress: stenciled wall blog post!


Uncle randy and I think it should stay black?
ha ha! OK! Thanks for weighing in!!!
I think the wall looks amazing and I like the black on top!
Thank you!!! :) :)
Looks great. I like the black at the top. Makes it looked “finished.” And I’d leave the window are unfinished. Makes it looks like a separate little nook which I’m sure you can think of something cute to do with.
I was kind of thinking along those same lines – for both things! Thank you!
This looks so great!! How long did it take? I have a stencil I’ve been waiting to have time to use. I would take the stencil all the way to the top to make the ceiling look higher and only stencil that little side wall and leave the window wall the dark gray. Great job! Has me thinking…
Thanks Ashley!! I worked on it mostly during nap times, and it took about a full week. I’d love to see your stenciled project, too! :)
We are so impressed! Looks good. The black top makes it look finished.
Thank you so much!
Wow – absolutely beautiful!
Thanks Kathy!!