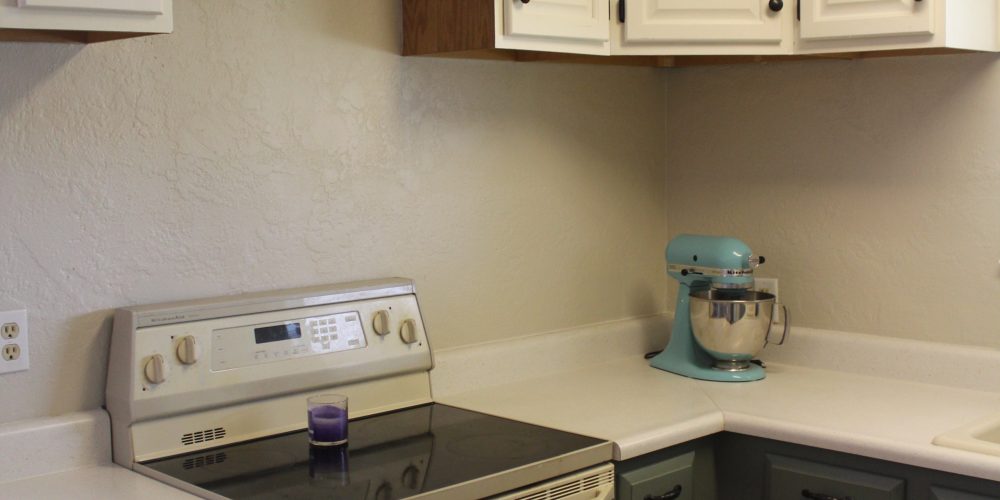
When we moved into our home, our kitchen looked a whole lot different than it does now. I knew I wanted to paint the oak cabinets…and as soon as we finished that, I knew I wanted to raise the upper cabinets up.
We finally got around to doing that this weekend – I was really nervous beforehand about what it would look like, but now that it’s done, I am so excited about it! We still need to replace the trim at the top and put in the floating shelves underneath, but I’m already loving the new look!
PS please don’t mind our mess – obviously we had to take every single thing out of the cabinets before they were lifted, so our house was a bit of a war zone.
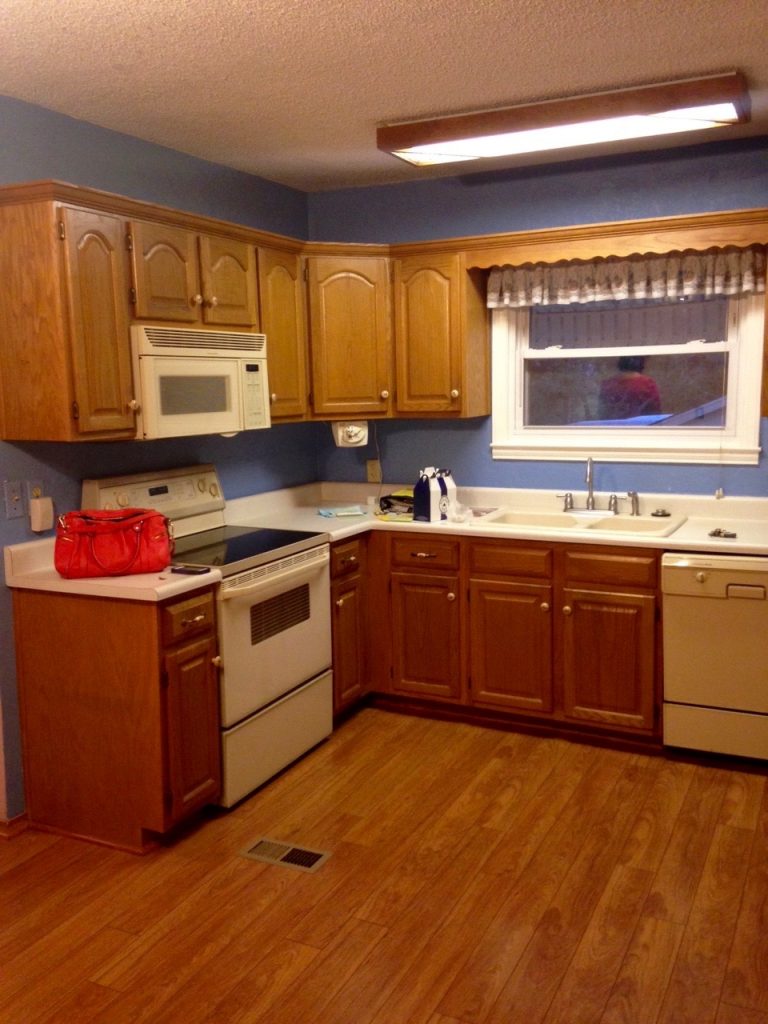
But first…a reminder of how the kitchen looked when we first moved in:
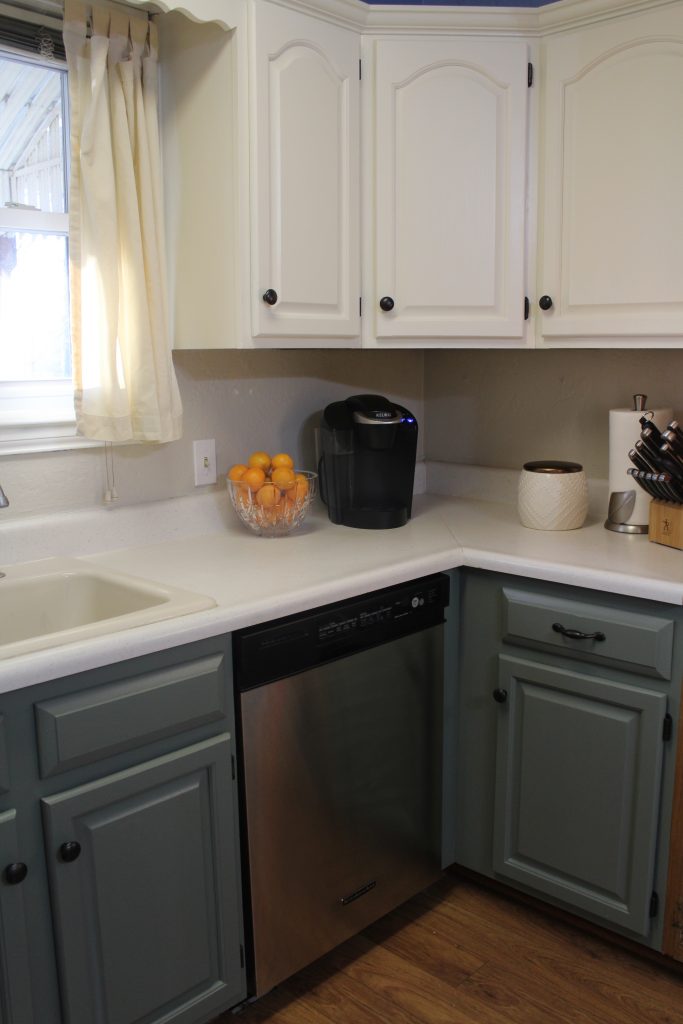
And before you see the gigantic mess that this project created, here’s a picture of a time when our kitchen was much cleaner (pre-cabinet raising).
Without further ado…the cabinet raising:
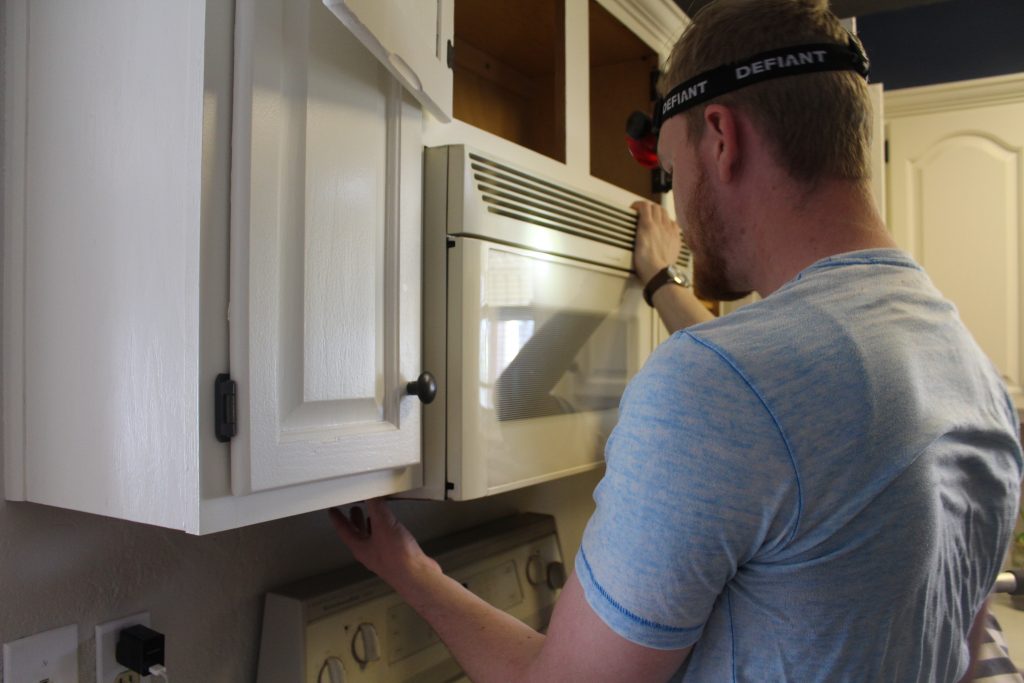
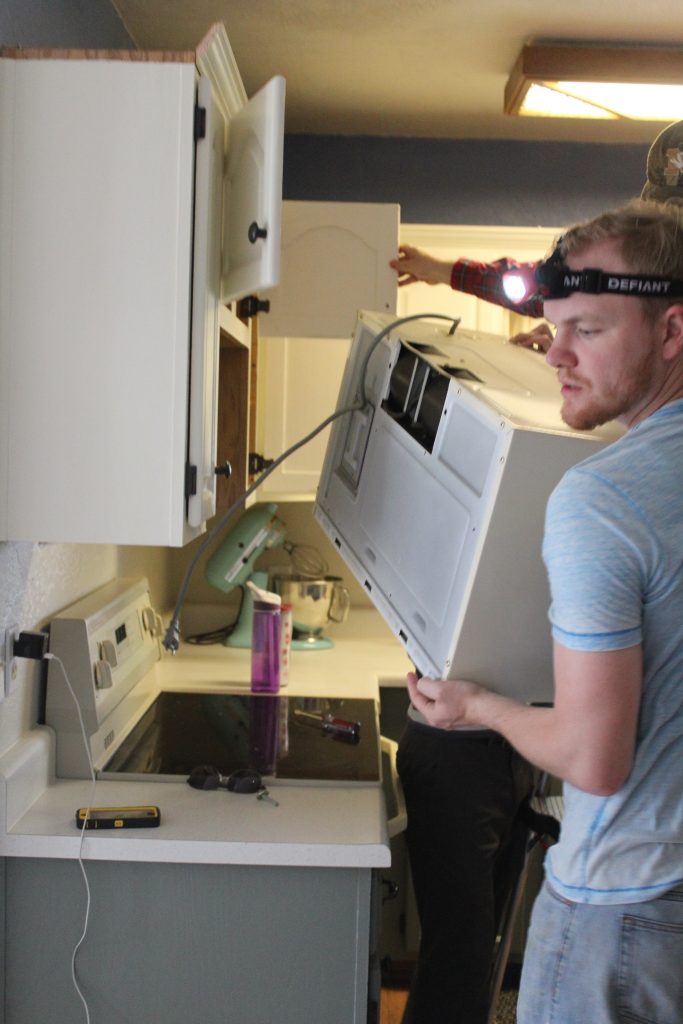
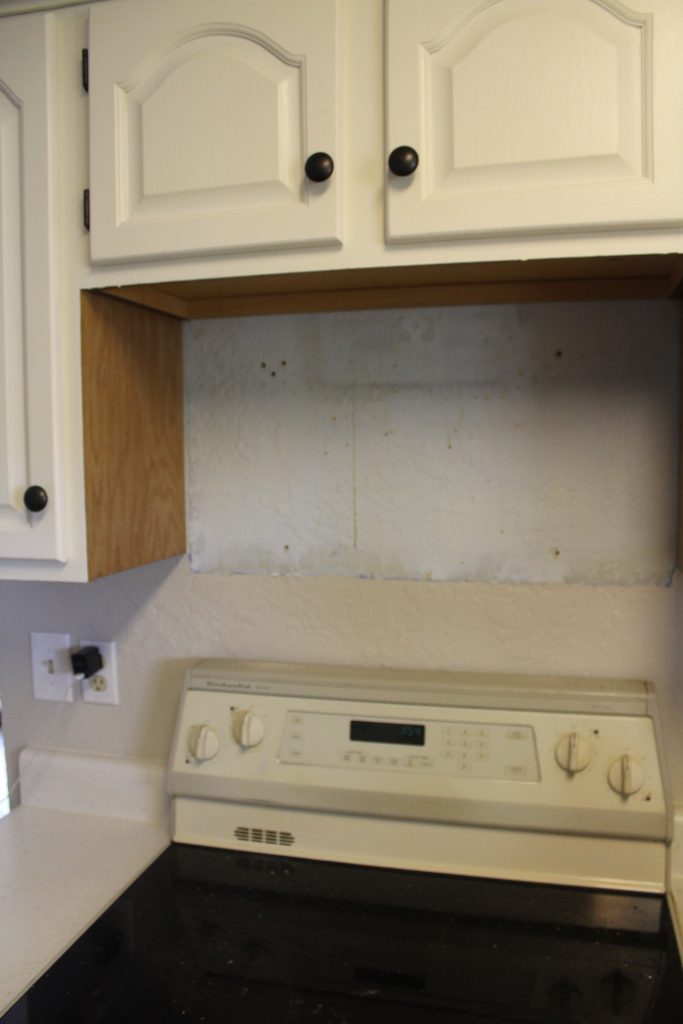
I couldn’t take the grease on the wall behind our microwave – I promptly scrubbed the wall as soon as they took the microwave out.
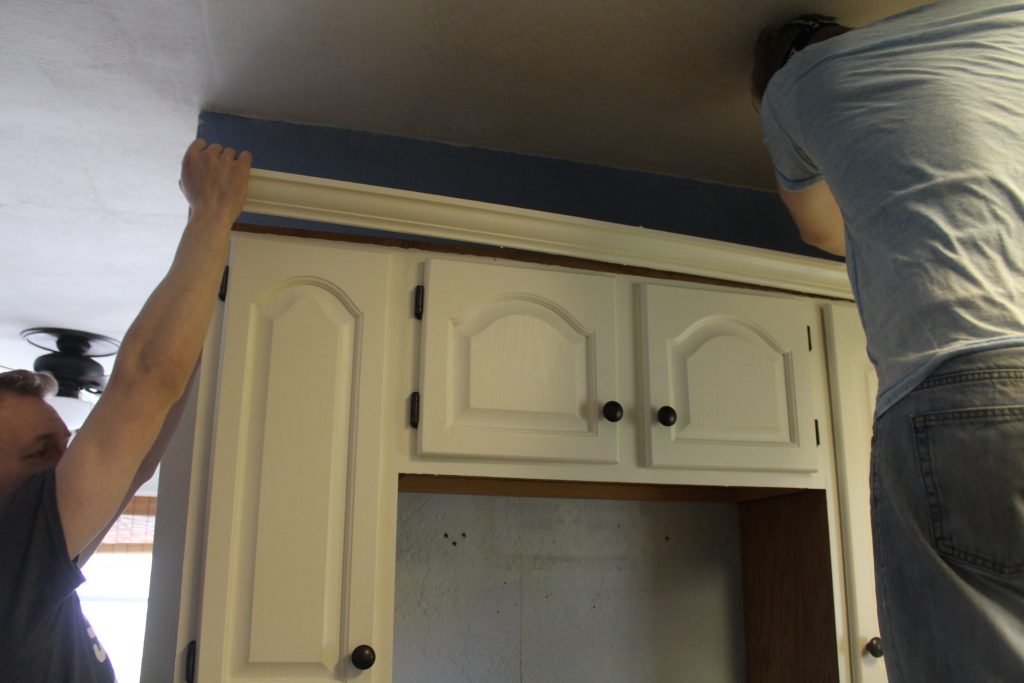
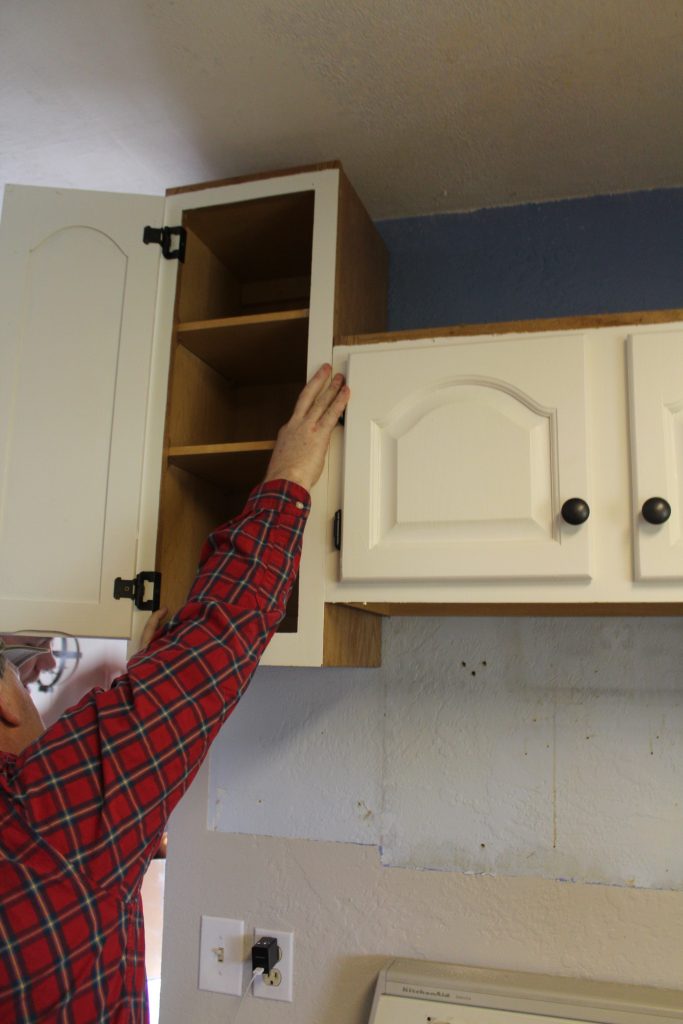
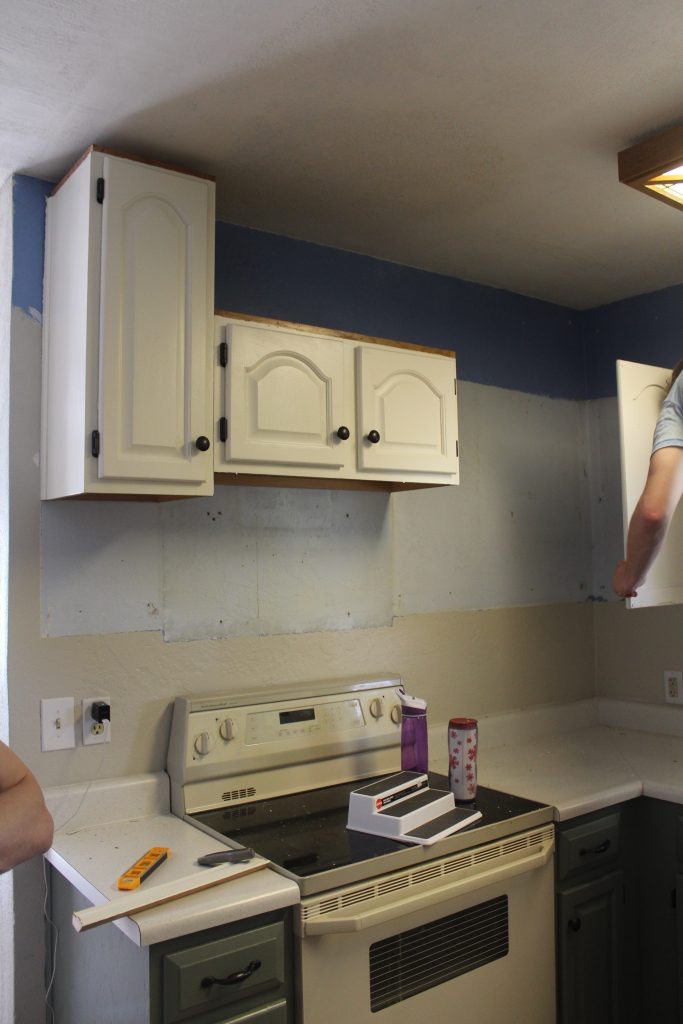
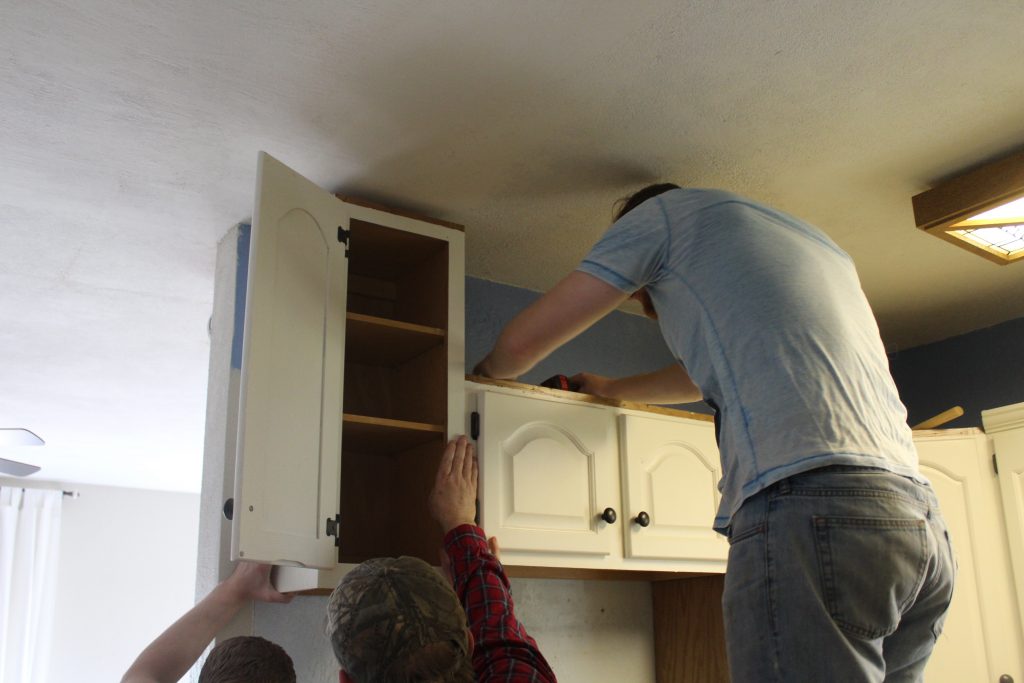
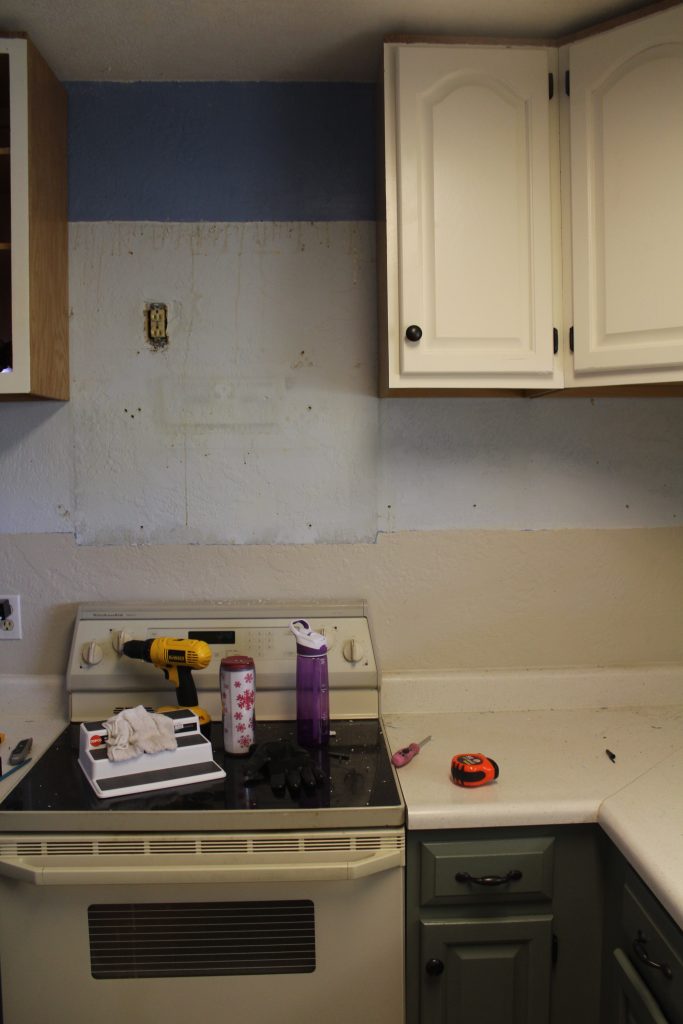
If you’re planning on raising your cabinets, I would not recommend doing it this way (below). Hilarious, but probably not so safe. Do as I say, not as they do: 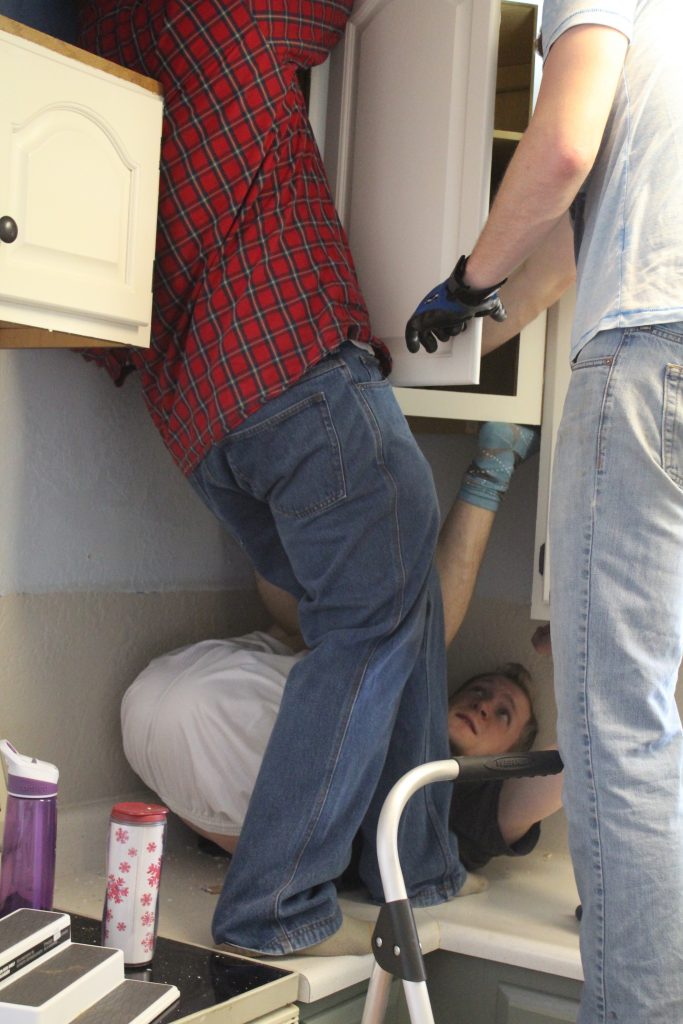
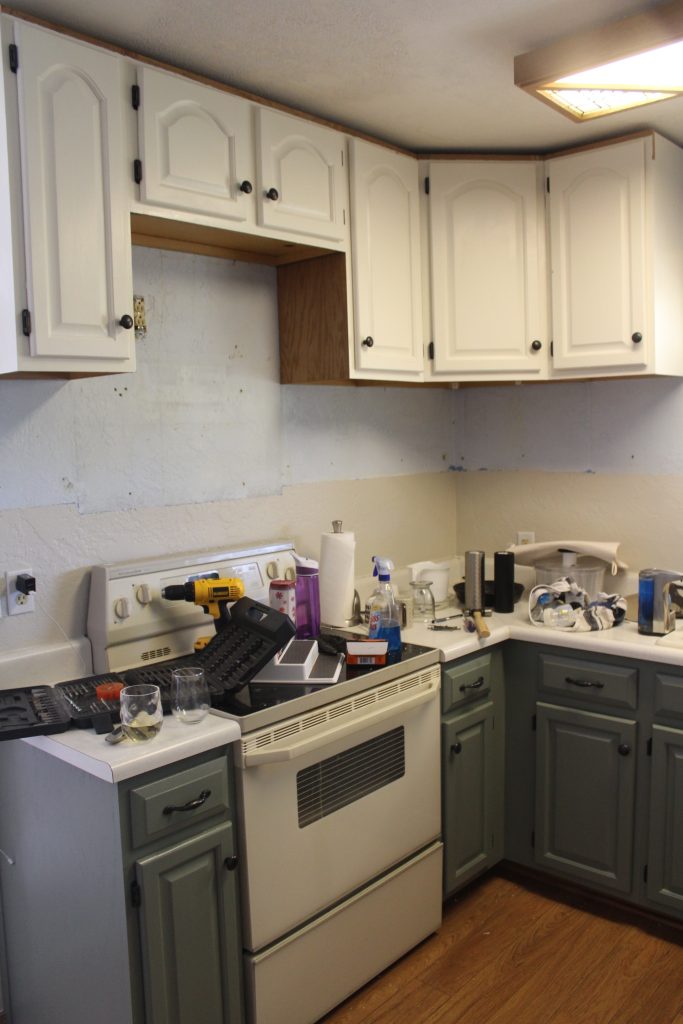
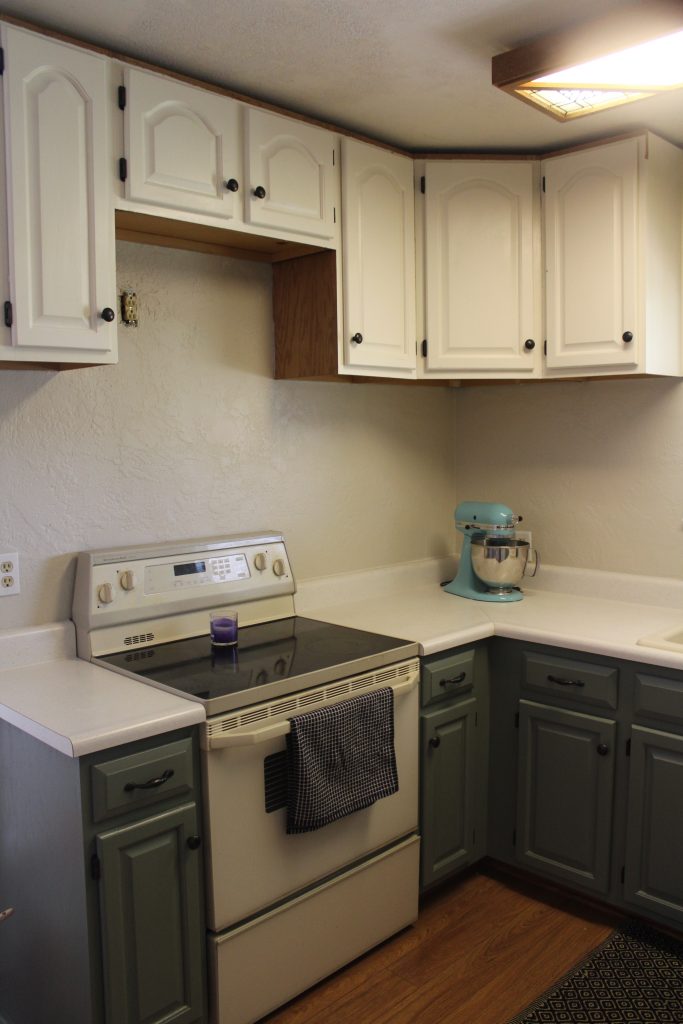
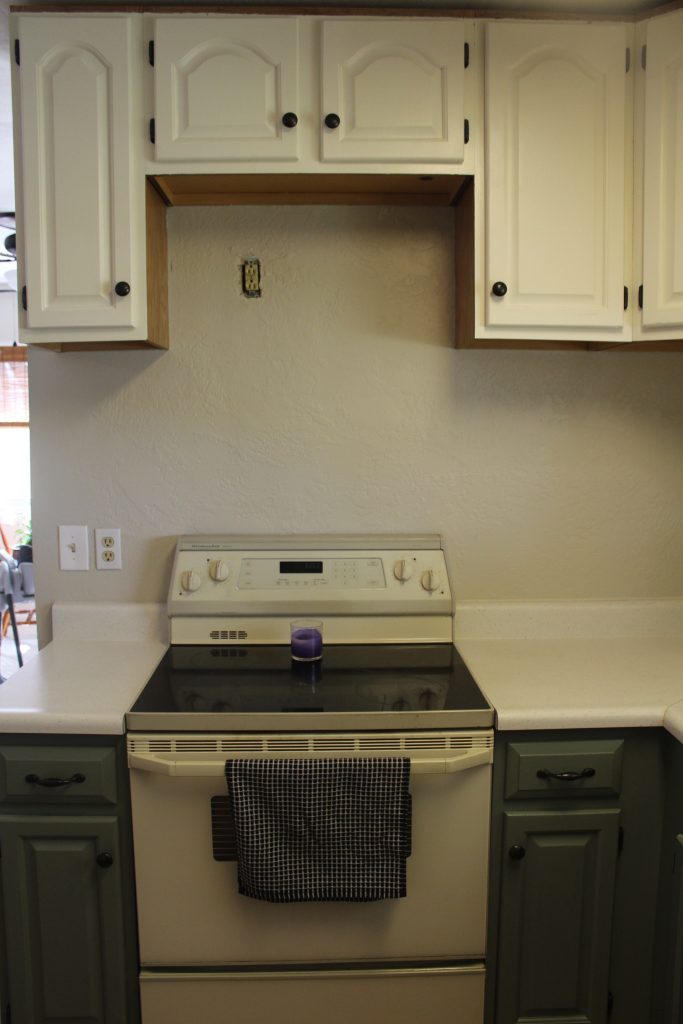
Just in case you’re looking for it, here’s my tutorial for painting kitchen cabinets.
Like I said, we still have a couple projects left to finish this, but I was too excited about the progress not to share an update!
————–
I hope you’ll check out some of my other posts while you’re here, too!
See my DIY projects and inspiration [here]
Check out a home tour [here]
Check out some fashion posts [here]


[…] decided to take our microwave out and push our upper cabinets up to the ceiling (see more [here]) so that we could fit in some open shelving and I wanted to put a range hood in place of the […]