A few weeks ago, I posted “Part 1” of the floor-refinishing process. I meant to post Part 2 way before now…but I’ve been just a little busy – Our new baby arrived on Halloween!
So it’s a week two weeks after his arrival, and I finally have a moment to finish this post! In Part 1, I talked about the sanding process. Today, I’ll go over staining and finishing – this part is much more exciting, because you finally get to see a difference in wood color (and because you will soon be DONE!).
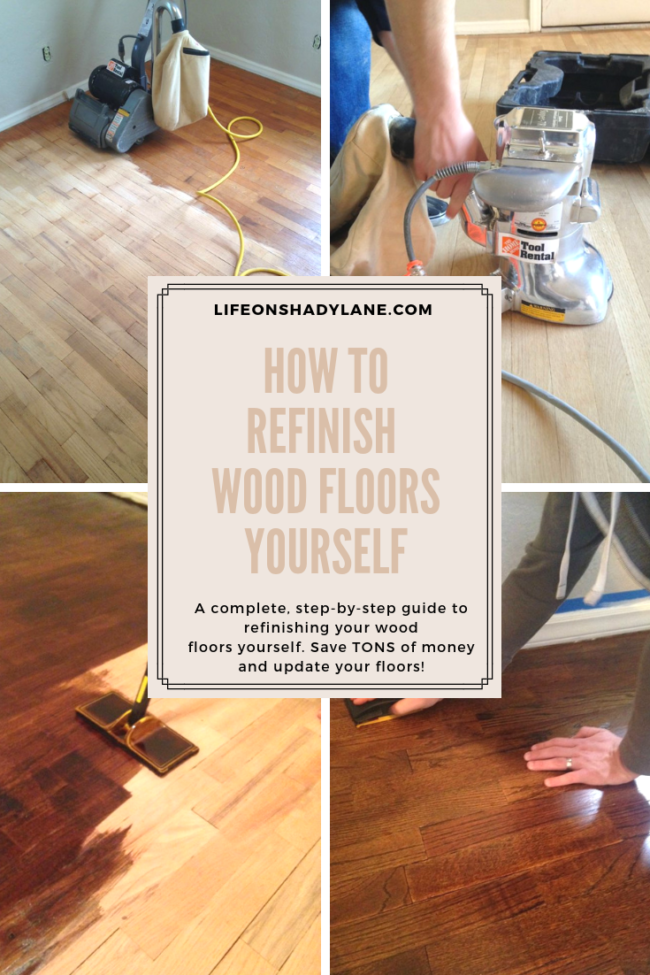
*EDIT: This has, by far, been one of my post popular blog posts and one of the most pinned images on Pinterest. Thank you everyone for reading! If you’re here from Pinterest, WELCOME and thank you for stopping by! If you don’t already follow me on Pinterest, please consider doing so – I pin all kinds of awesome stuff! I’m on Instagram, too!
I hope you’ll check out some of my other posts while you’re here, too!
See more of my DIY projects and inspiration [here]
Check out a home tour [here]
Check out some fashion posts [here]
You will need:
- Clean lint-free towels/rags (like these!)
- A vacuum
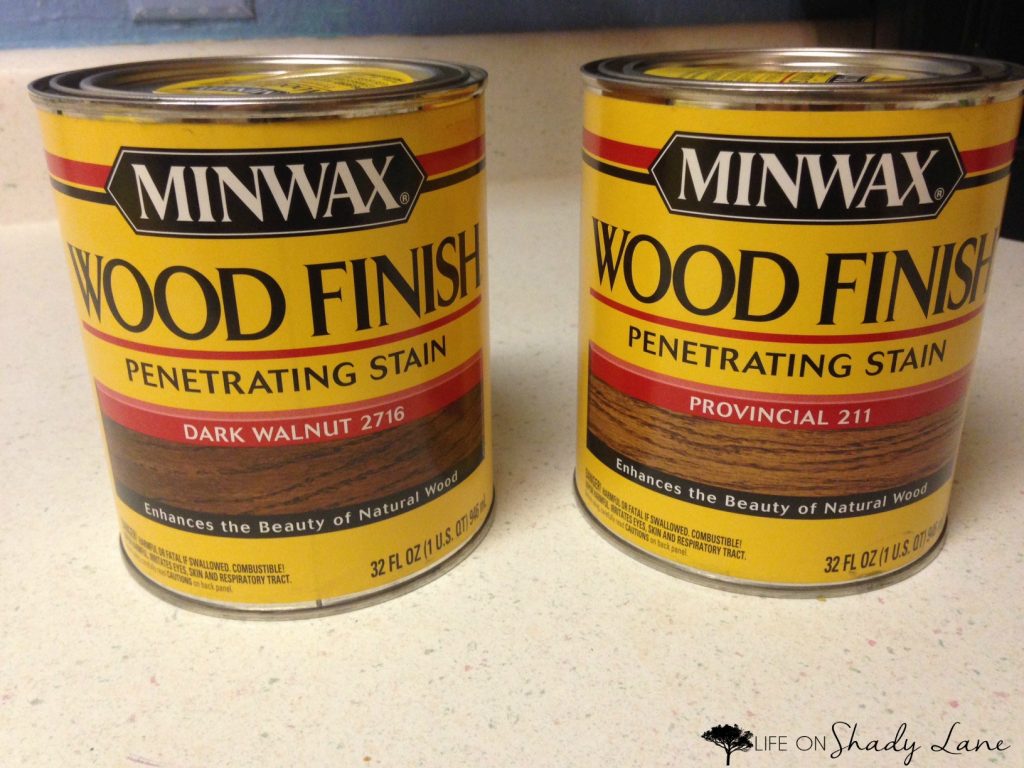
- Stain of your choice – we mixed Minwax’s “Provincial” and “Walnut”
- Paint brush
- Stain-pad applicator
- 400 grit sandpaper
- Water/Dawn dish soap
- Paint trays
- Polyurethane – we used Minwax’s “Fast Drying Polyurethane” in clear semi-gloss
- Lamb skin applicator
- Stir sticks
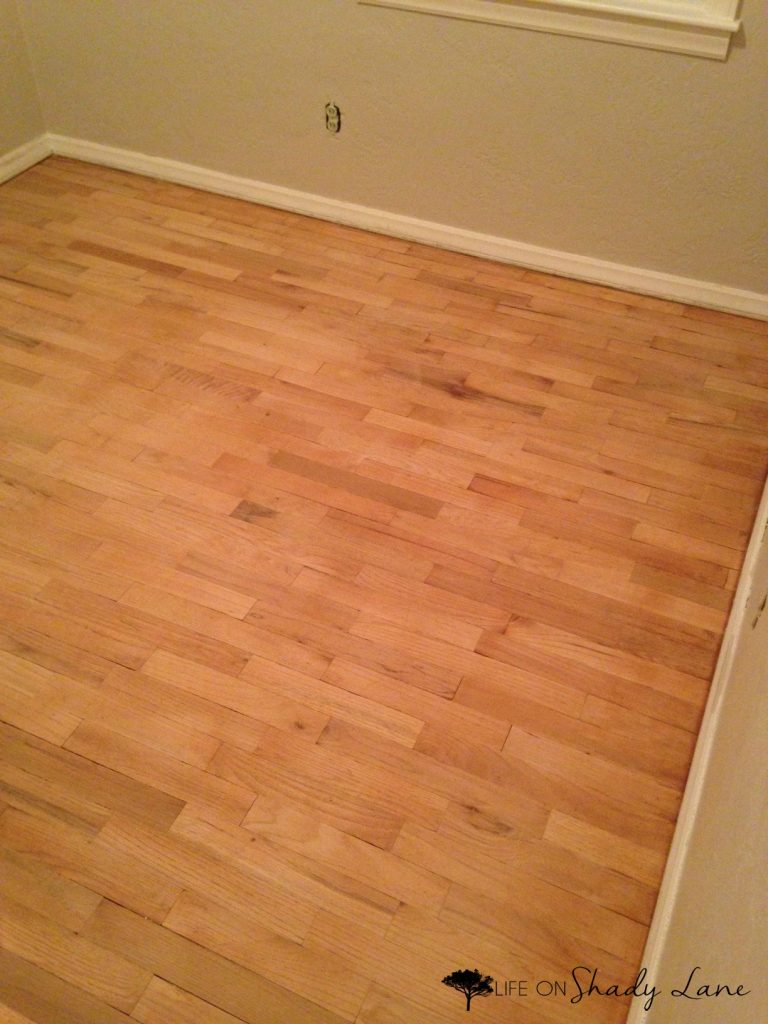
Reminder: make sure your newly sanded floors are CLEAN! We went over them with towels and a vacuum several times before applying stain to make sure that we removed as much sanding-debrit as possible.
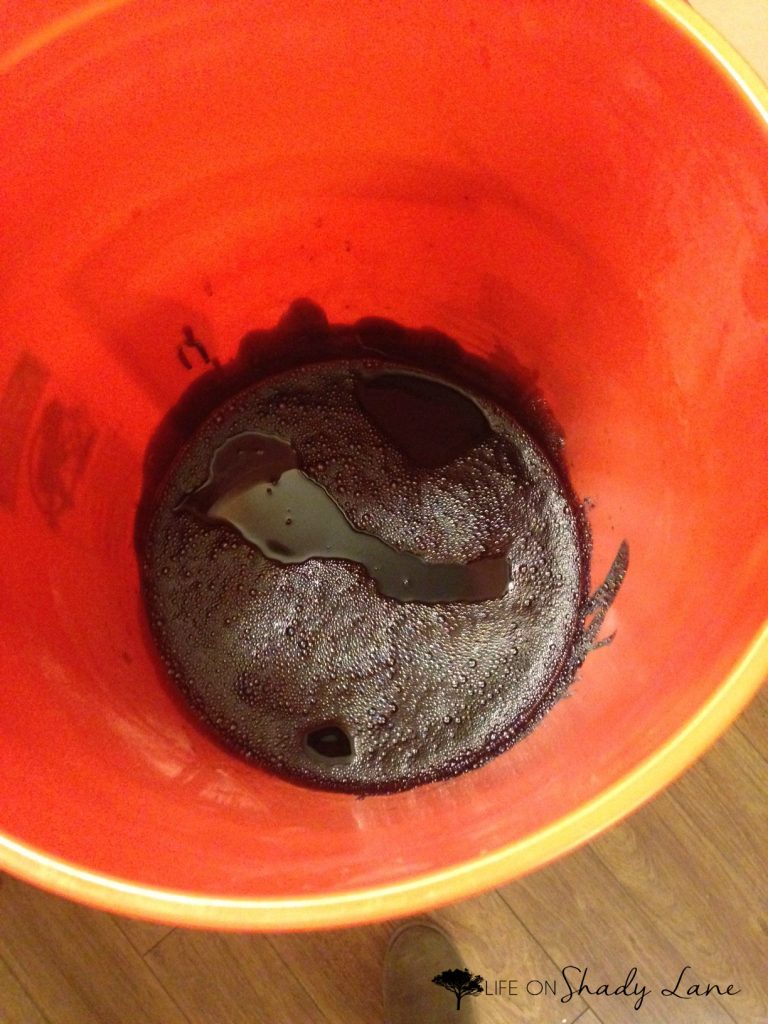
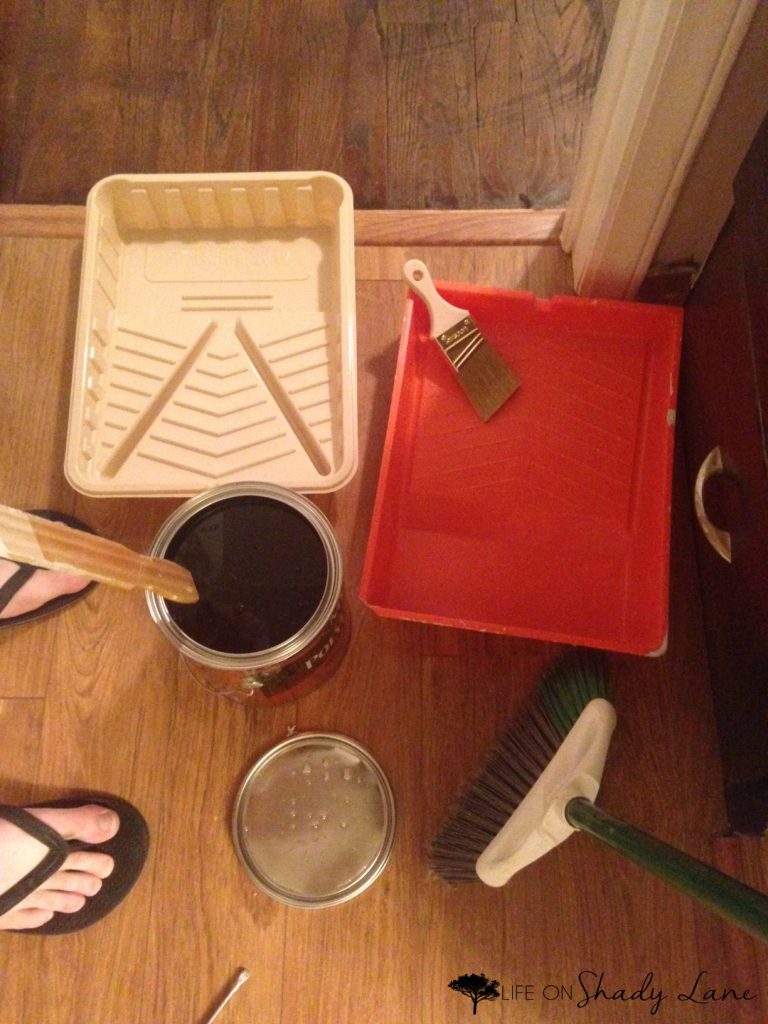
Our stain colors – we just did a 50/50 mix of Provincial + Dark Walnut and poured them in a bucket:
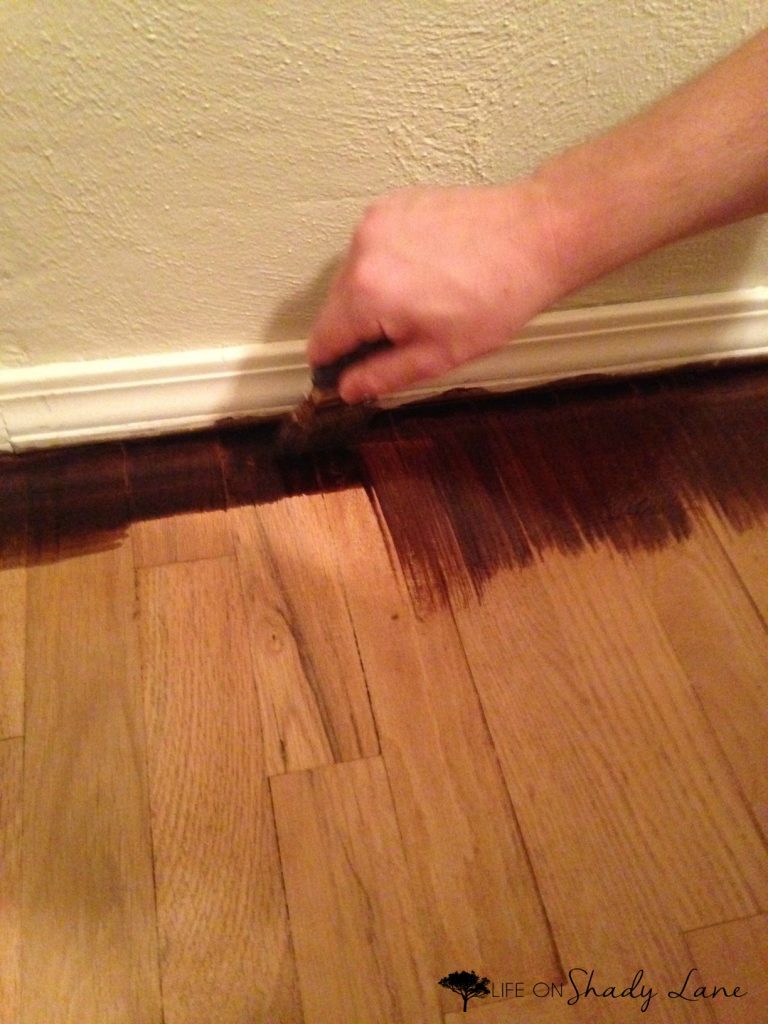
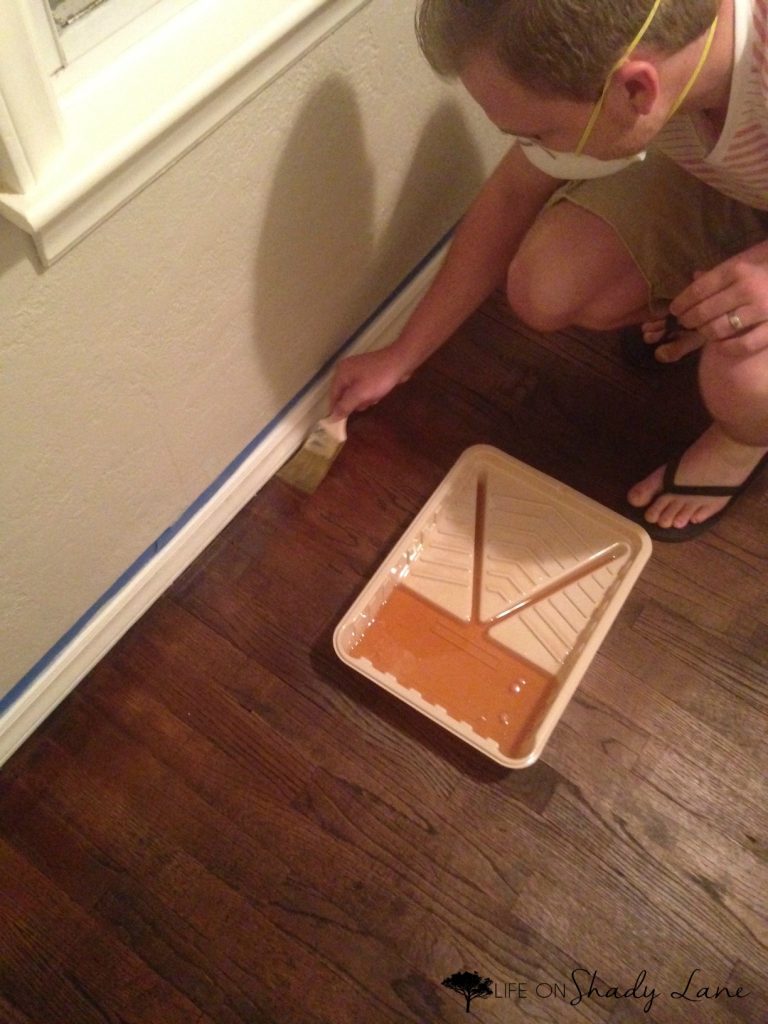
Step 1: In an attempt to protect the base boards from getting stain on them, we first “cut in” with a regular old paint brush (moving in the direction of the grain).
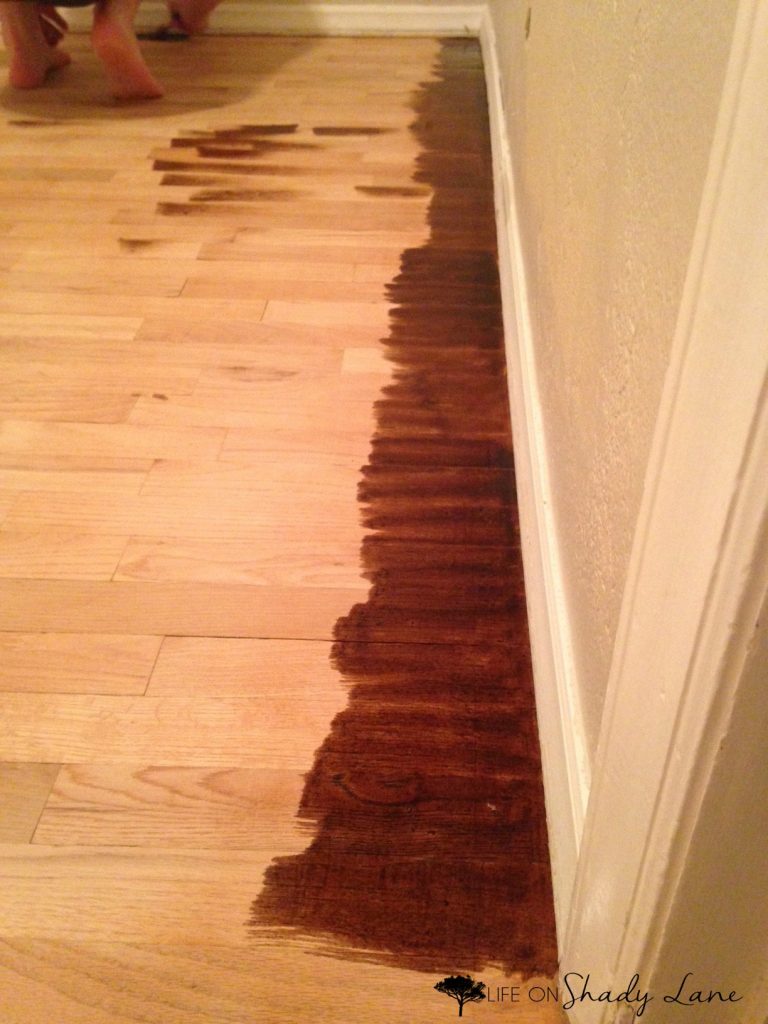
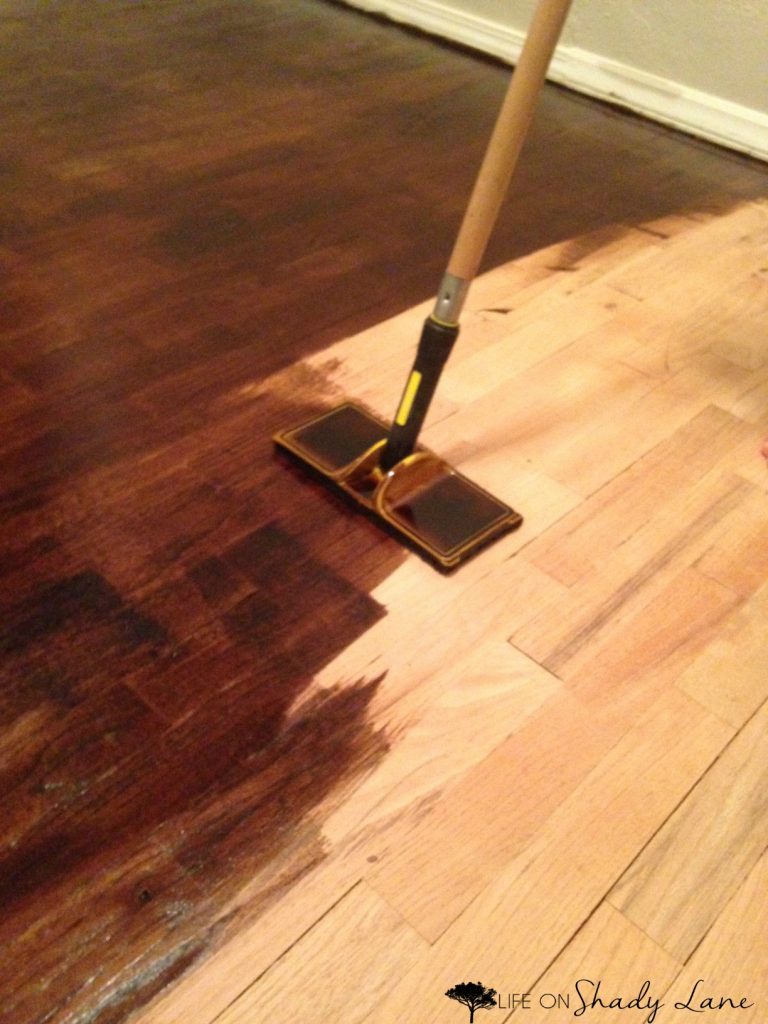
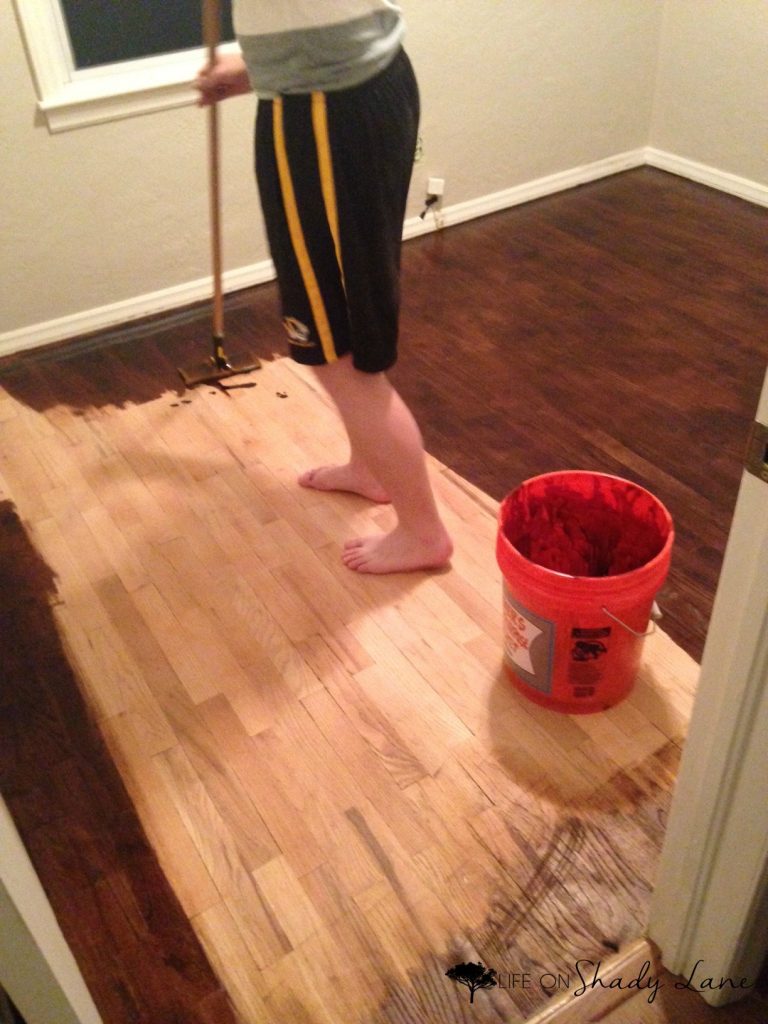
Step 2: While the edges were still wet, we used a stain pad to cover the rest of the floor. Make sure to spread the stain as much as possible without allowing it to pool anywhere.
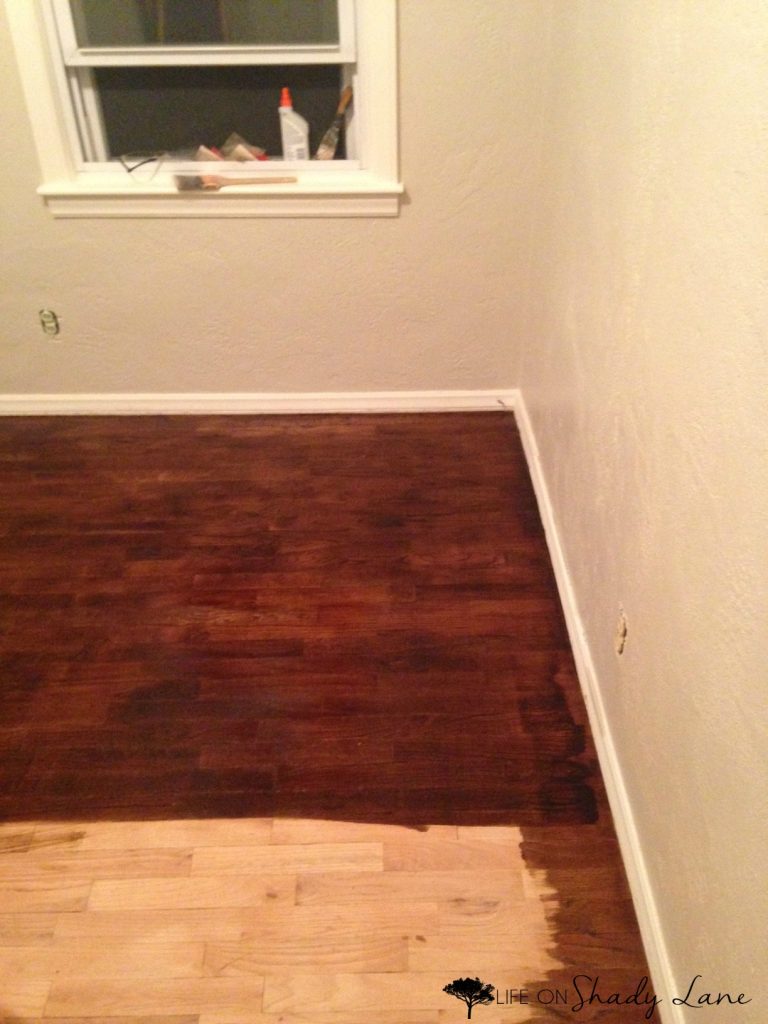
Also…another tip: make sure you work your way out of the room (don’t box yourself in or you’ll have to walk on the stained floor to get out of the room). This seems pretty obvious, but you never know!! ;)
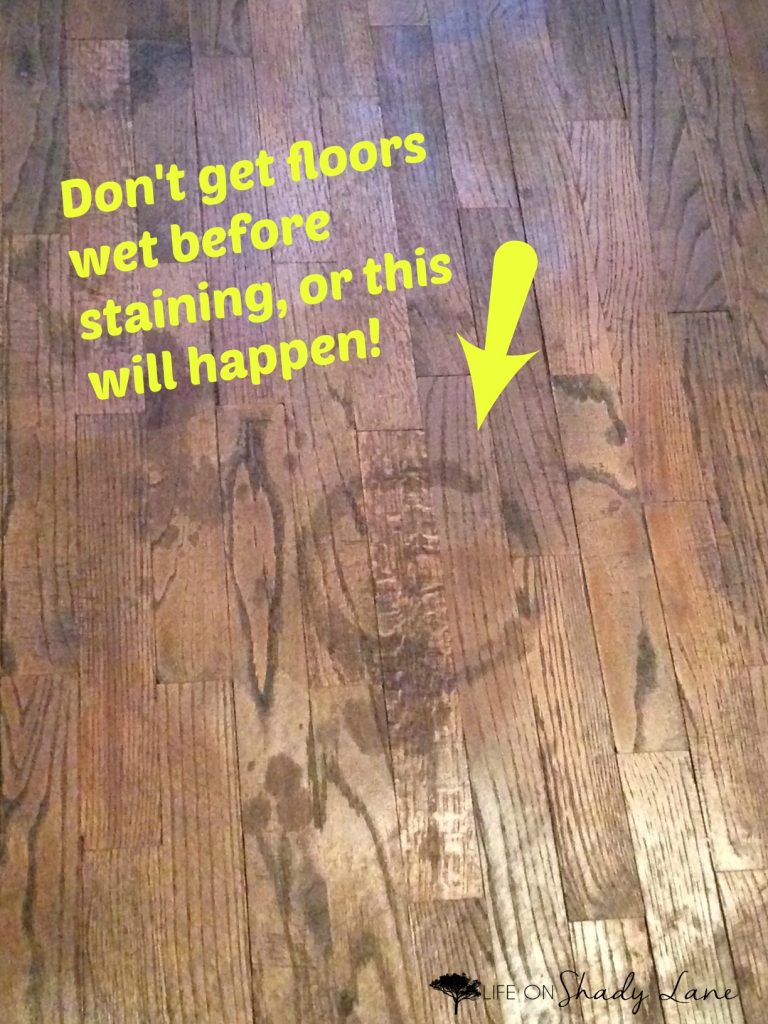
In “Part 1” I mentioned that you should not get the raw wood floor wet. Here’s why:
The water had completely dried (or so we thought) but after we put stain on the floor, the water ring and droplets showed back up. SO – learn from our mistakes and keep liquids out of the room until the floor is completely polyurethaned and dried.
You can see the water ring again in the photo below. It became a little less obvious after a while (as you can see), but is still there after the floor is 100% complete.
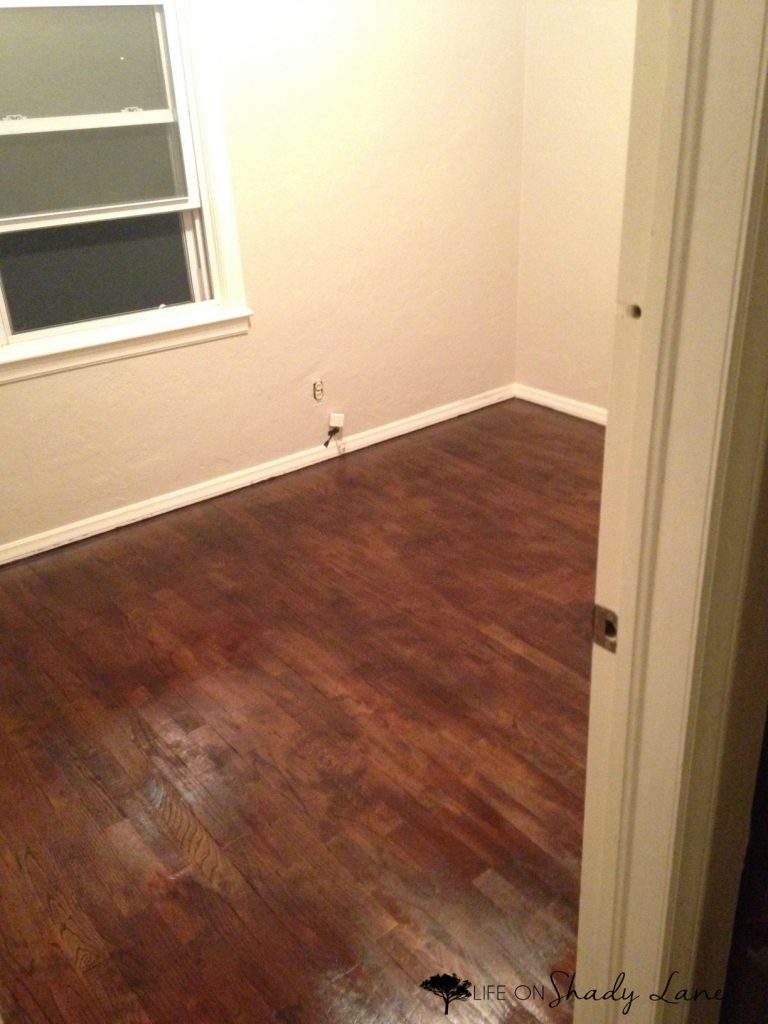
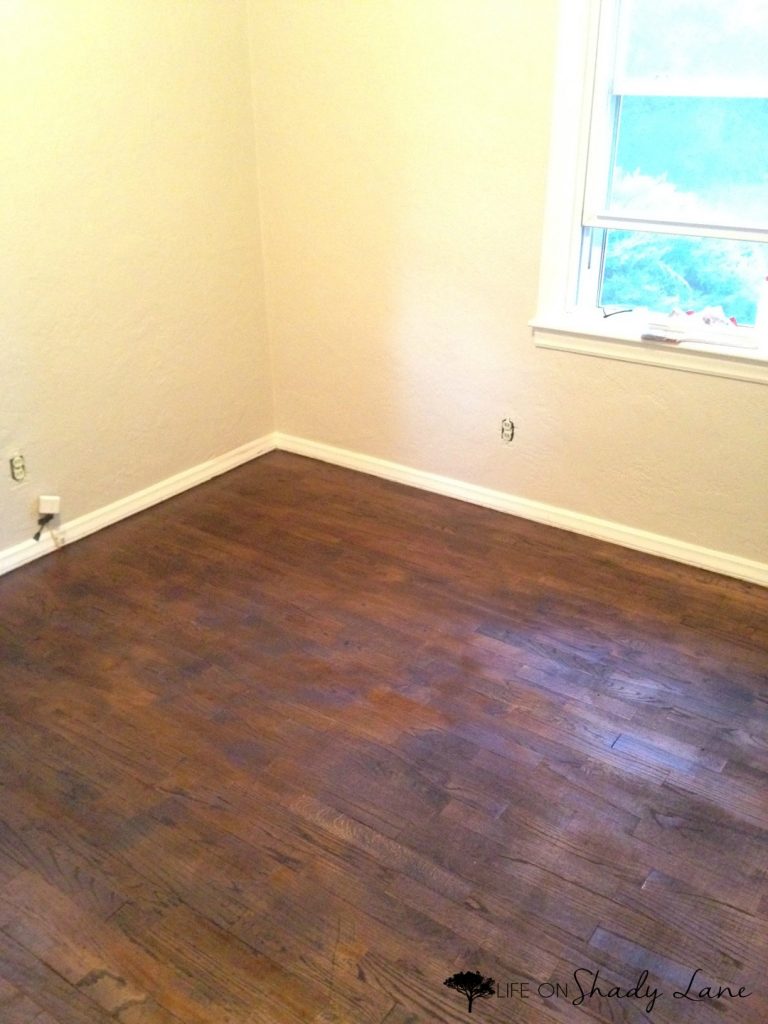
We let the stain dry for 24 hours. After that time, the stain will look pretty flat – see below.
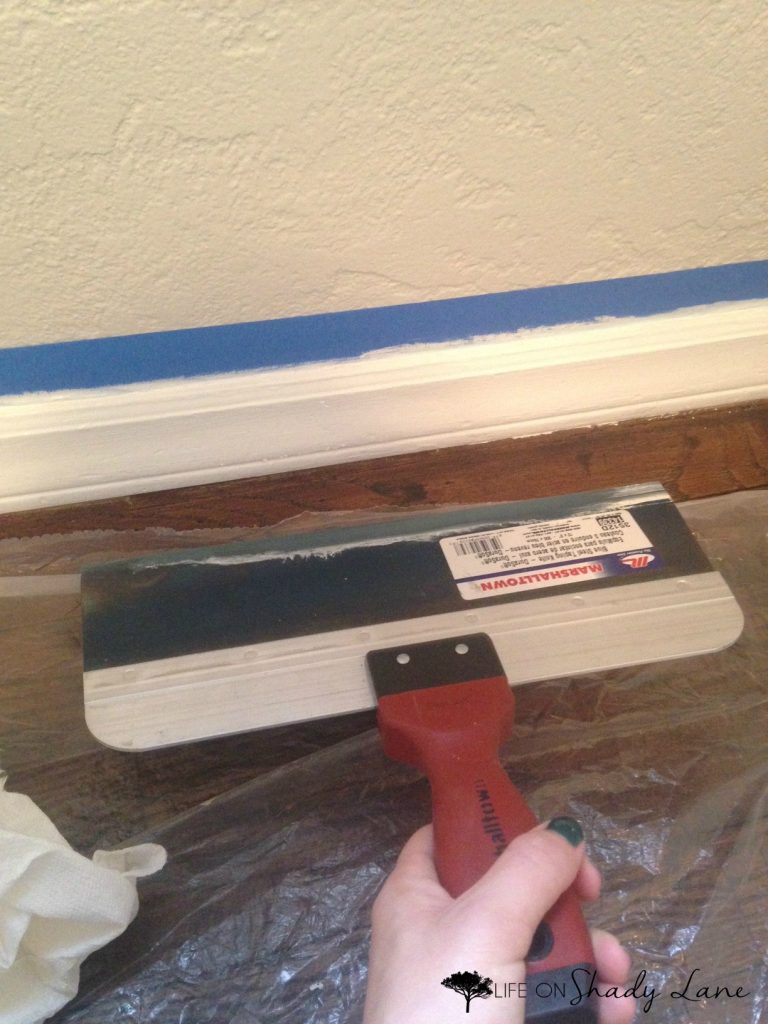
Step 3: We ended up getting some stain on the baseboards, so after the stain dried, I went in and touched those up. Obviously you won’t have to do this if you’re not as messy as we are…and you don’t have to do it at this point, either (you could wait until after the floor has been polyurethaned). Your choice!
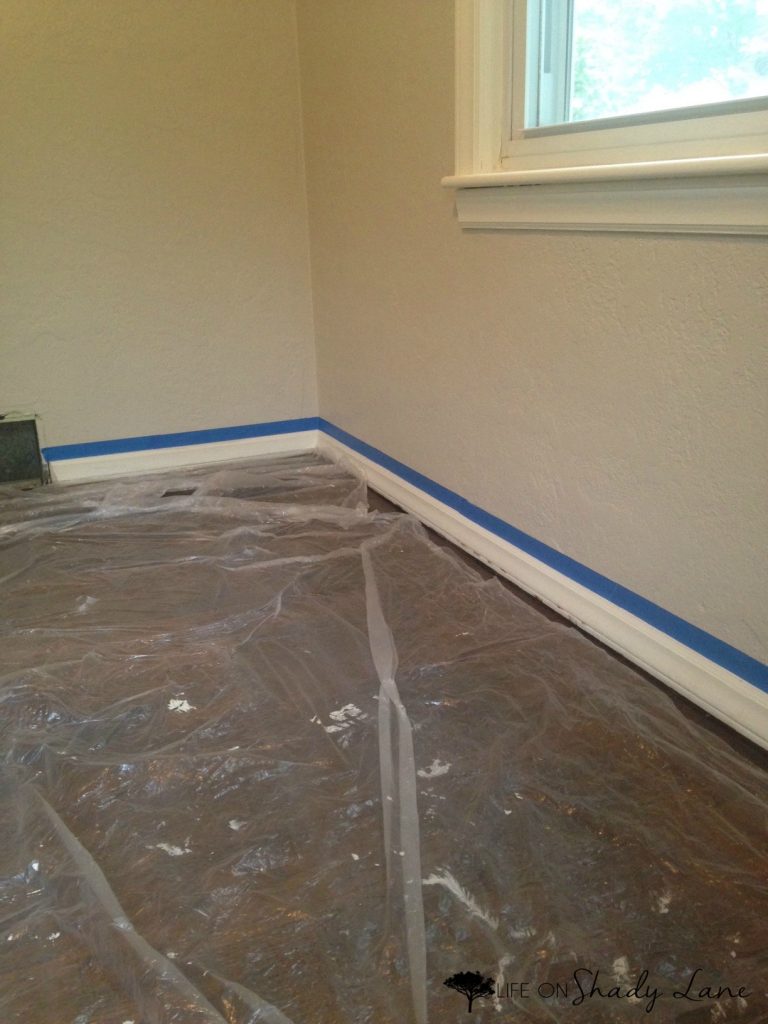
I first tried putting a plastic sheet down to protect the floors, but found that it didn’t really work since it didn’t come right up to the baseboard.
This tool worked a lot better – I just put it right up next to the baseboard and painted, making sure to wipe it off occasionally to keep as much paint off the floor as possible. I did get a little bit on the wood floors, but we’ll be putting quarter round in that will cover it up…so I didn’t worry too much.
Step 4: Below is the polyurethane we used – Mixwax’s “Fast Drying” solution in semi-gloss.
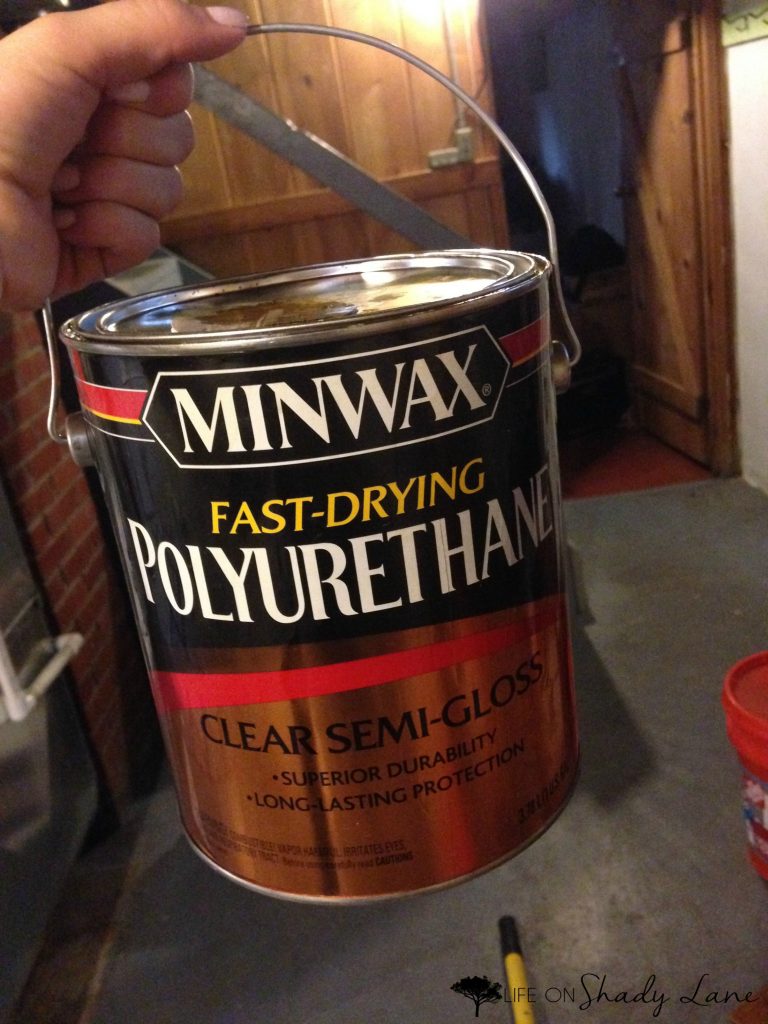
Make sure you mix the poly with a paint stick! We failed to mix it when we did our living room, and part of the floor dried matte and part dried shiny. After doing some research, we realized that since we forgot to mix it, the polyurethane had separated in the can, leaving a weird uneven finish. So again, learn from our mistakes and mix (not shake) that can up before you use it!
*Note: we were able to remedy the situation by applying another coat of (mixed) poly on top of the weird coat. SO if you make the same mistake, fear not!
Just like when we stained the floors, we “cut in” with the poly, just to get as close to the baseboards as possible. We wore masks because this stuff is pretty potent! You’ll definitely want to leave windows open, if possible, while it’s drying. OR, better yet…leave the house for a few hours after you finish.
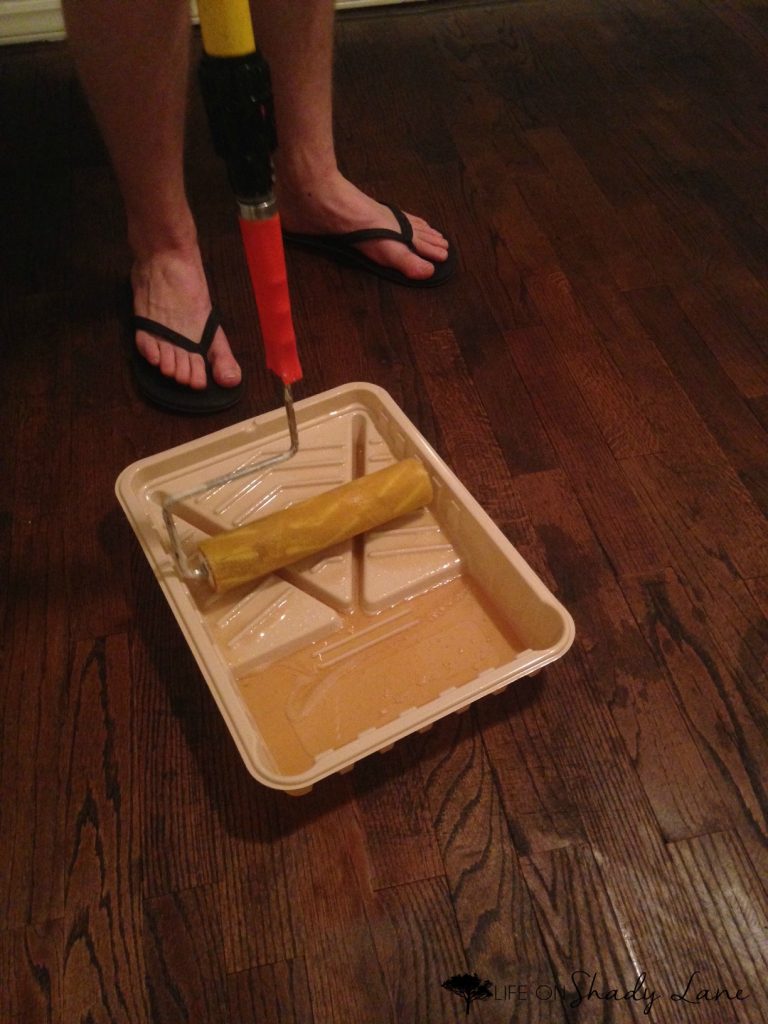
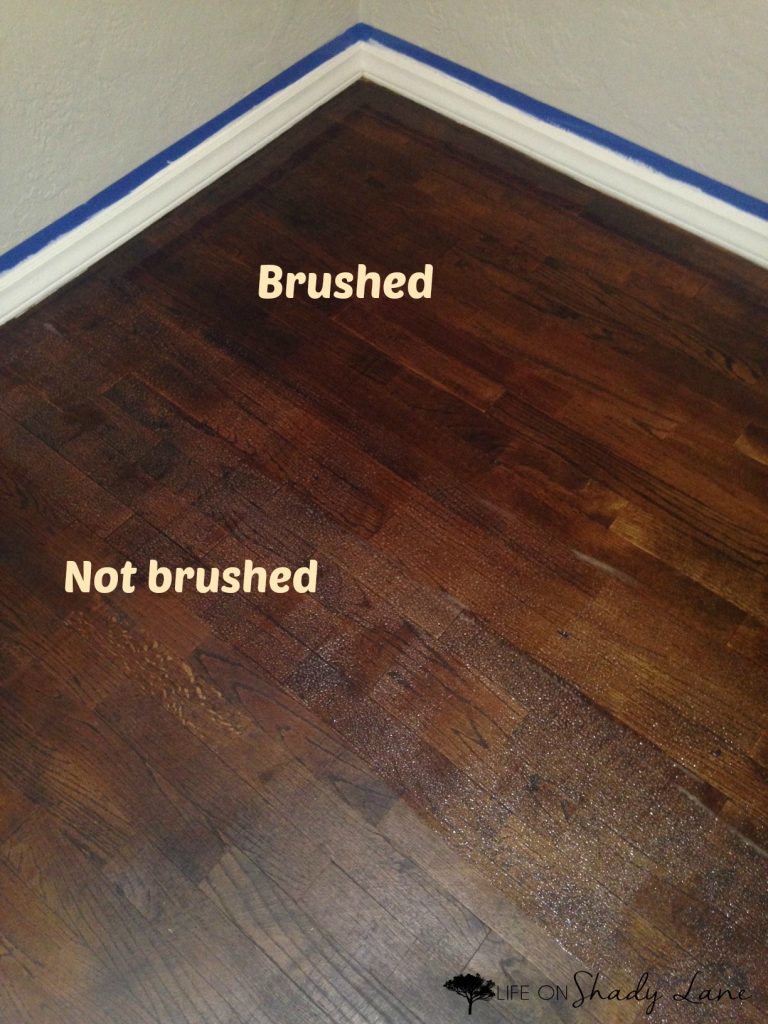
In the first room we did, we used a foam roller to apply the poly. This wasn’t the best method – doing so left little tiny bubbles in the poly.
We just used a clean paint brush to smooth out those bubbles, so everything was fine.
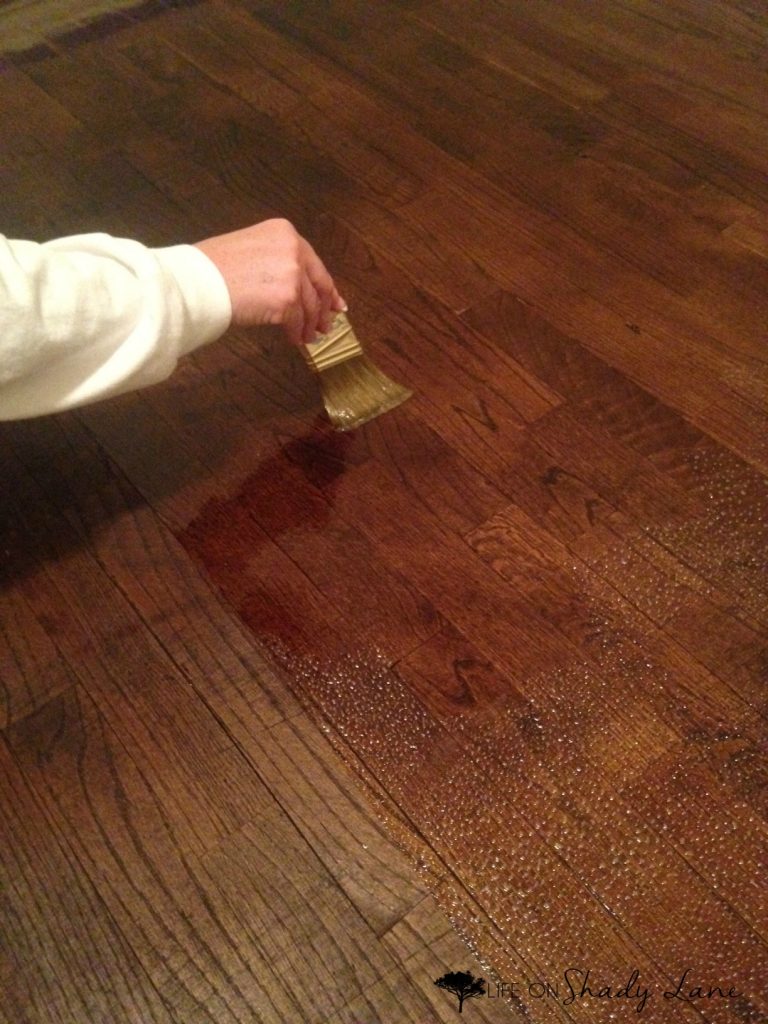
In the next room, we improved our technique and used a lambskin applicator. This worked SO much better – the poly went on completely smooth.
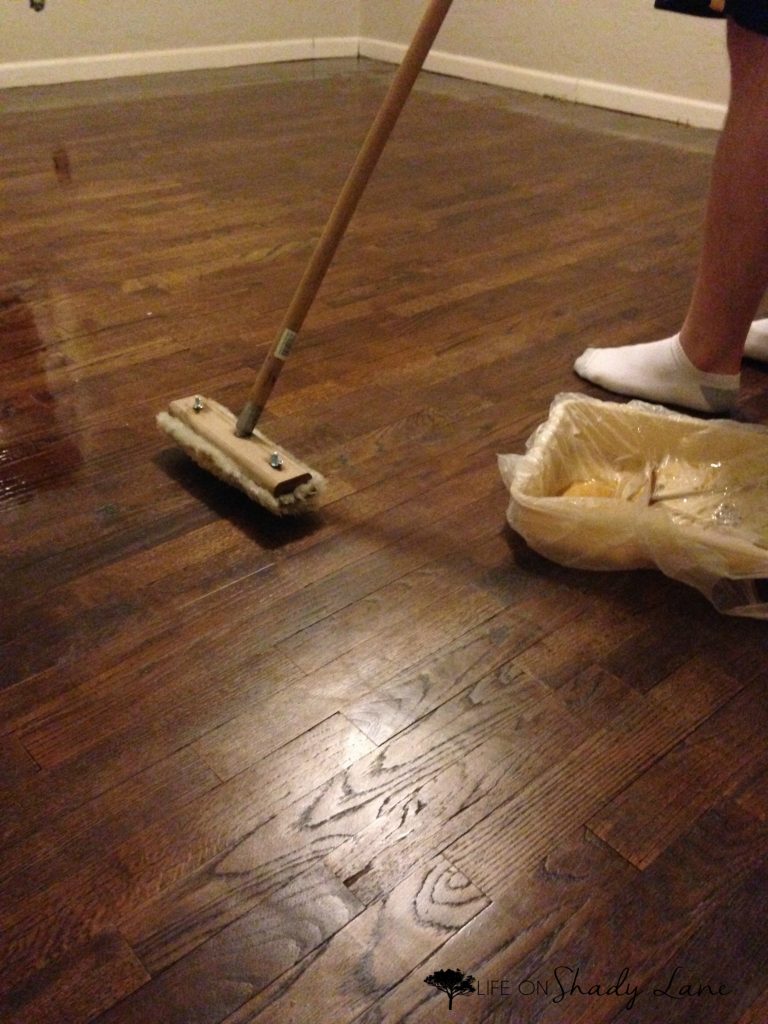
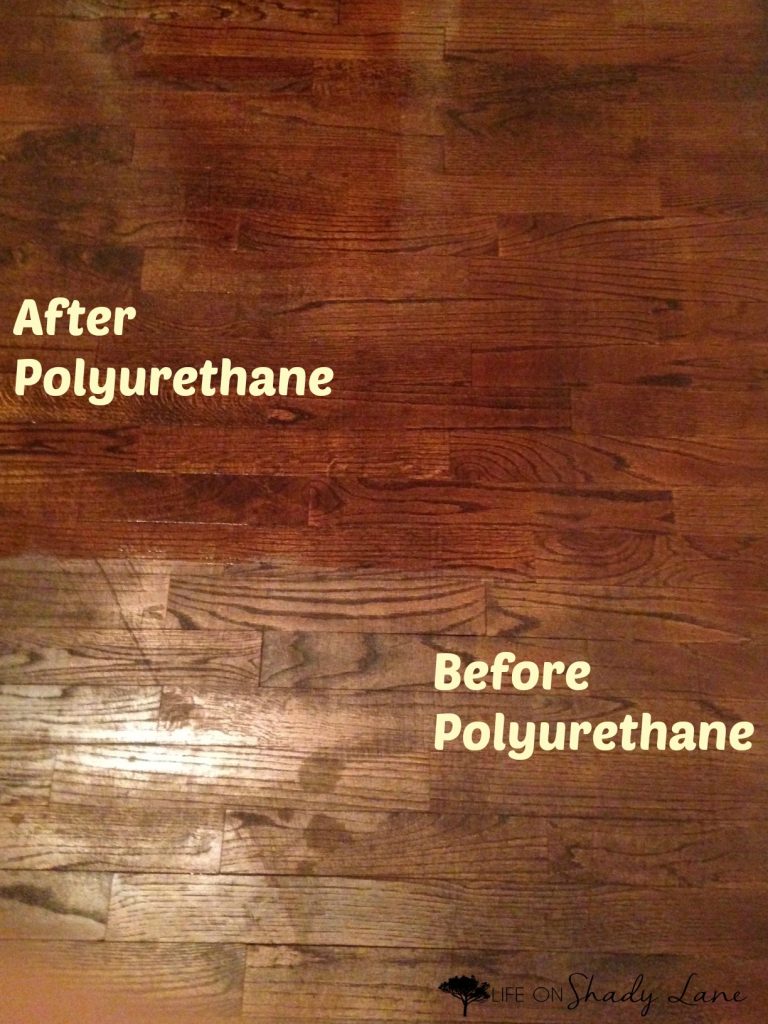
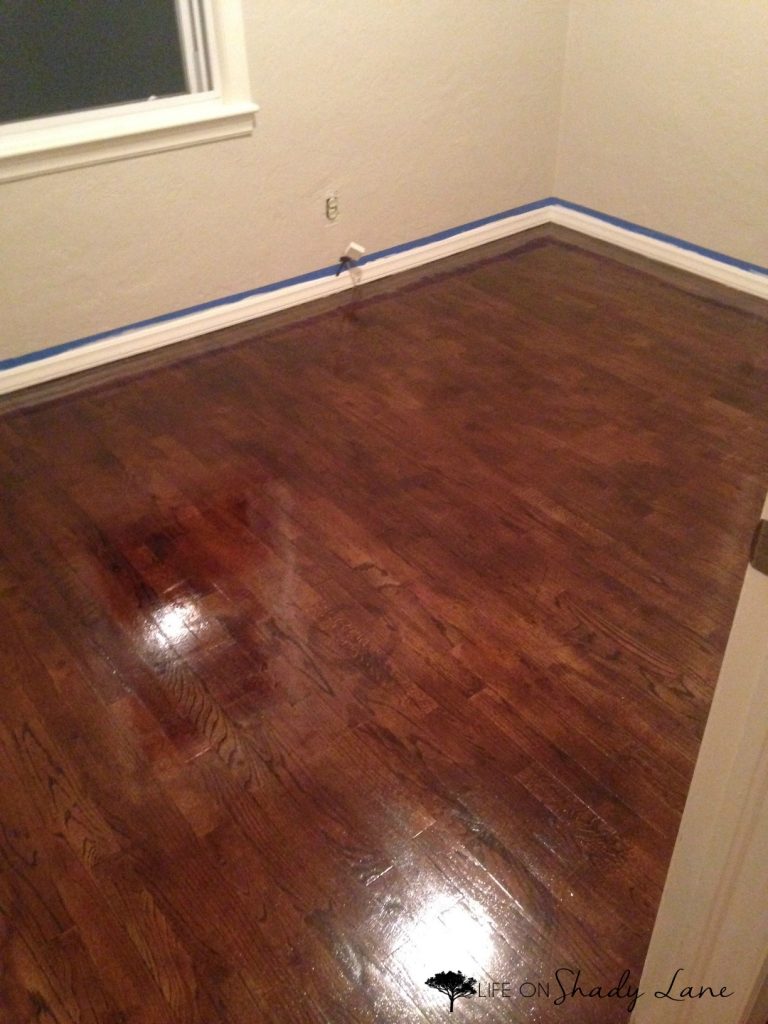
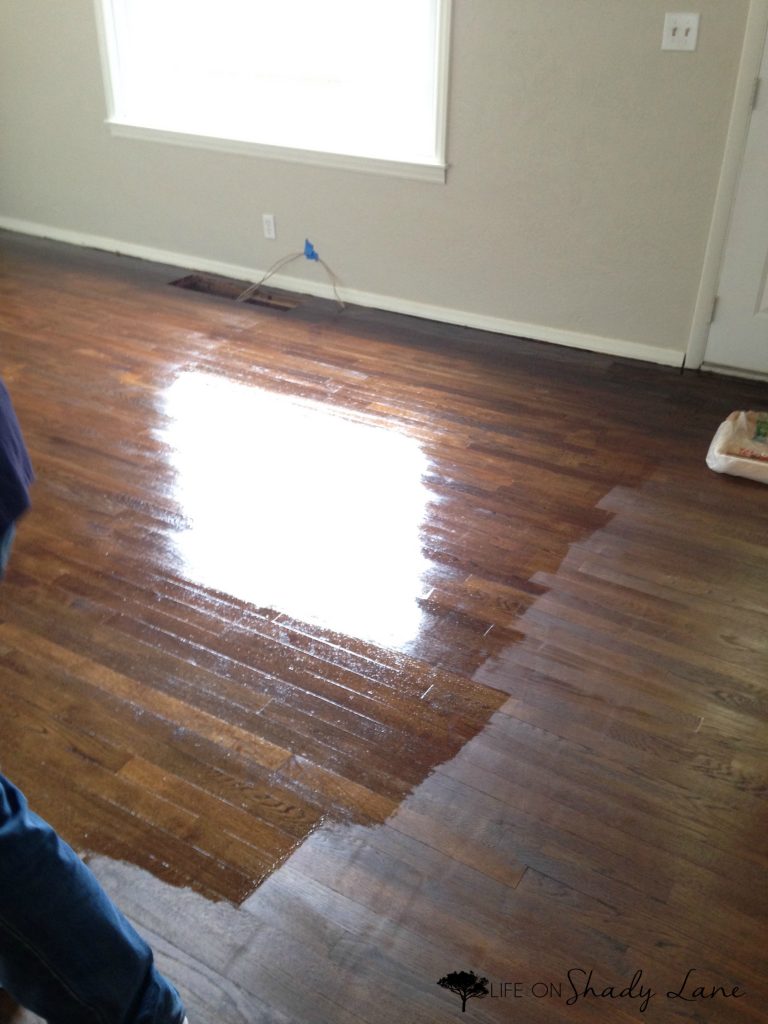
I mentioned that the floor would be pretty flat after staining. Below you can see the difference after applying poly. It goes on super shiny, but will flatten out a bit after it dries.
We let the first coat of poly dry for about 24 hours.
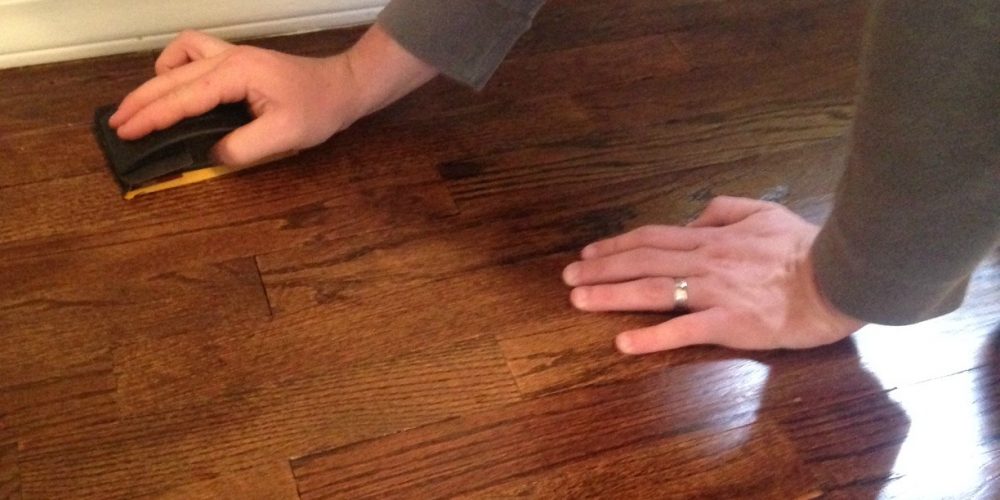
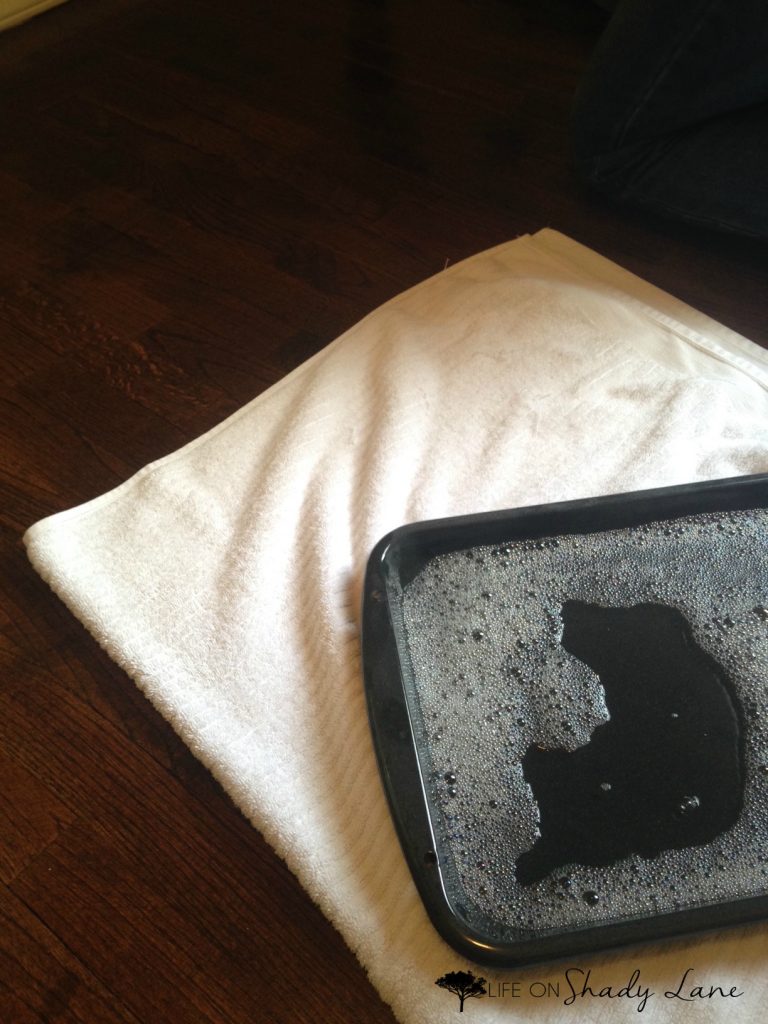
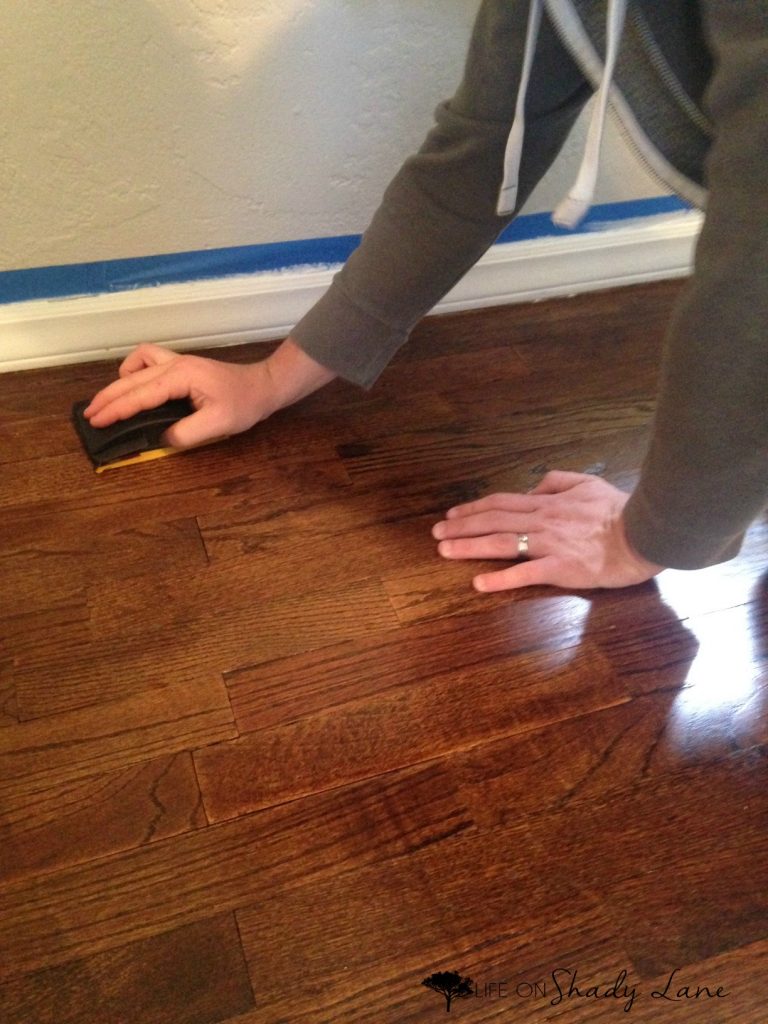
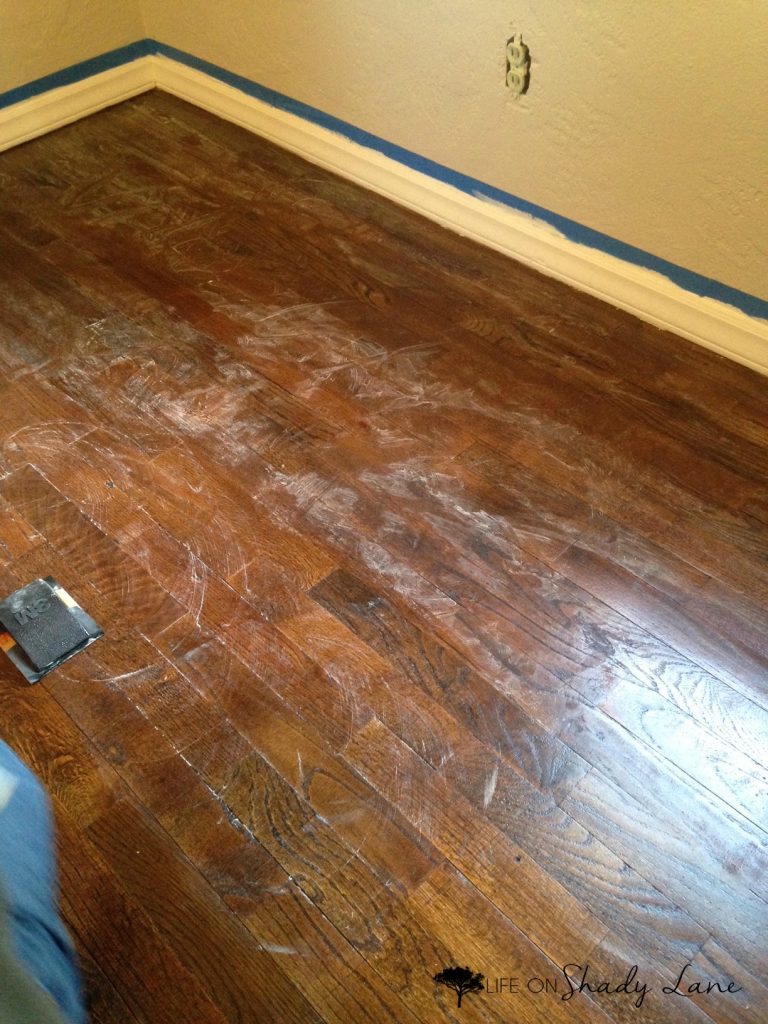
Step 5: After letting the first coat dry for 24 hours, we wet-sanded the floors with 400 grit sandpaper and a mixture of warm water + a few drops of this dish soap. This step will smooth out any tiny bubbles in the first coat of poly, so you have a super-smooth surface to apply the second coat to.
After sanding, your floors will look like this. We just went in with a damp cloth and cleaned all of that white powder up before applying the second coat.
Second coat of poly going on our living room floor:
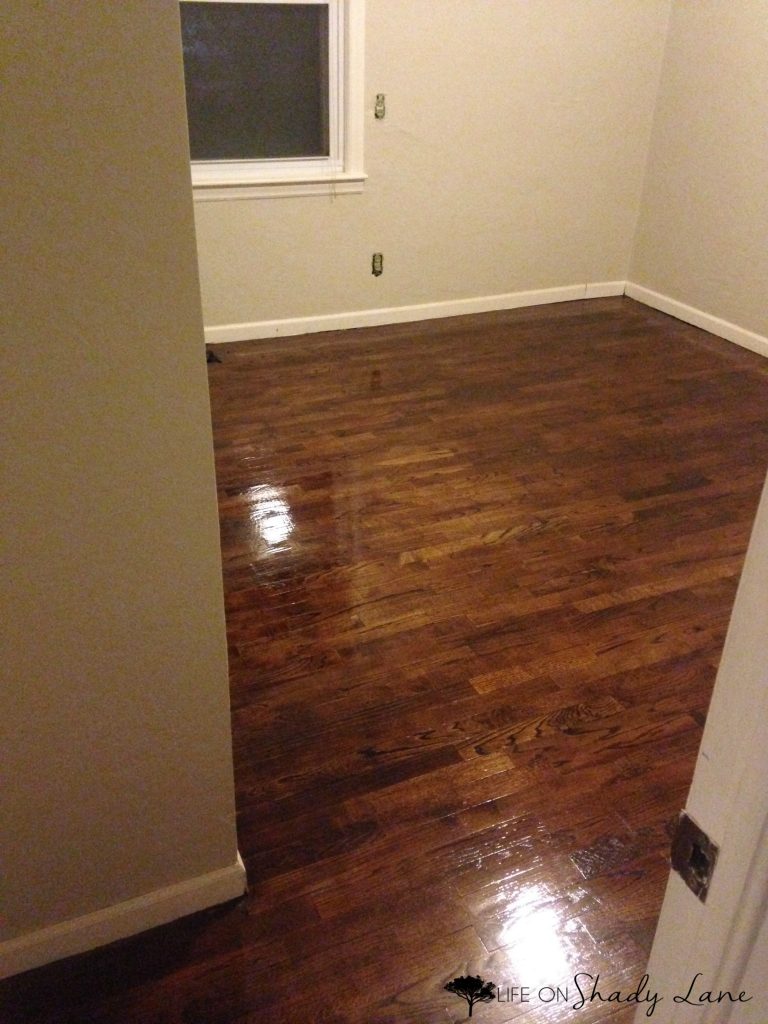
Second coat (before drying) in our bedroom:
Step 6: Enjoy your beautiful new floors!! We let the second (final) coat dry for 48 hours before moving in any furniture – you could let it dry longer if you want to be extra safe, but we were too excited…and everything has been fine!
And just because I couldn’t leave this one out, here’s a picture of our finished floor in the baby’s nursery (and my baby bump). :)
If you’re thinking about refinishing your wood floors and have any questions, please let me know in the comments!
Check out more of our home-related projects [here]!
Follow me on Instagram and Pinterest!
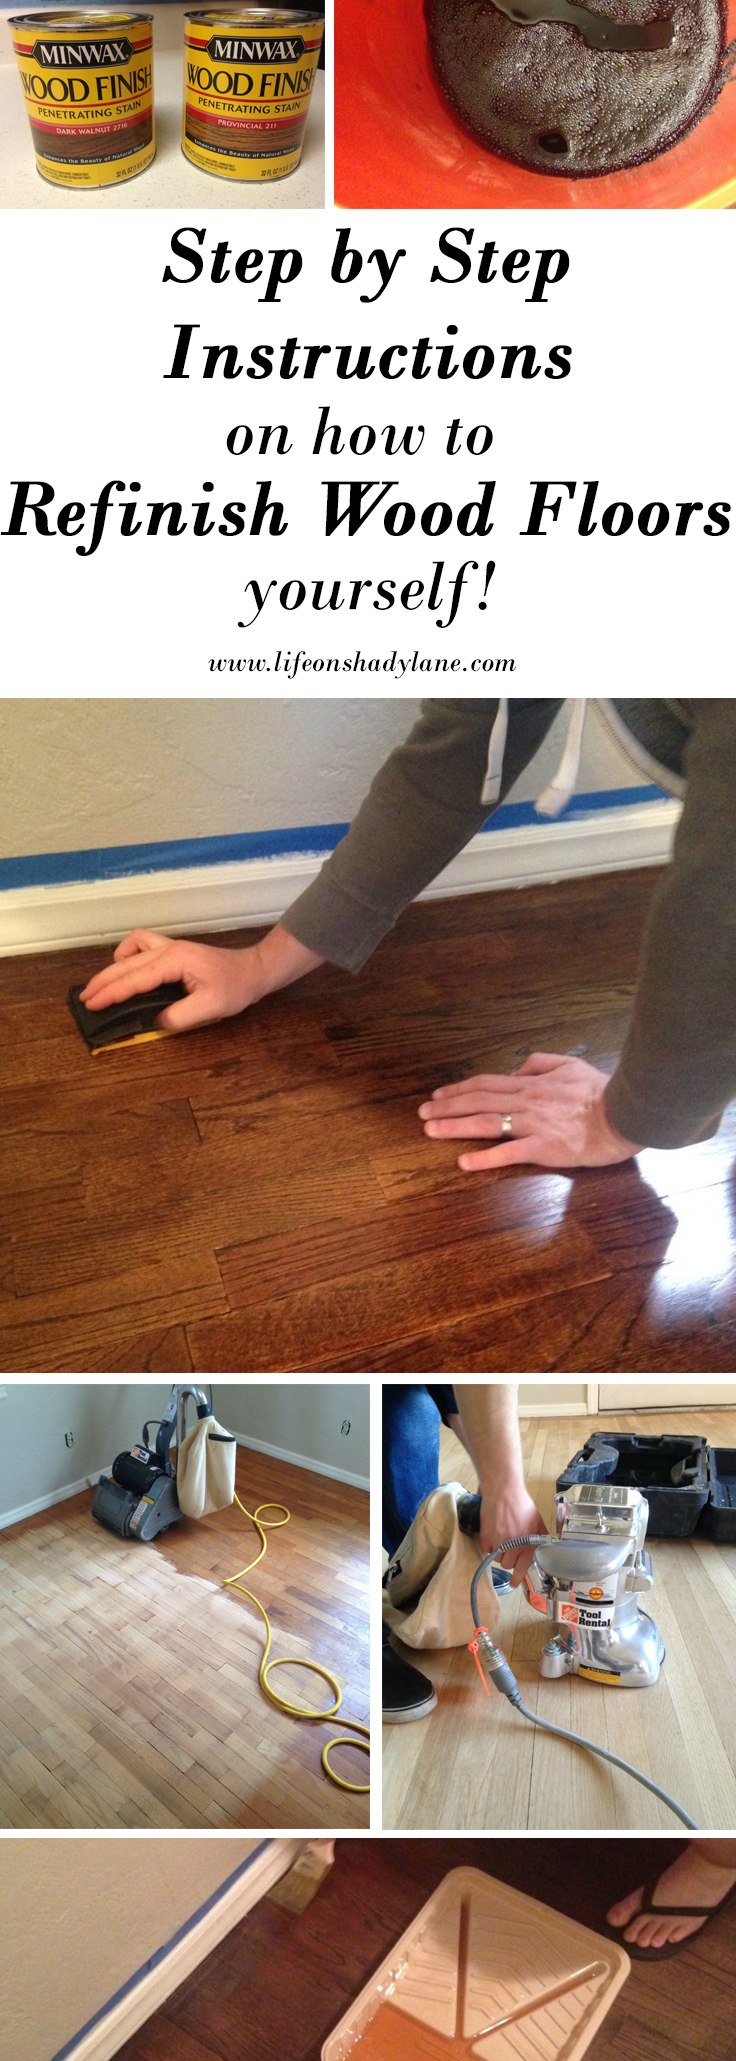
I hope you enjoyed this How to Refinish Hardwood Floors: Part 2 blog post! If you did, please consider leaving a comment! OR feel free to ask any questions – I love to hear from you guys!



OMG you guys are amazing! It looks wonderful. Cost wise was it easier to DIY vs having someone else do it?
Thanks Maggy ;) I’m not sure what it would cost to have someone refinish but I would imagine its less expensive to DIY. We’re going to pull up some laminate and carpet and we are going to hire someone to install raw wood in those rooms – we’ll stain them ourselves though! I figure if you have the ability to DIY, then you should! Plus it was fun to learn how to do it all. :)
When apply the stain and poly was it in a paint tray and you dip it?
Hi Danielle, I’m not quite sure I understand what you’re asking
I have a question about the wood floors, we are using the same brand that you use but ours is not drying and it’s sticky and it comes off when you touch it. I also notice that you didn’t mention anything about wiping off like a lot of the YouTube videos suggested. When I do wipe everything comes off so we use an applicator and just spread it on the floor but it won’t dry after 24 hrs. What do I do?
I have a question about the wood floors, we are using the same brand that you used but ours is not drying and it’s sticky and it comes off when you touch it. I also noticed that you didn’t mention anything about wiping off like a lot of the YouTube videos suggested. When I do wipe everything comes off, so we use an applicator and just spread it on the floor but it won’t dry after 24 hrs. What do I do?
Hi there! Are you referring to the stain or polyurethane? I think you may be talking about the stain, since that’s the only part you’d really want to wipe off. Are you using a gel stain or regular stain? You do have to wipe the gel stain off, but with a regular stain you won’t really need to unless it has pooled.
What kind of applicator are you using to apply the stain?
It sounds to me like you may not have sanded the floors down enough. If stain isn’t soaking in, it means there’s poly leftover and the stain will just sit on top, not dry properly, and will wipe off when you wipe it.
Perhaps you could send me a picture with some more info and we can try to get it figured out! My email address is lifeonshadylane@gmail.com – or just feel free to comment back right here!
Hi. The floors look great. About how many hrs do you estimate it took for everything except the dry time? Or how many total days. Thanks.
It is actually good to wet the floors (water pop) after you sand and before you stain. It helps the floors stain evenly. You just need a clean mop/towel and a bucket of cool water and run it in the direction of the grain.
Yes I’ve heard of doing this! Our floors turned out beautifully without the water (and still look amazing), so I think either way works!
Thank you so much for your blog on the floors! Your floors look amazing by the way! I have been redoing our house for three years and just finished my sons room and in that process and found out I’ve got black walnut flooring throughout my whole hose! I did cry lol! But I just bought my own hand sander and I’m about start my floors in a week or so, so I thank you ?
YAY! So excited for you, Merenda! It’s so exciting to find wood floors isn’t it?! I’d love to see some photos during/after the process – feel free to email them to me if you want! lifeonshadylane@gmail.com
Your floors turned out beautiful!
I was wondering how many hours this took? Particularly the sanding part, since we need to plan a day to rent the equipment. Thanks!
Hi Sarah, thank you sooo much!! It has been a few years and they are still holding up great – we love them! The timing will totally depend on the size of the room you’re doing. I’d set aside a weekend, though, for sure!
Hi there! On Step 5, did you all just use a hand sander to hand sander the entire floor? Want to make sure I’m reading it right. This DIY has been so helpful, thank you for the details!
Katie
Hi Katie! So glad it has been helpful for you!! I’d love to see some before and after photos! For step 5, we just used a light grit sandpaper and did it by hand, yes!
In combining your stain did you use both cans evenly?
Hi Nicole! Yes – we used a 50/50 mix! So just one can of each. Are you staining some floors?! If so, I’d love to see photos!
Hi! Thank you soo much for this step by step!! Your floors are gorgeous! We are just starting the process! Do you have a link for the lamb skin applicator you used? There’s a few options and I don’t want to get the wrong one. Thank you so much!!
Hi! This is so helpful, thank you! I am expecting and am wondering what aspects of the process you were safe to do, and which ones you left to someone else? And how long before the fumes were safe for you to move back into your room? Thank you again :)
Hi Carissa! Honestly I helped with almost every step of the process but just made sure I wore a great mask! Once the stain and poly are applied, I think we stayed out for a day or so and then went back in. I could definitely still smell the fumes SO not exactly sure that was the best choice or not, but I do have two healthy babies LOL! I’d ask your doctor to be sure!
I don’t kmow if anyone else asked this, but why did you sand against the grain?
Hi Chrissie! Unfortunately I’m not sure whether we did or not anymore haha! (It was about 5 years ago). I’d probably sand with the grain!
Hi there! 8 months pregnant and just starting the work on the nursery. Lol I want to do the wood floor but am dreading all the sanding. Thoughts on just doing the 400 grain wet sand and poly?
I’d honestly just put in the work and do the sanding, unfortunately….if you’re doing them, you want them to come out pretty!! It’s a lot of work, but worth it I promise. Maybe after baby comes?
What type of wood floors do you have? We are remodeling a house and I believe the wood floor we found under the carpet are maple and was wondering if they would be hard to refinish. I’m also pregnant while we’re doing all of our renovations :)
I’m not positive which kind of wood they were, but I’m sure you’d be able to refinish yours!
Is it necessary to use the stain if you want to match the color the wood was before?
We have oak floors throughout and removed only one area of carpet. Obviously wanting this new floor to match the rest of the house.
When you sand the floors down, it’ll take any old stain + finish off. So I would say yes! But if you’re just taking up carpet and the wood underneath already matches everything else, just leave it! :)
I love what you’ve done! I’m currently working on my livingroom and hallway (leading to bedrooms and bathroom), while we are living in the house. Between coats of poly, how long did you have to wait before walking on it? Or did you not even attempt it during your 24hrs before the sanding and second coat? Any helpful advice appreciated. Thanks
I think we just followed the directions on the can! I can’t recall exactly how long it was!