It’s no secret: I am a sucker for any kind of pasta. Throw in some bread + olive oil and a glass of wine, and I’m in Heaven. So, the other day while grocery shopping, I picked up a butternut squash and figured I would attempt to make ravioli. Because HELLO…pasta and Fall flavors combined? What more could I ask for?
While watching a cooking show the other day, I noticed that the chef was making ravioli with wonton wrappers. Brilliant, right? So that’s what I did, and holy cow…this butternut squash ravioli with sage brown butter sauce was freaking incredible. You can bet I’ll be trying out other filling variations soon!
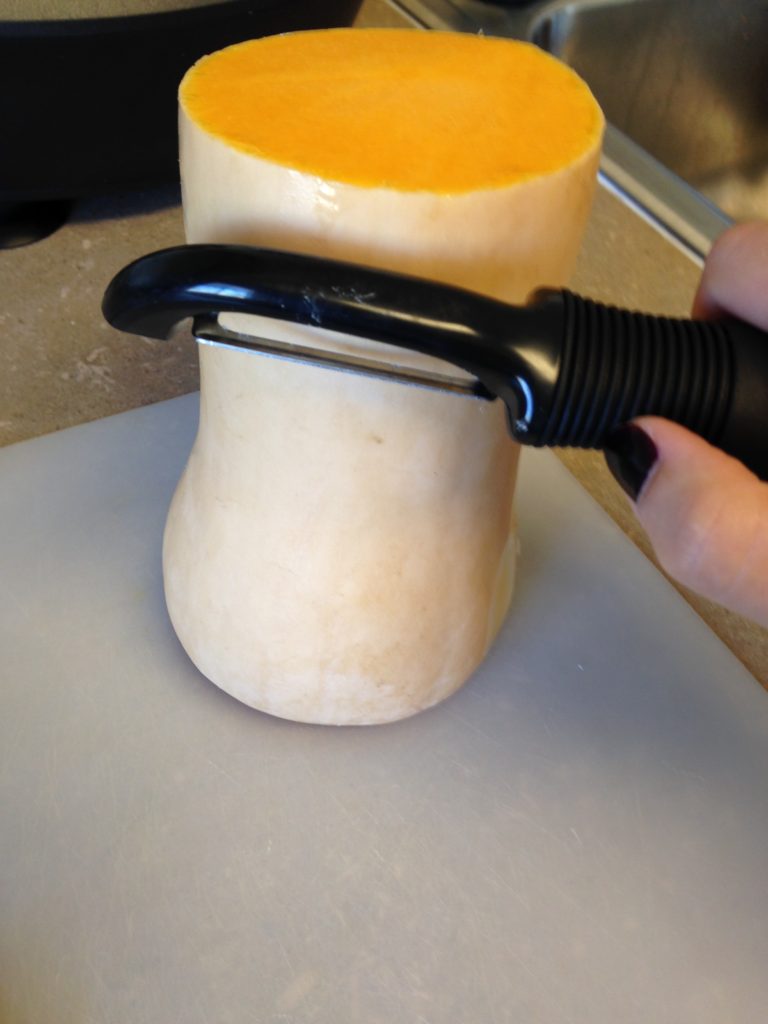
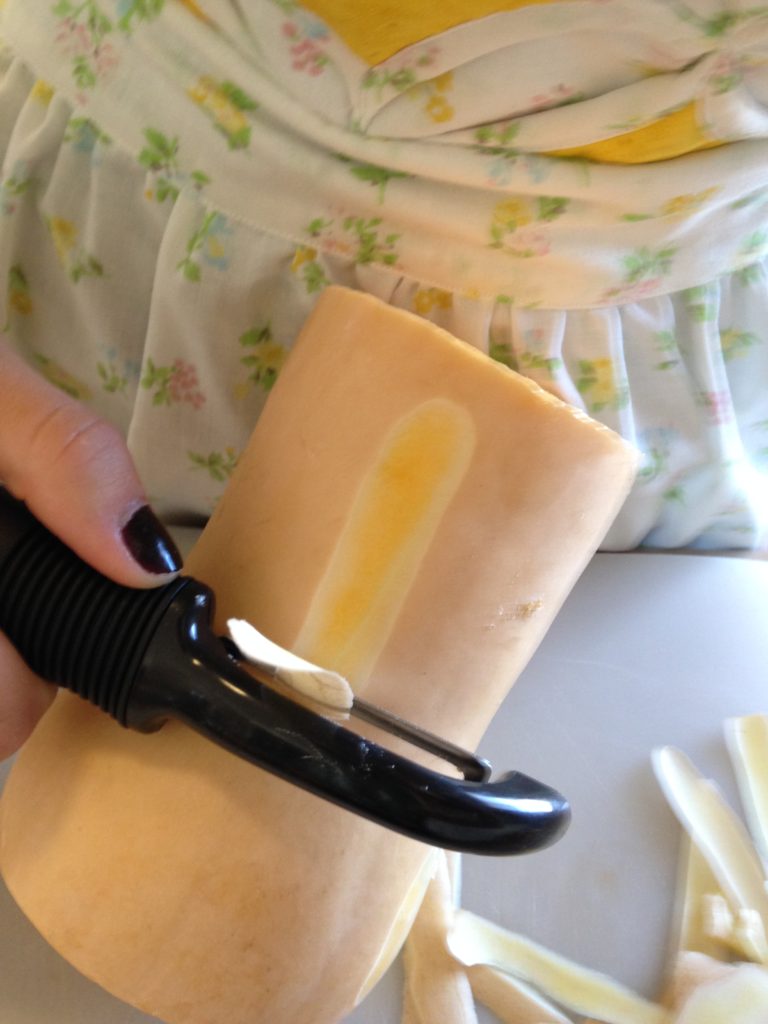
First step: How the heck does one cut up a butternut squash, exactly? I had no clue, so I used this tutorial. Basically, cut off the top and bottom half inch or so, and peel the skin.
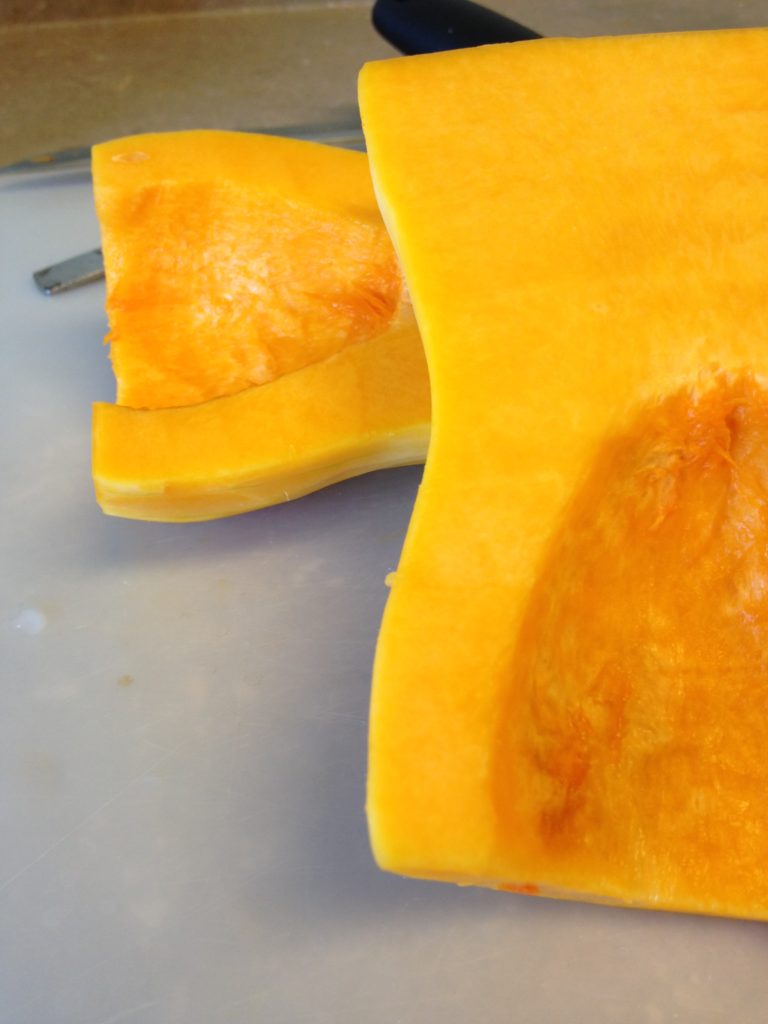
Then, cut in half length-wise and scoop out all the seeds.
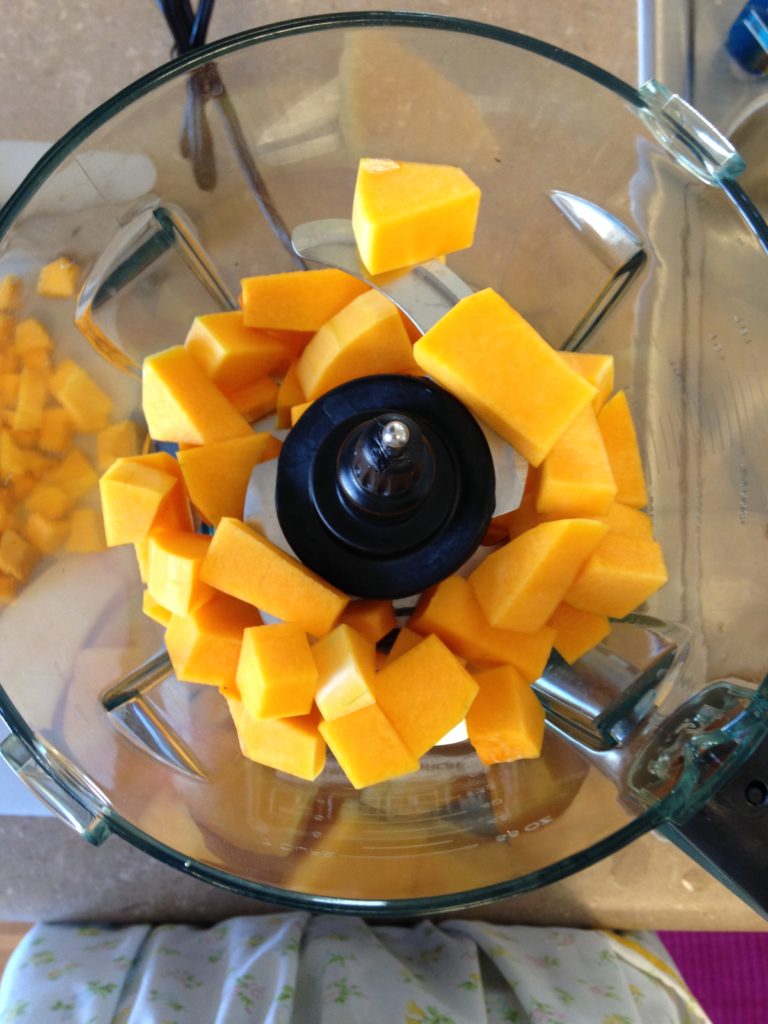
I then cubed half of the squash and put it into my Ninja (greatest kitchen tool ever) to blend it up and make the cooking time faster. I guess you could put the two halves (with skin remaining) straight into the oven, bake it for about 35 minutes, and then scoop everything out, but this just seemed faster. Do whatever suits your fancy.
*Note: I cubed the other half as well and put it in the freezer. You only need a cup of squash for this recipe, and half was the perfect amount. Save the other half for another recipe!
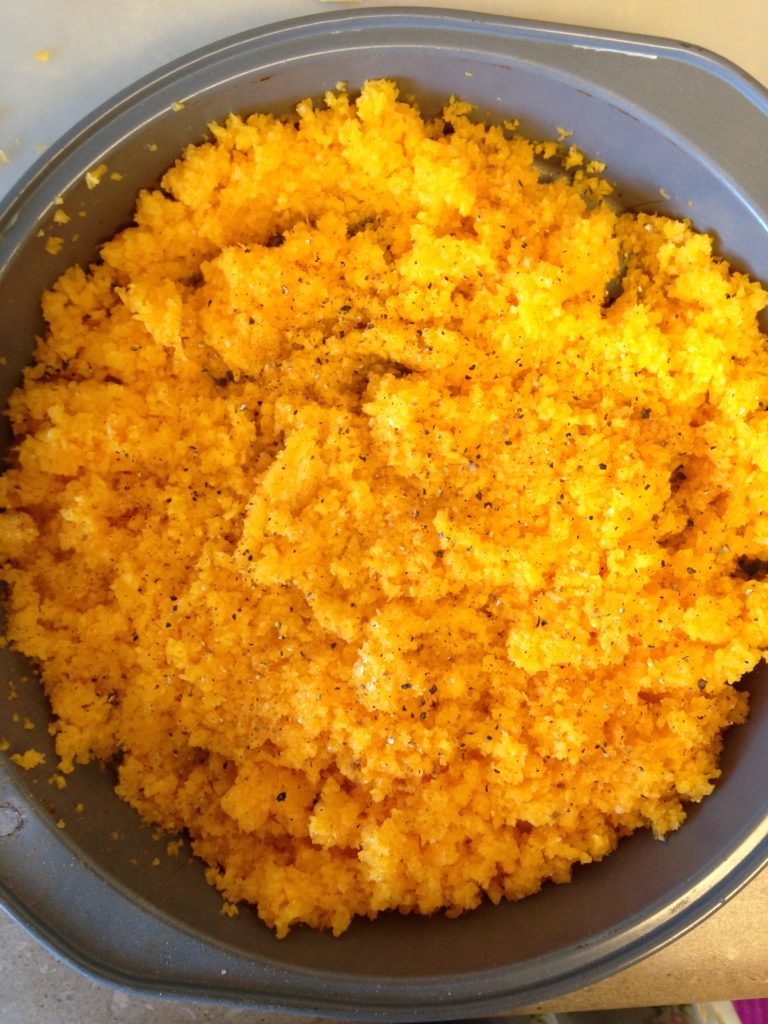
I put the smashed up squash into a pan, sprinkled it with salt, pepper, and some cinnamon, and heated it in the oven at 350 degrees for about 15 minutes.
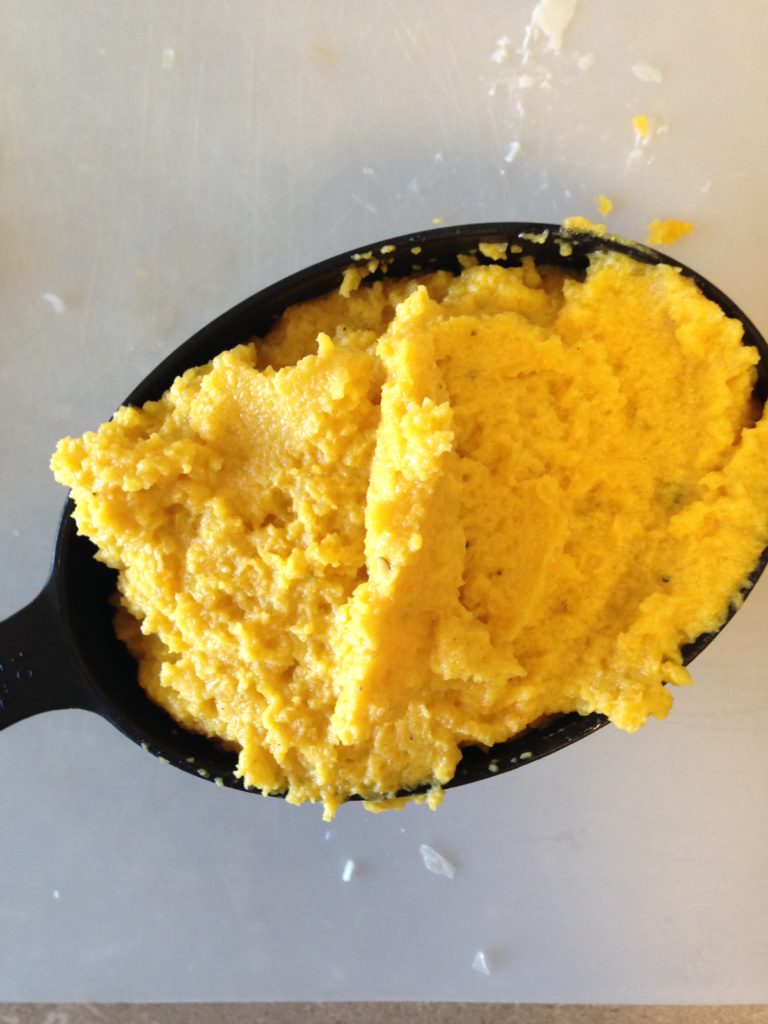
Then, I put the squash back in the Ninja (or blender…use whatever you have), added a dash of cream and mixed it all up until it was a puree.
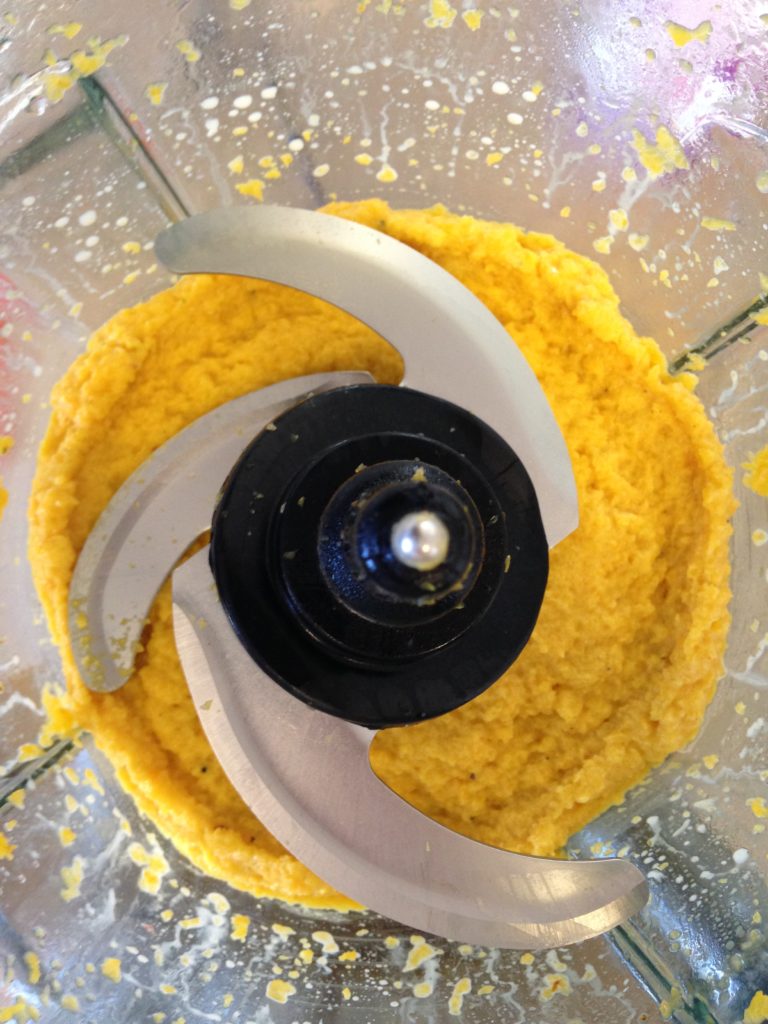
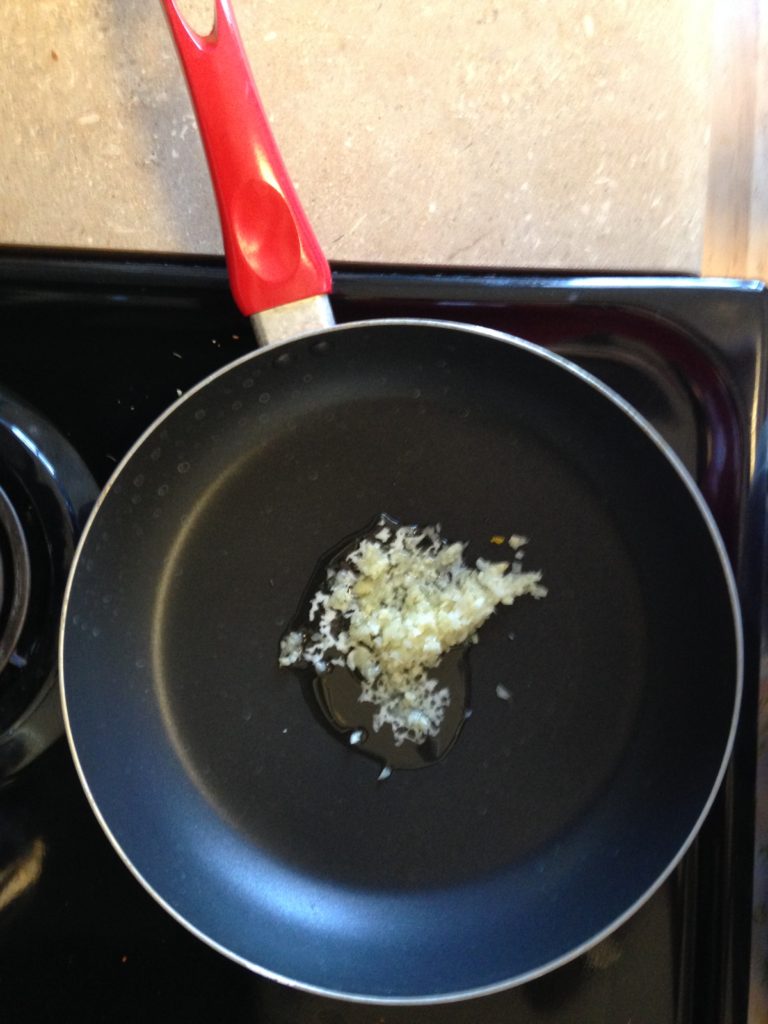
To finish the filling, I melted two tablespoons of butter over low-medium heat, and then chopped up two cloves of garlic + just the white portion of six green onions, and threw all of that in to saute it.
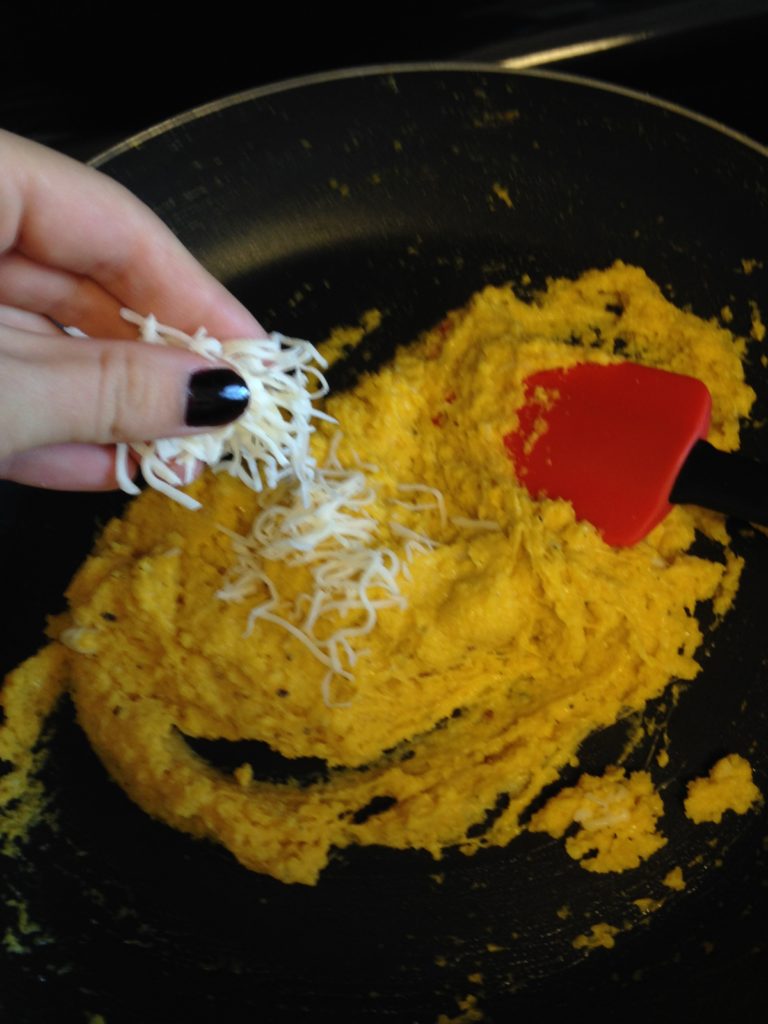
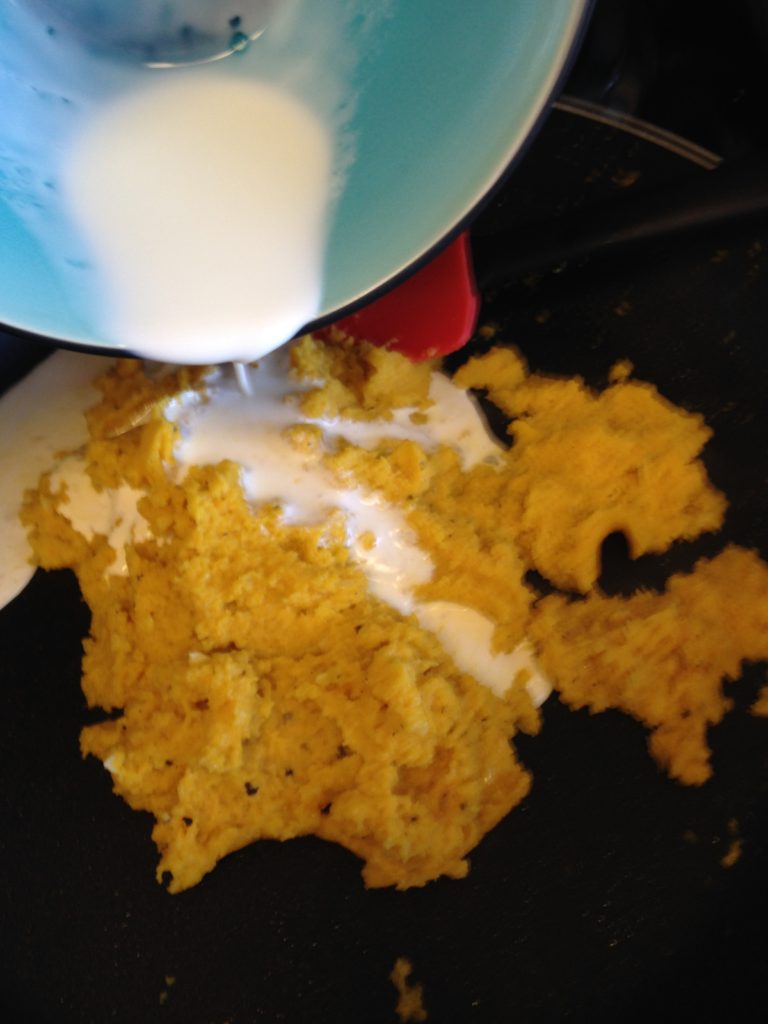
Next, I added the cup of pureed butternut squash to the pan, prinkled in a dash of nutmeg, and about two tablespoons of shredded parmesan/mozzarella cheese. Then added about a quarter cup of heavy cream.
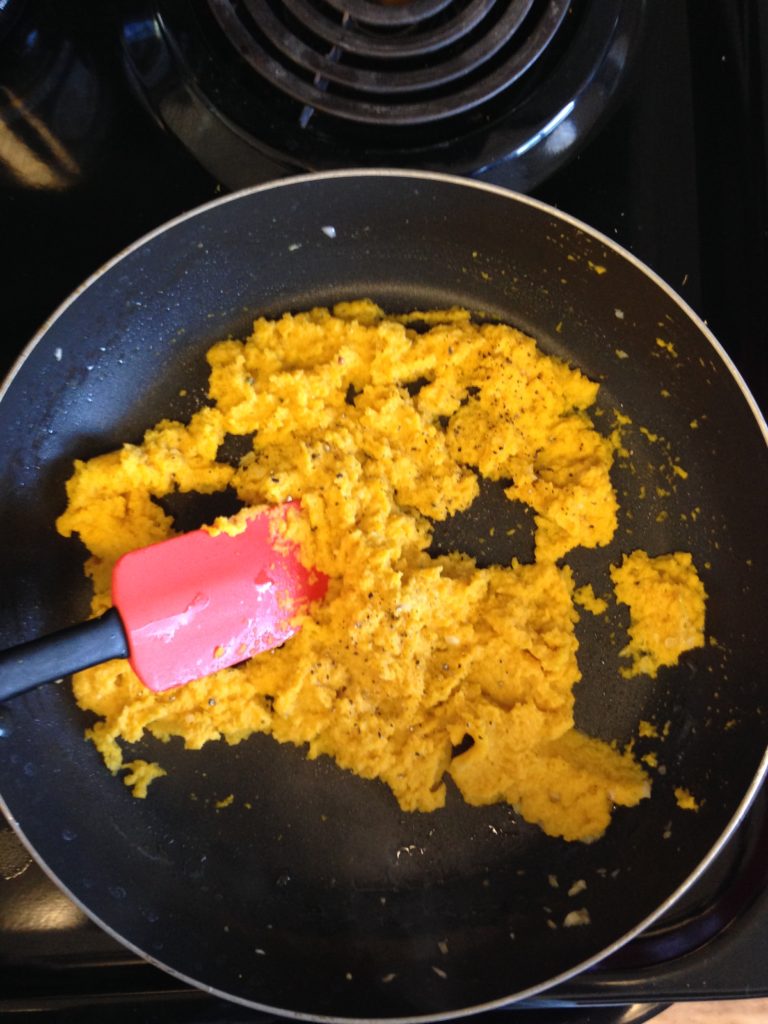
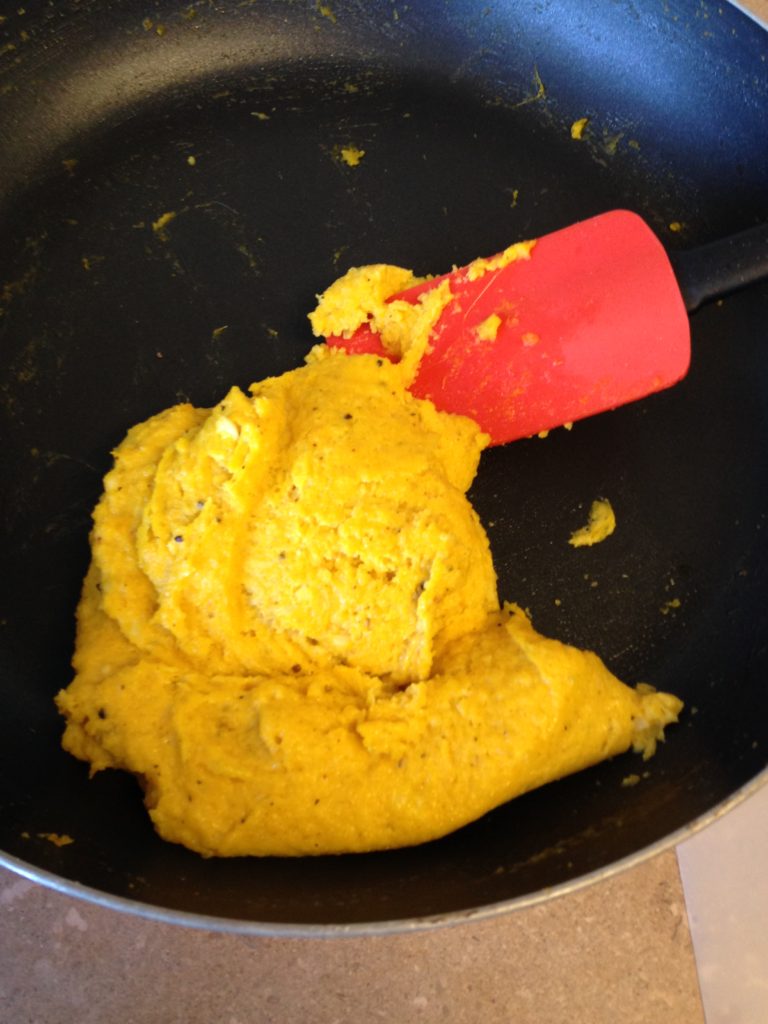
And mixed it all up! If you’re making it, the consistency should look similar to this:
Feel free to taste it at this point. Because, trust me, you’ll want to. Holy yum.
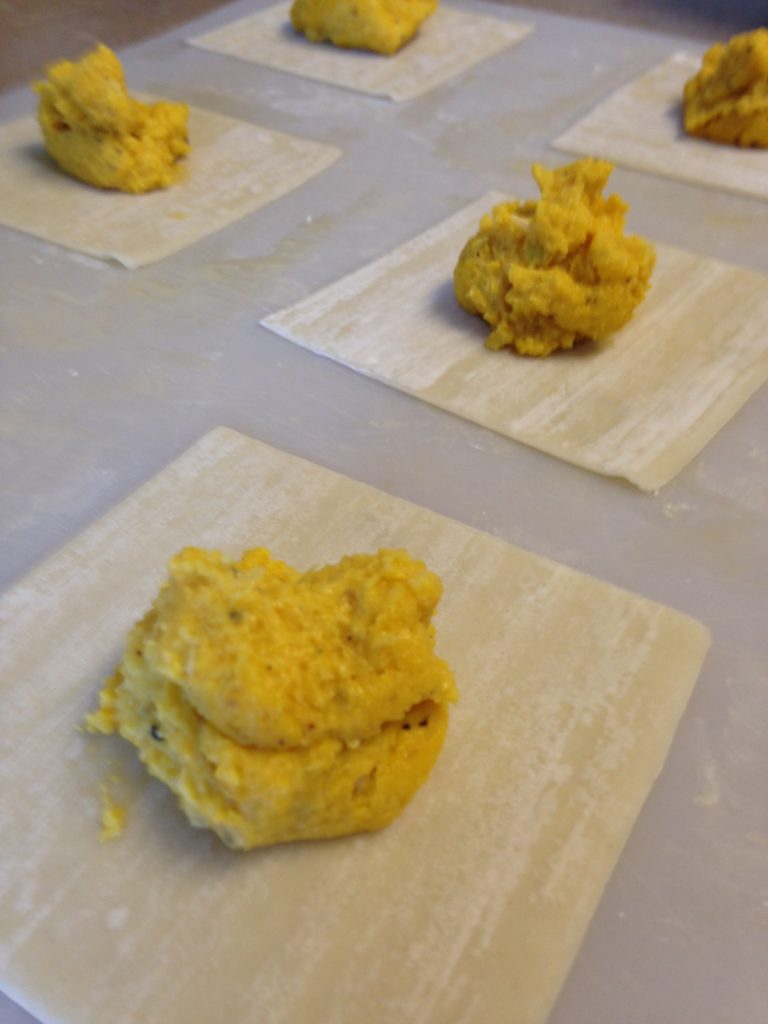
To assemble the raviolis, spoon a little bit of the squash mixture into the center of a wonton (it’s tempting to add more, but don’t do it or you won’t be able to seal it properly!)
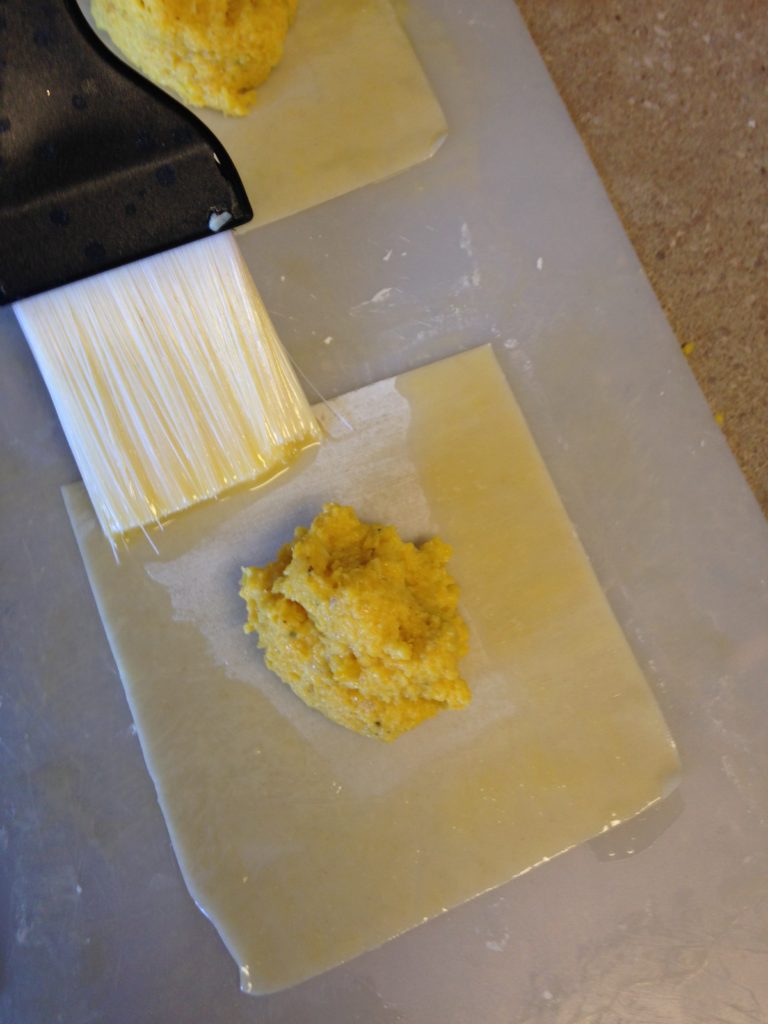
I then whisked an egg in a bowl and brushed a little of that onto the edges of each wonton:
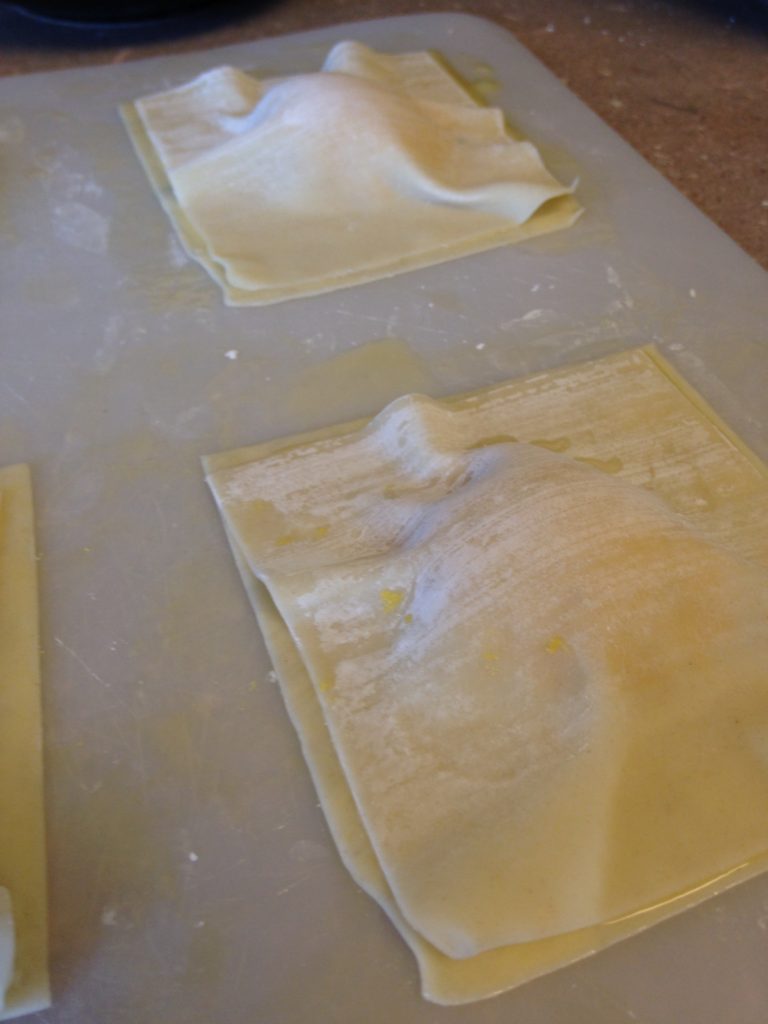
Then, covered each of the wontons with another and pushed down on the edges to seal them shut. I tried to get as much of the air out as possible from the center/filling part.
And pressed the corners down with a fork. You don’t have to do this step, but I think it makes it look pretty and helps seal in all of that filling!
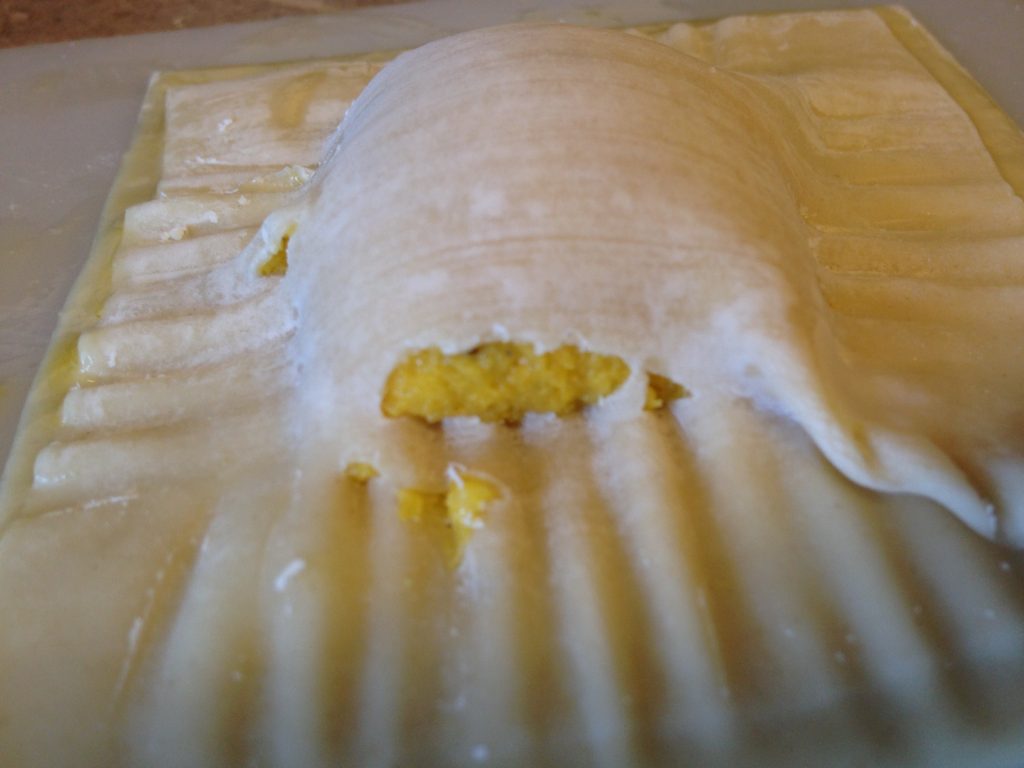
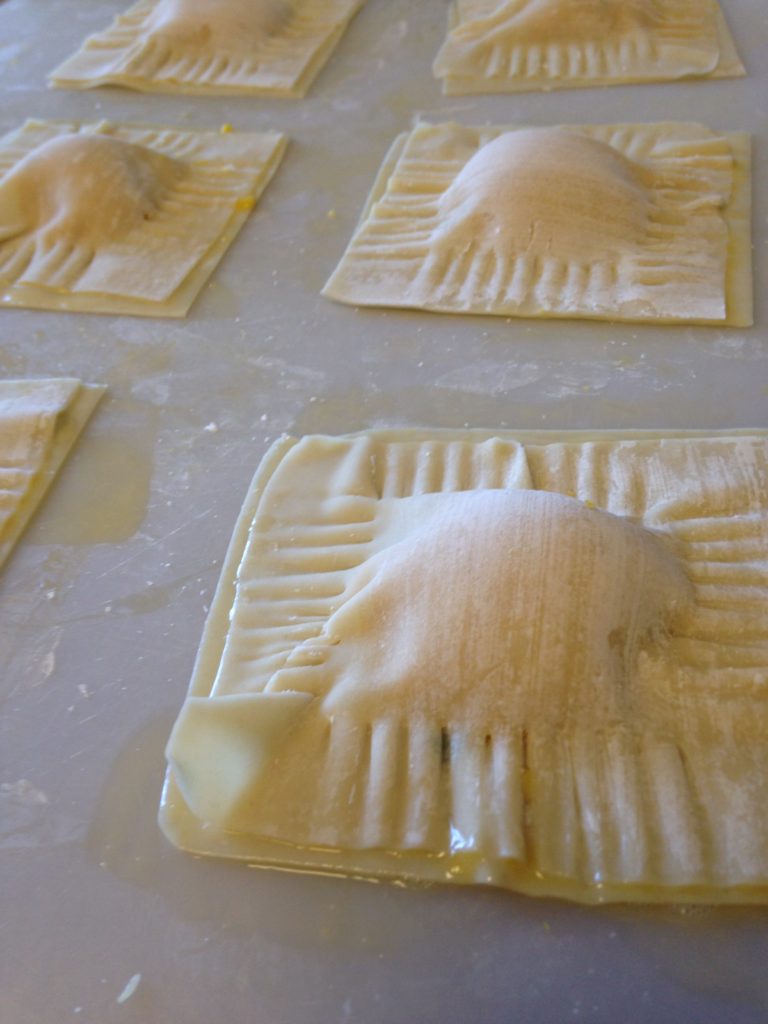 If you go with the fork-sealing method, be careful not to puncture the center, or you’ll end up with a ravioli that looks like this, and all of the filling will leak out when you boil it. Whoops! : )
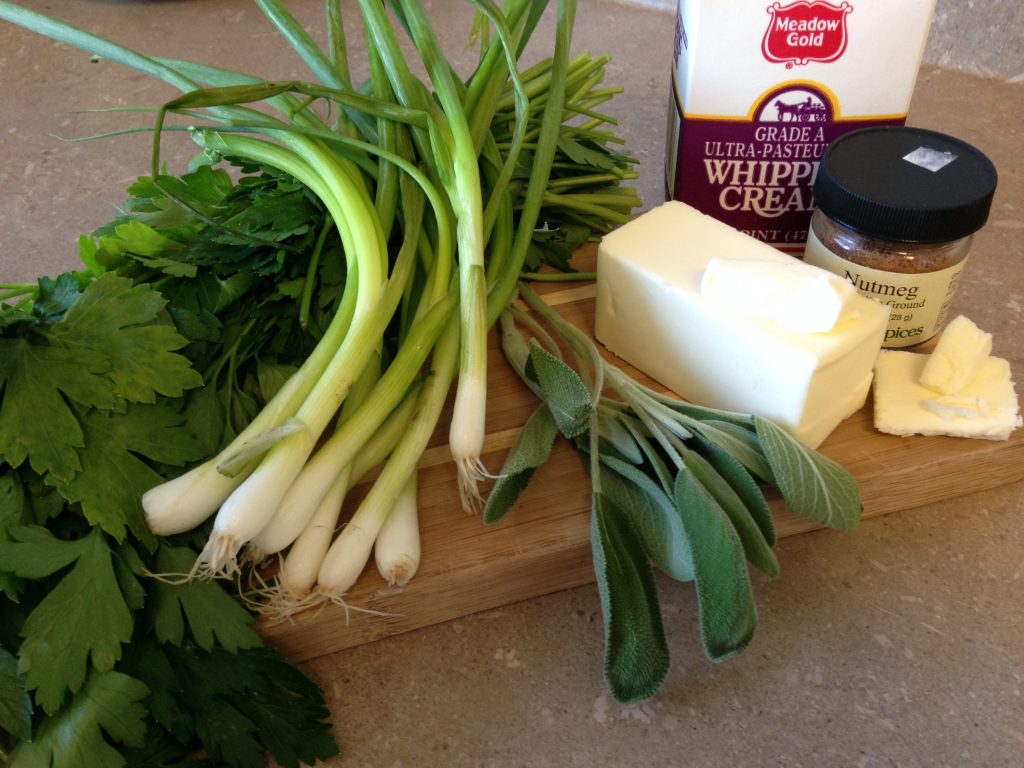
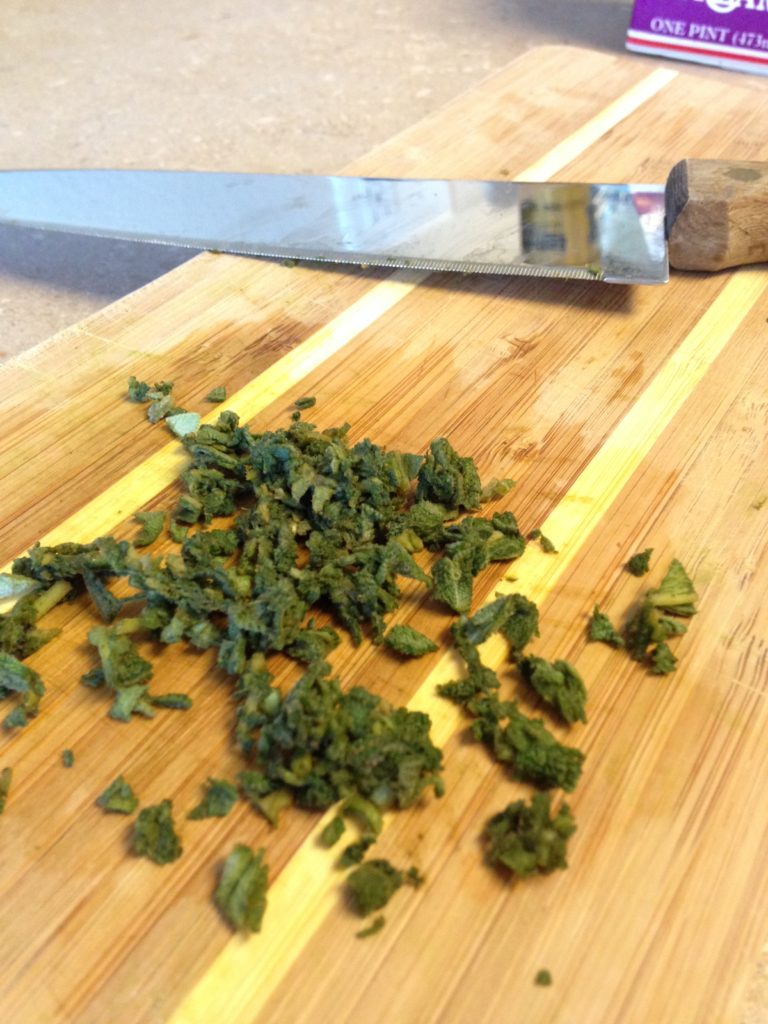
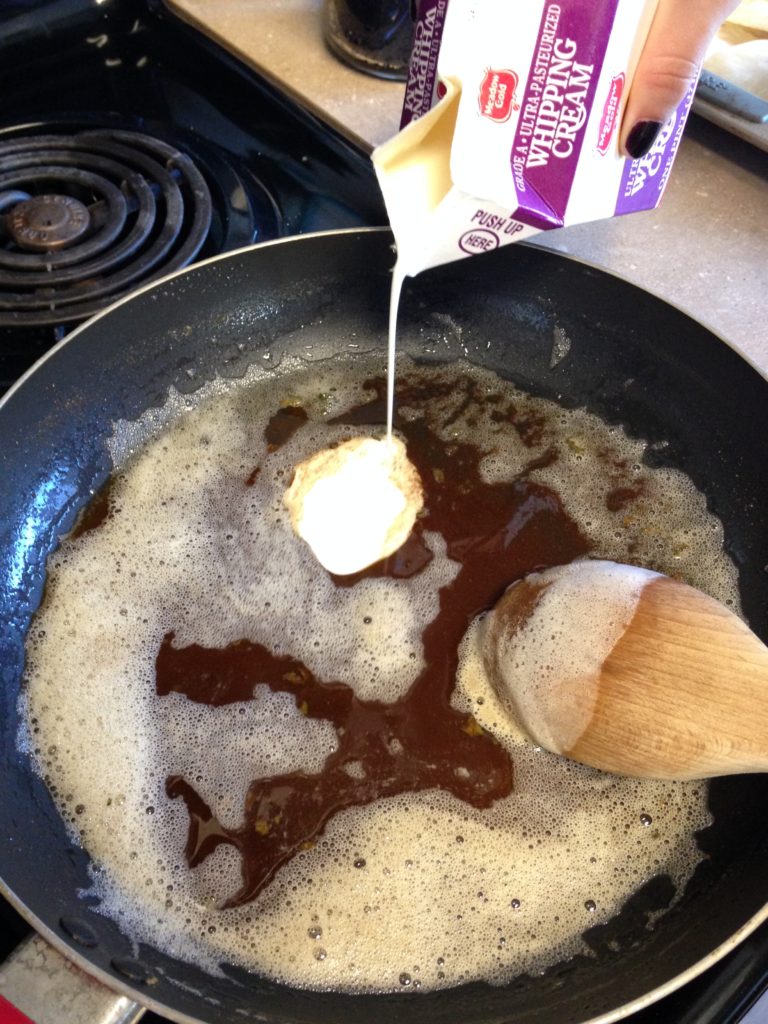
And now for the sauce! First, I melted six tablespoons of butter over low-medium heat and threw in a couple of leaves of chopped up sage, stirring frequently until the butter began to turn brown.
It’s just chopped sage, folks. Relax.
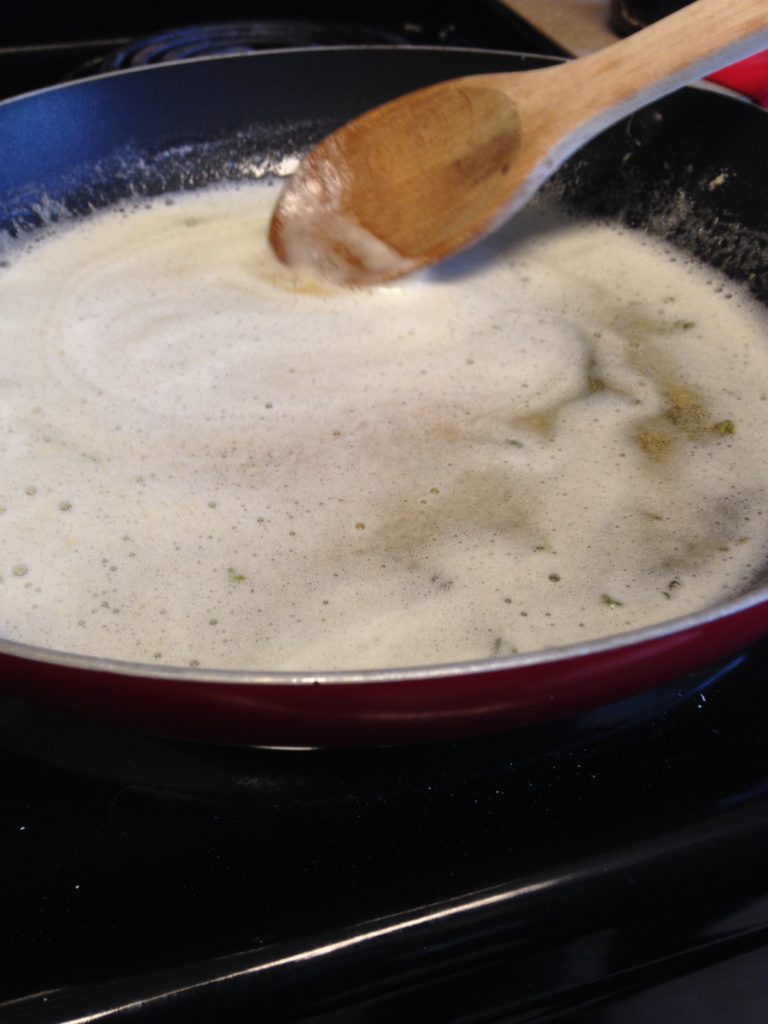
Then, I added in a dash of heavy cream. I should have taken it off the burner right away, but I didn’t. It still tasted great, but I think the consistency may have been a little different if I would have done so. Oh well, I’m learning!
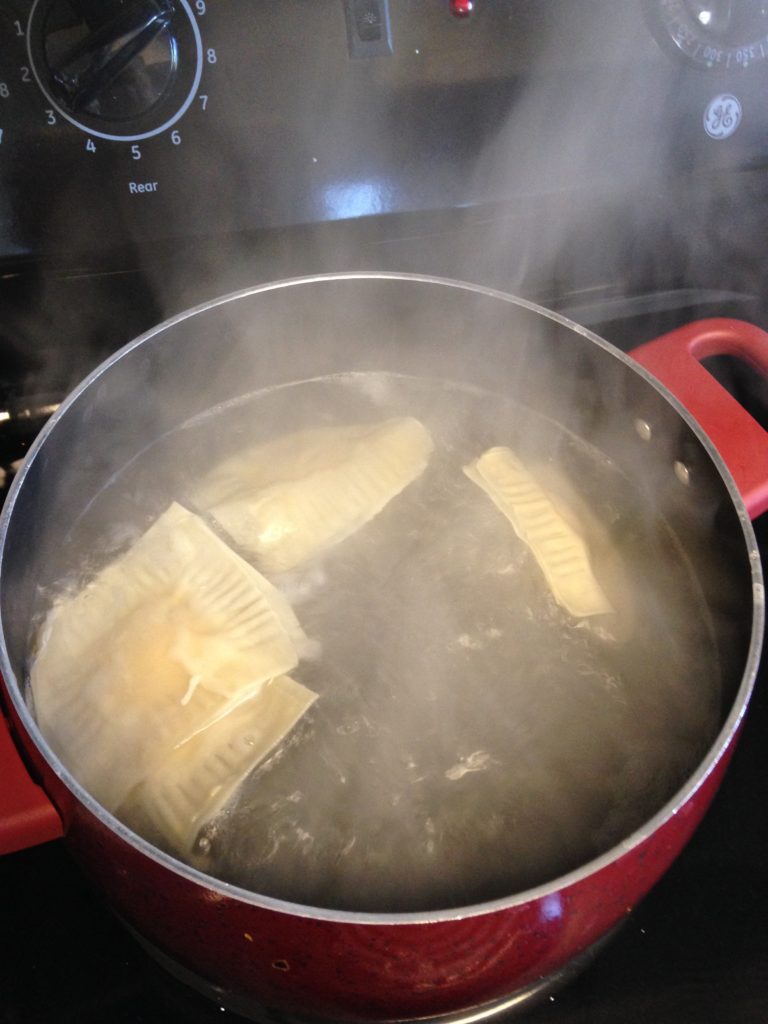
I took the sauce off the burner, and put a pot of water on the stove to boil the ravioli, doing about three or four at a time:
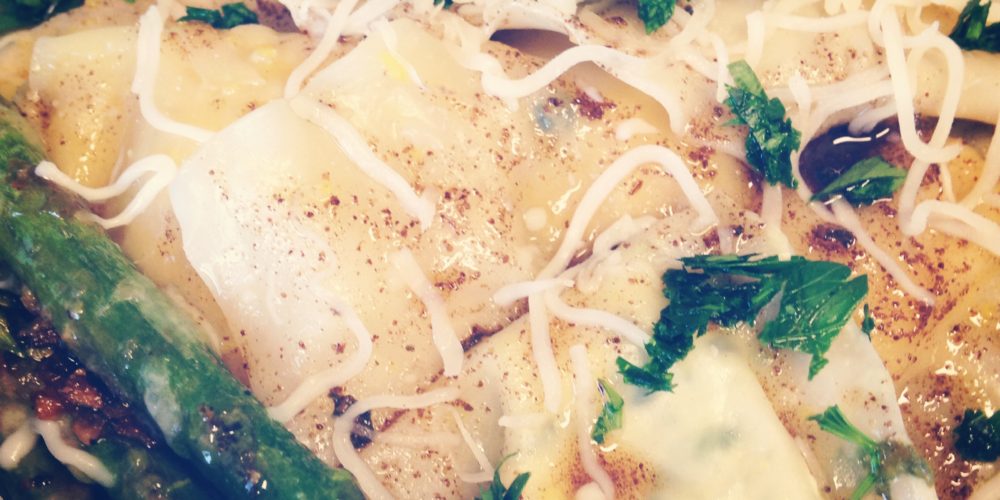
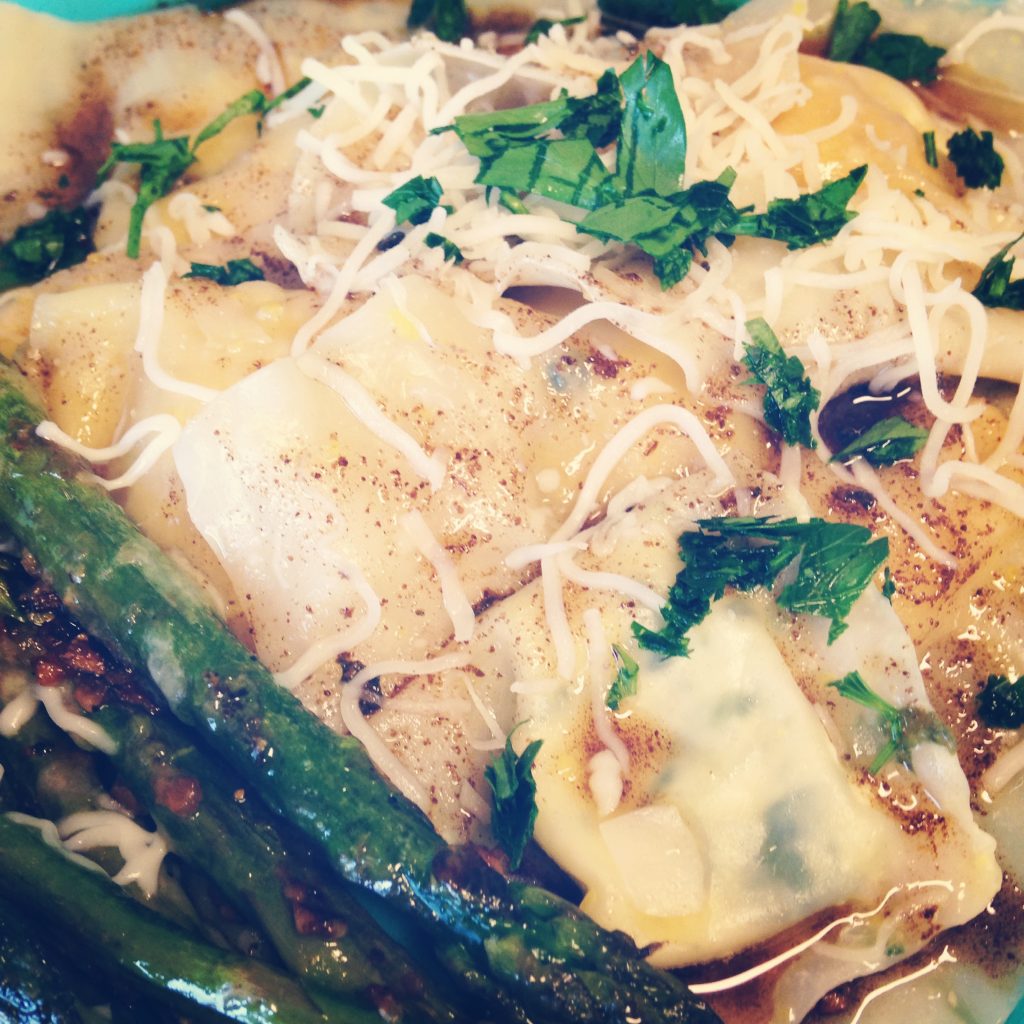
Final step: put a couple of those raviolis on a plate, drizzle with the brown butter sauce, sprinkle on a little extra mozzarella/parmesan + parsley and enjoy!
*Note: I promptly removed the parsley before eating, because I thought it tasted terrible. But, if parsley is your thing…go ahead with your bad self and eat it!
PS: Brandon said this was the best thing I’ve ever made. Just sayin! If you try it out, let me know what you think!
Follow Life on Shady Lane with Bloglovin’


This looks absolutely amazing. Thanks for the step by step photo guide. Looks like a lot of work but I want to try it out sometime