A few weeks ago, I somehow managed to convince Brandon that we needed to go to IKEA. That was a win in and of itself…but the planets must have been perfectly aligned that day, because I also managed to convince him that we needed to take home the Stenstorp kitchen island. I’d had my eye on it for several weeks and knew it would be the perfect addition to our kitchen.
We have a pretty small kitchen, and that means we don’t have much counter space. I wanted an island to add some workspace, but one that also had room for seating and some storage. A pretty tall order…but that’s exactly what the Stenstorp had.
We brought it home and planned on putting it together later that weekend. But we were just so excited, and decided to rip open the box about 20 minutes after it came through the front door.
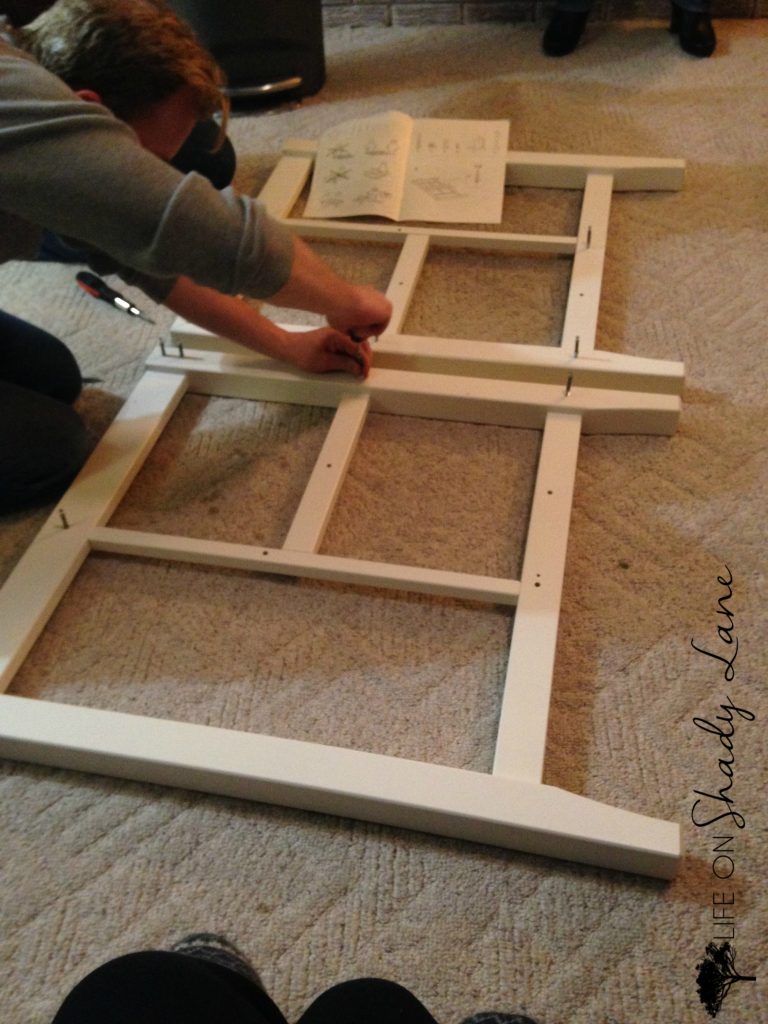
It was really easy to put together. Like, I’m talking under 30 minutes.
Then we decided where in the kitchen, exactly, we wanted it…and it.was.beautiful. Apparently I couldn’t stop staring long enough to even take a picture, because I don’t have one.
Then, the next morning we had brunch at our house with my parents. Remember when I made the Raspberry Coconut Bellinis? Yep, it was that day.
After brunch, I was cleaning up and realized that I had spilled some raspberries on the island, so I wiped them up with a sponge. And then I realized that they had stained the wood. SO naturally I had a minor freak-out and decided to use baking soda and vinegar to try to pull the stain out.
Mistake.
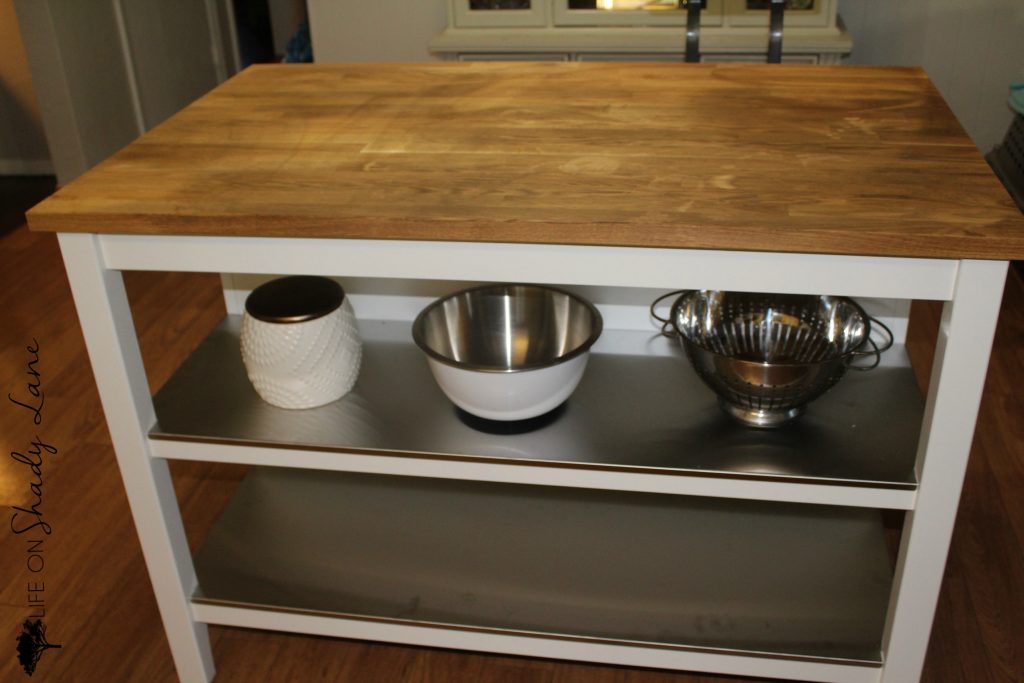
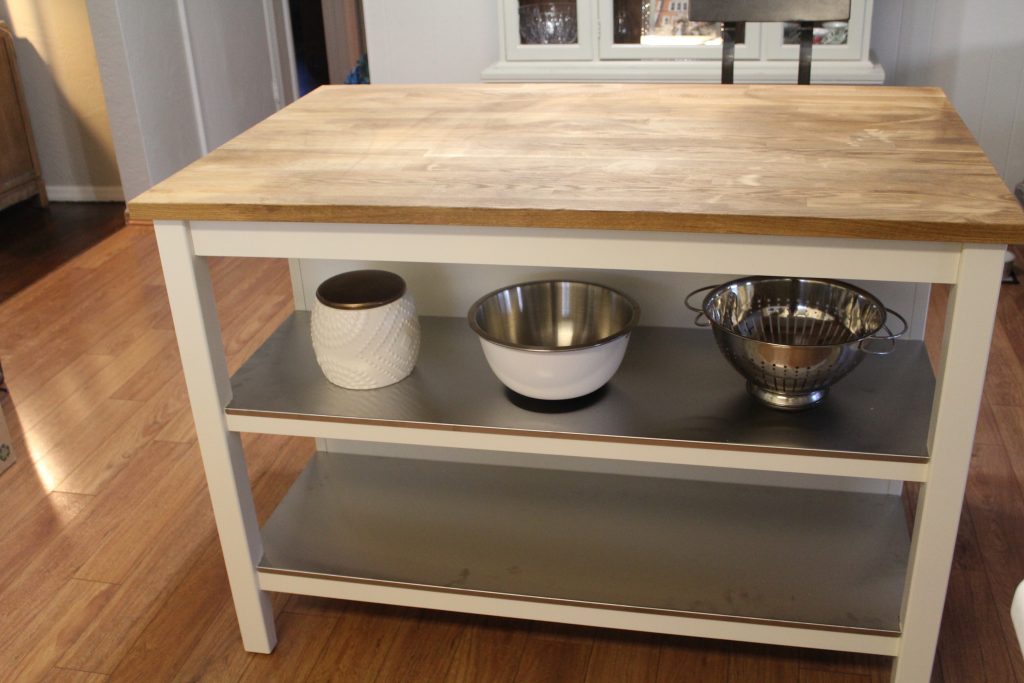
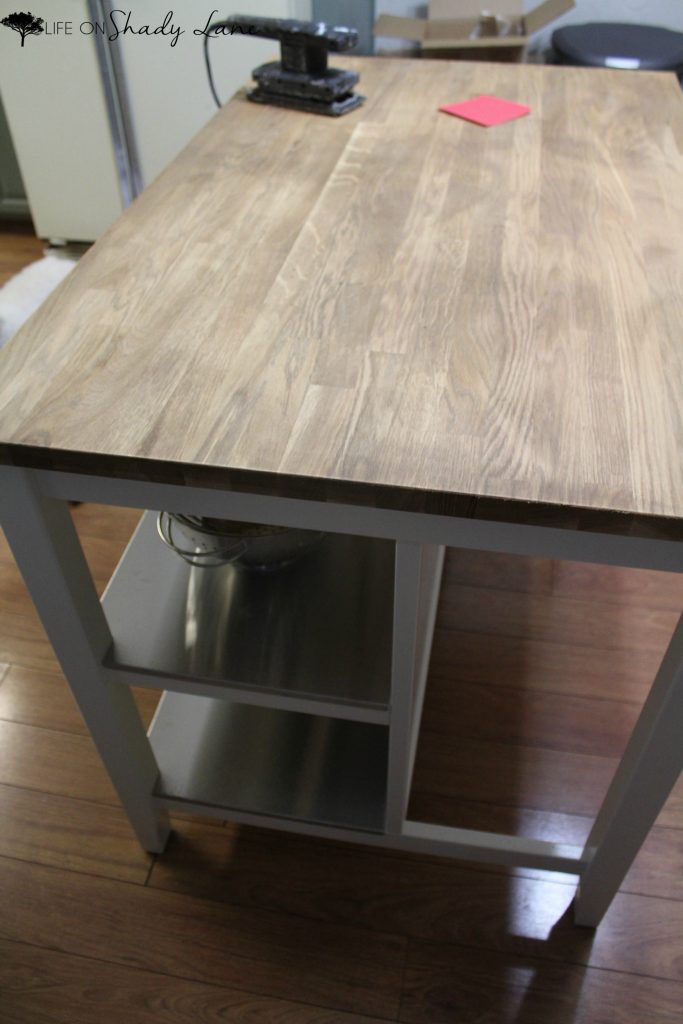
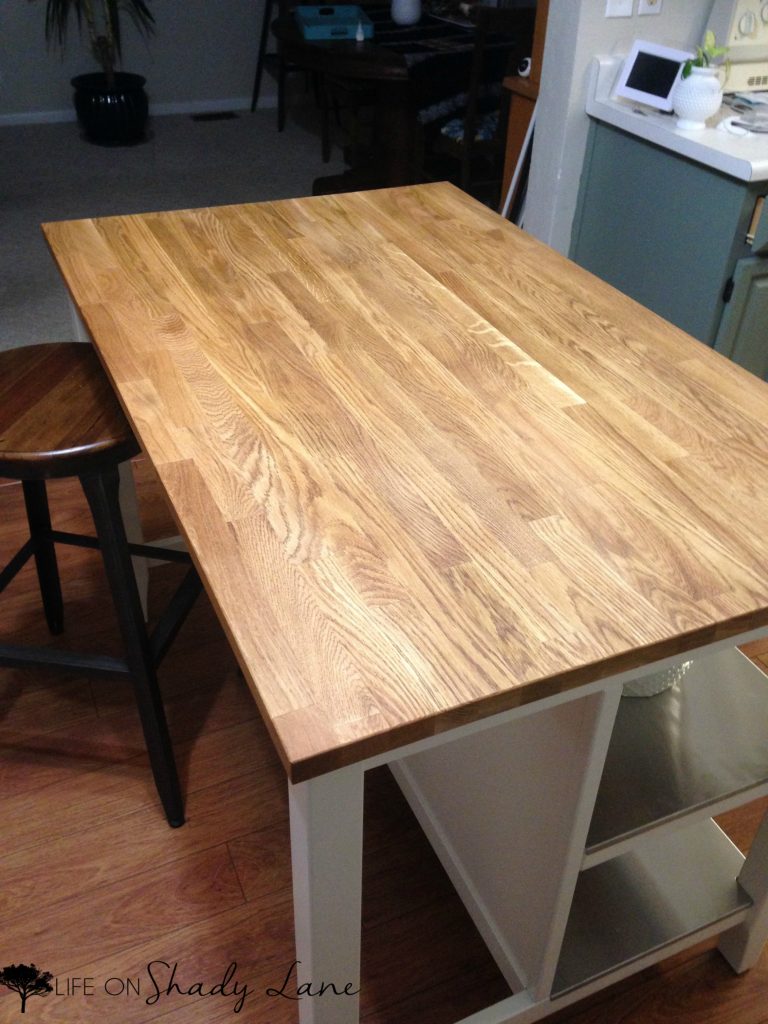
The island ended up like this:
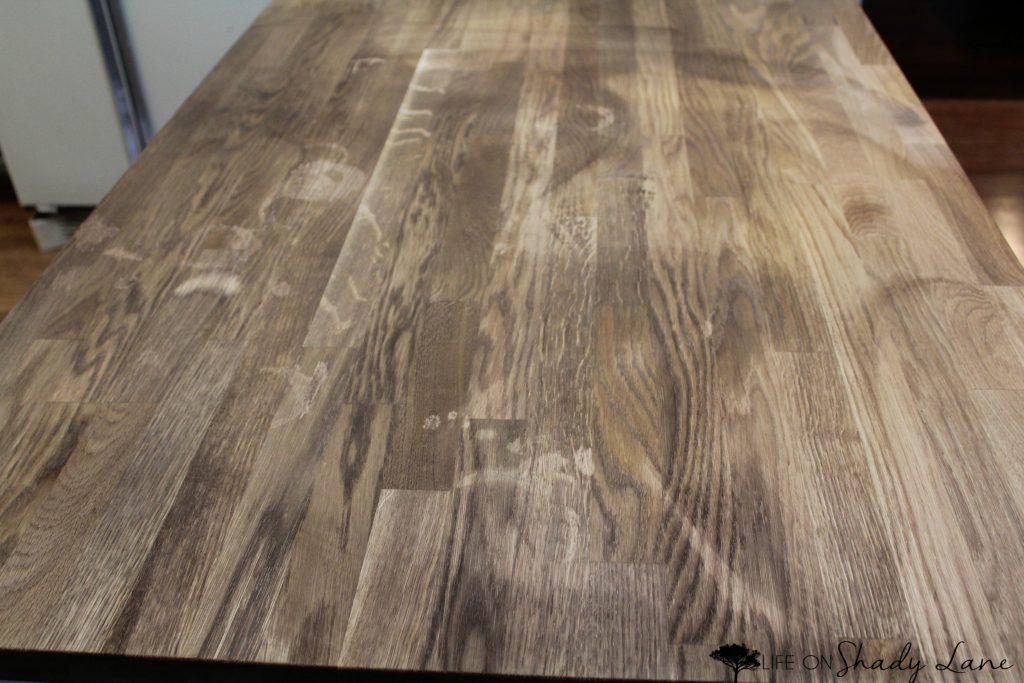
I decided to attempt letting the wood dry out for a few days, and each day I tried to convince myself that it was looking better. But it wasn’t. After a little bit of research, we decided that we would attempt to sand the island down and then oil it with butcher block conditioner to seal the wood. I used a medium-grit sandpaper, and began to hand sand it. It was improving, but only a tiny bit.
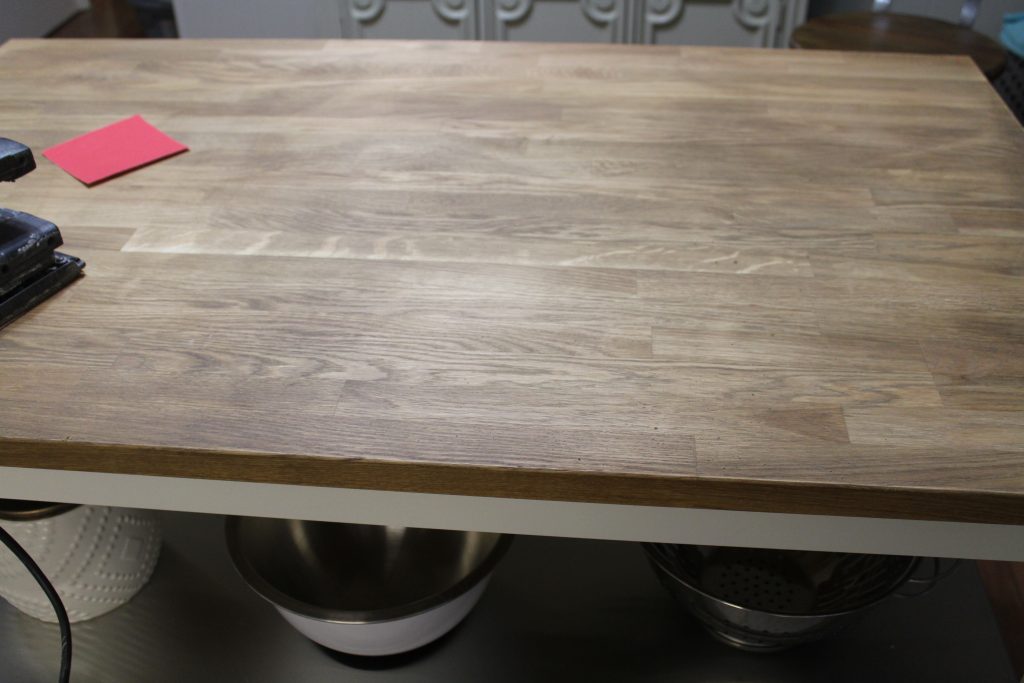
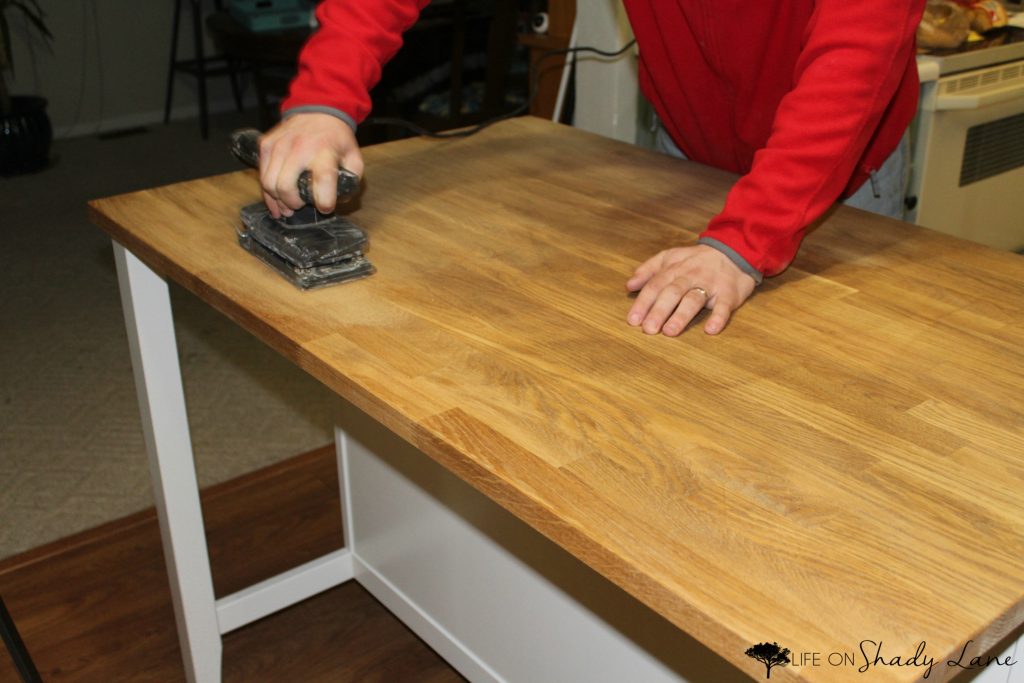
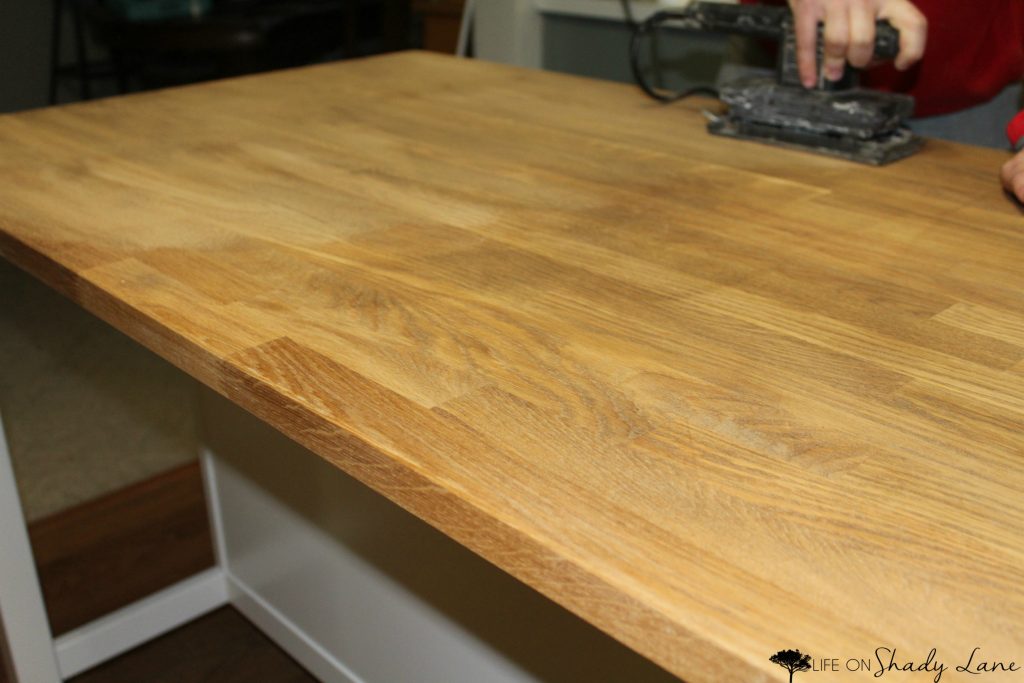
Brandon brilliantly thought to bring out the big guns: our palm sander. And that finally did the trick.
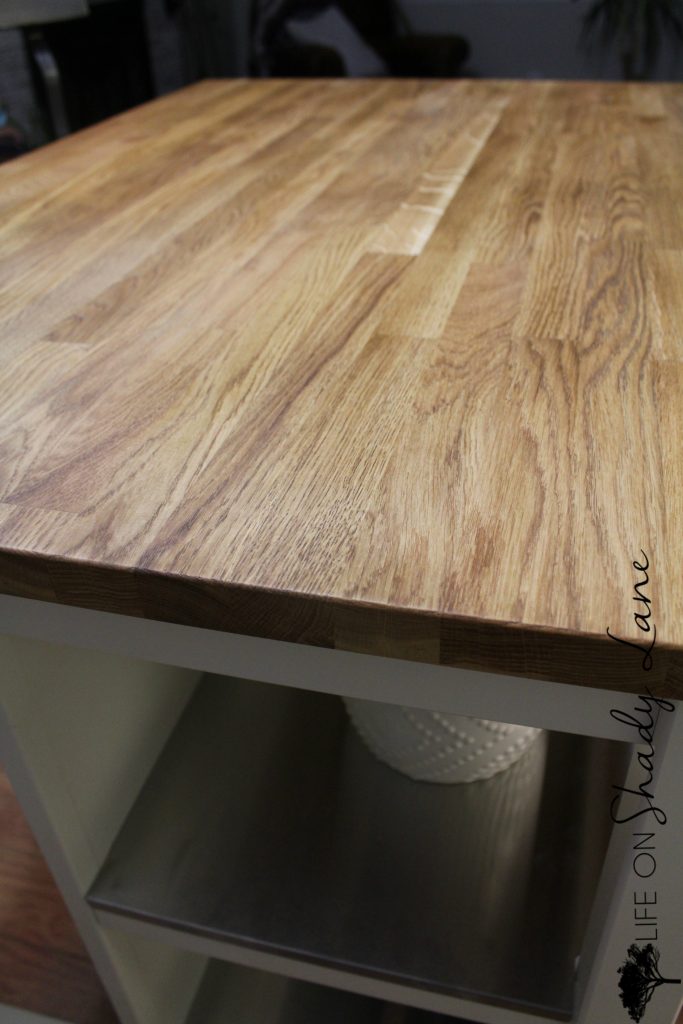
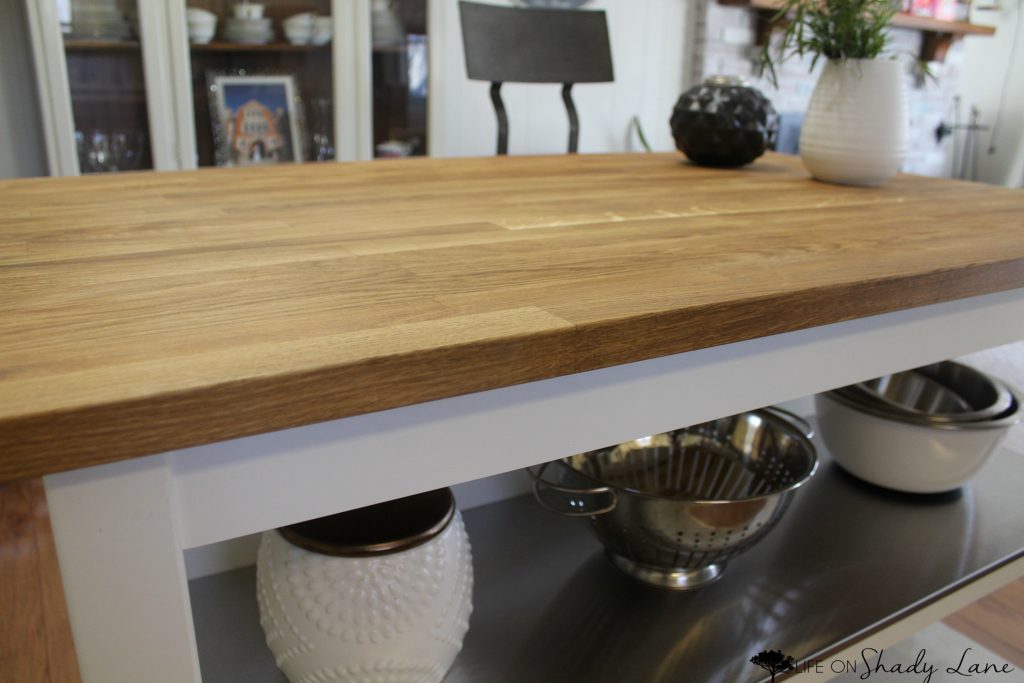
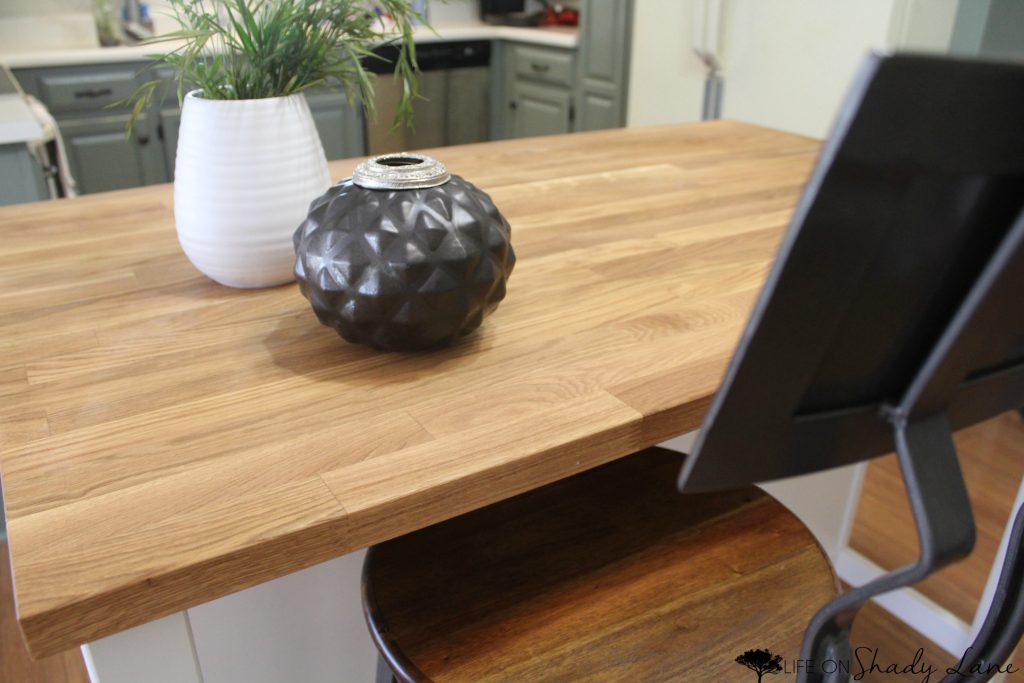
After the stains were all sanded out, we did what we should have done in the first place and used a cutting board oil/conditioner. Live and learn, right?
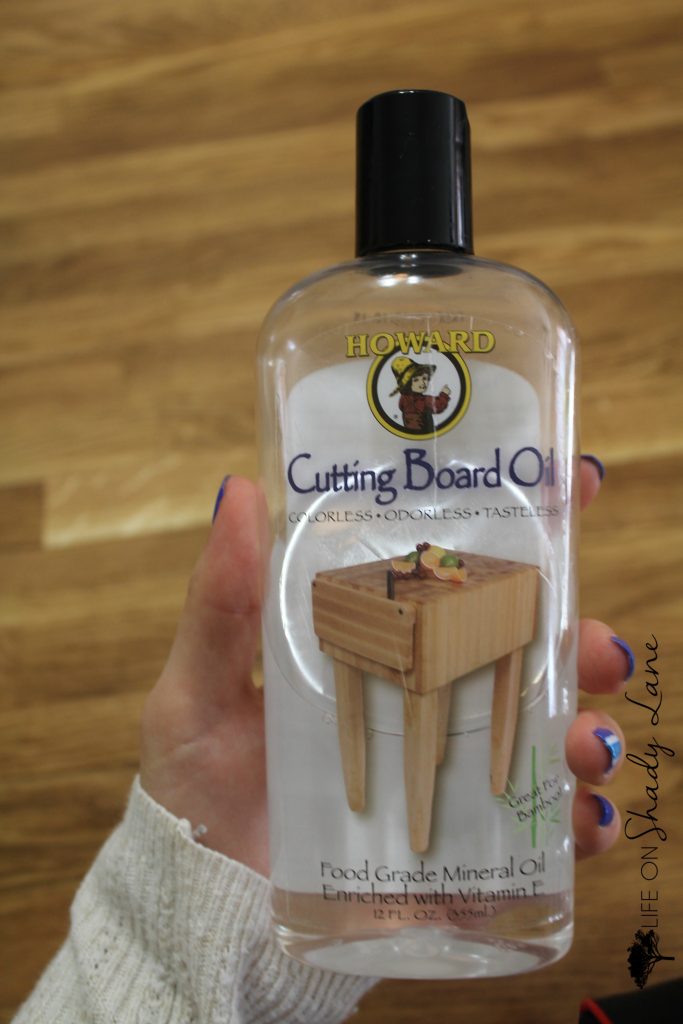
*Note: If you’re doing this, and think you might want to actually cut food on the island, make sure you use a “food grade” oil so that it’s food-safe! We used the conditioning oil once a day for about a week, and will continue to use it every so often, just to make sure the wood is properly conditioned and doesn’t stain again.
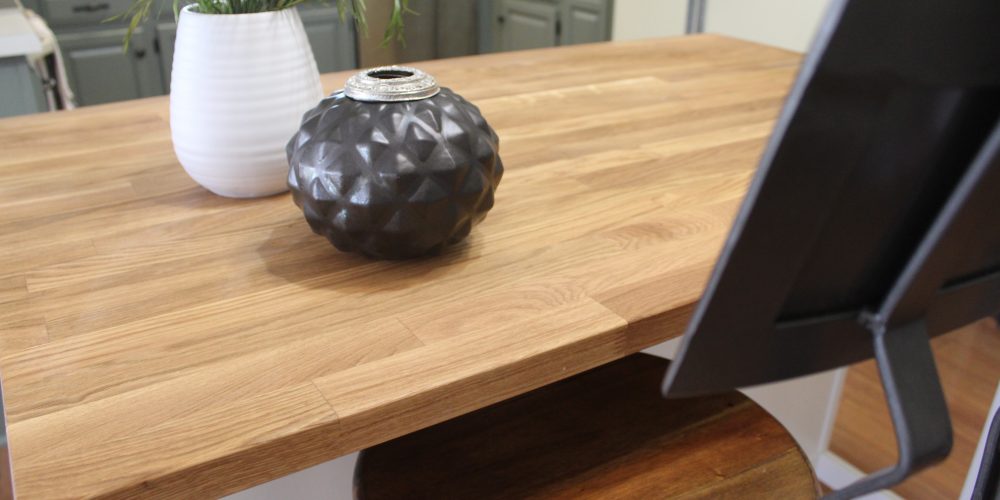
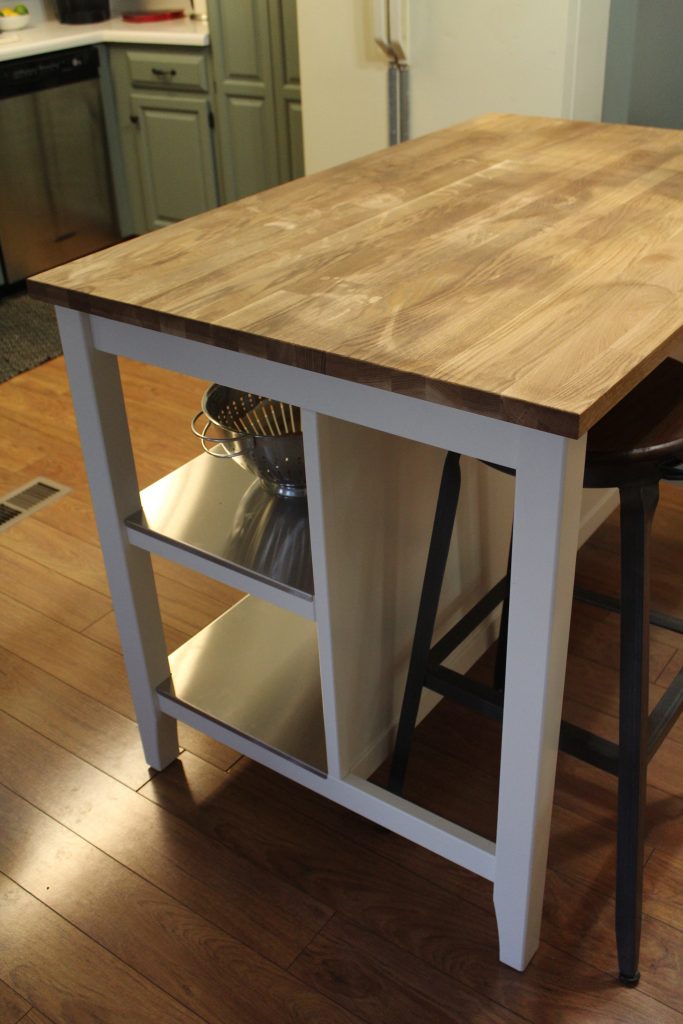
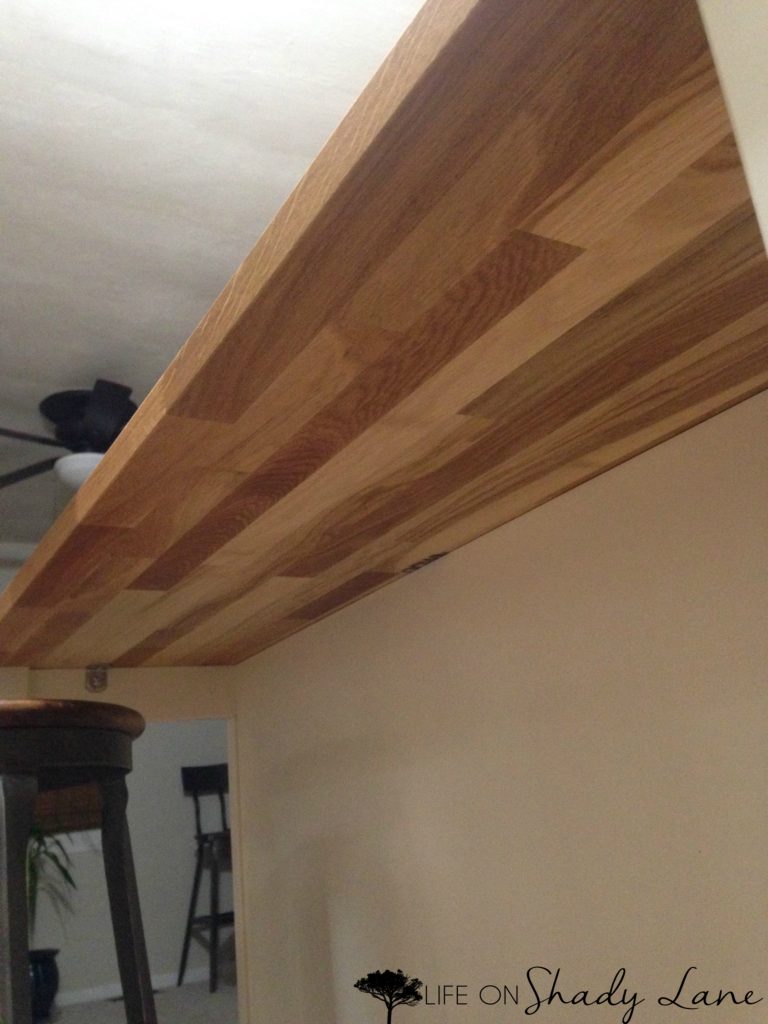
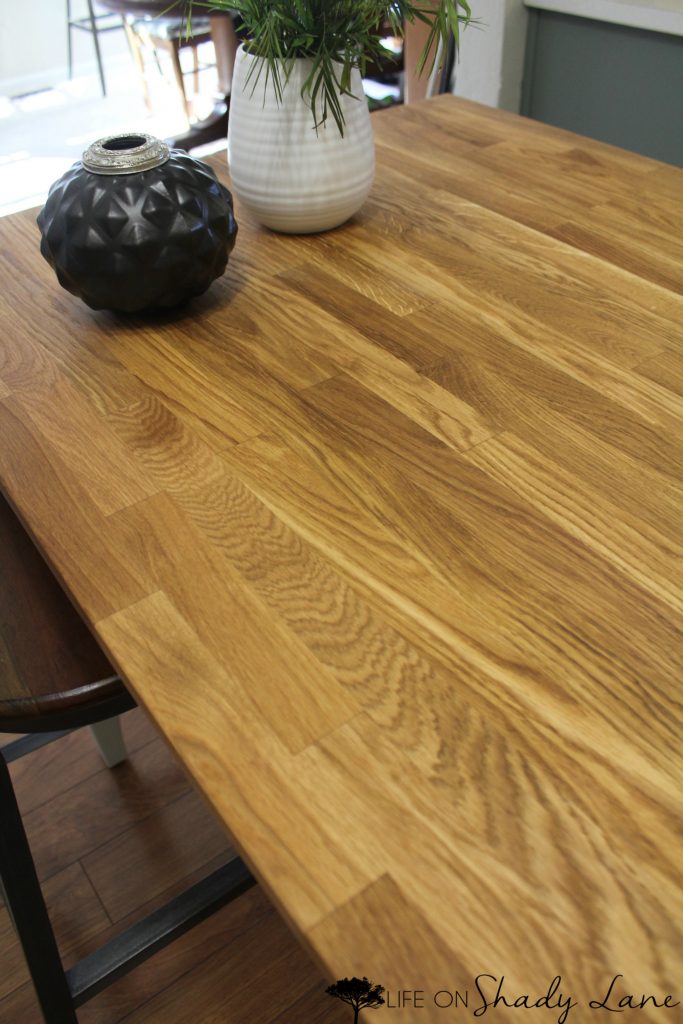
Plus: Below is a picture of the underside – how the wood looked originally. We realized that we love the look of the island so much more now than when it was brand new!
Moral of the story: do as we say, not as we do – oil your island BEFORE you use it! But, if you make the same mistake…don’t worry, it can be fixed.
I hope you’ll check out some of my other posts while you’re here, too!
See my DIY projects and inspiration [here]
Check out a home tour [here]
Check out some fashion posts [here]
I hope you enjoyed this How to repair a stained butcher block island blog post!


I did something very similar: freak out over a water stain then baking soda scrubbed it out. Now the area I did that to looks grey, just like your pics above. My question is: if I use butcher block oil/conditioner on it without sanding it, will that fix it. Full disclosure, I am staying at a friend’s place, so it’s not even my butcher block countertop (I feel terrible!) and don’t have access to a palm sander. But they do have a bottle of mineral oil butcher block conditioner. Advice? Help!
Oh no!! I’m not sure if it will fix it or not…but for sure worth a try! Let me know if it works! Good luck!!