I’m going to show you how to build a paver patio and fire pit ….in just two weekends! I’ve ALWAYS wanted a patio with grass between pavers – and this project turned out so awesome! It is our most used outdoor space, for sure.
This post may contain affiliate links
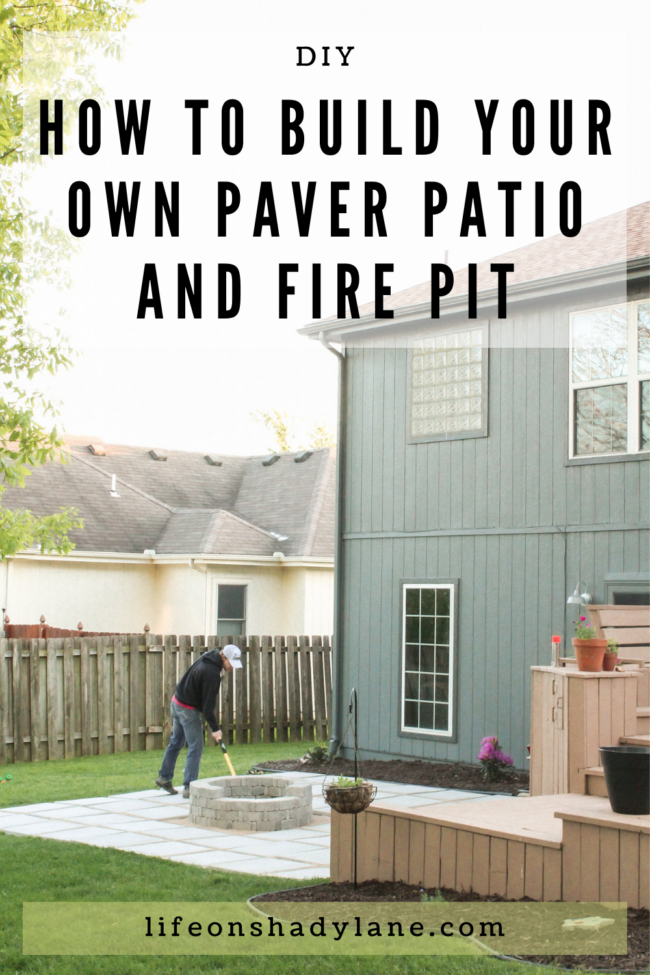
When we first walked through our house, I knew immediately that the backyard needed a patio. There’s a door off of our living room that went out to a really small concrete pad….and then grass. Basically a door that led to grass – it was screaming at me to put in a patio! ;) And you know, if we were going to build a patio…we needed a fire pit too. So we built one!
This space is where we hang out the most in our backyard now – we have fires all the time, it’s the perfect spot for hanging out when friends come over, or when we’re just hanging out as a family! We’re still using folding lawn chairs around the fire pit because I haven’t found the “perfect” furniture (we still don’t have any on our deck either – all in due time!). I’m actually not in a rush, although it would be really nice to have some comfy seating. I’ve been trying to decorate this house slowly, choosing only furniture that we LOVE.
So let’s talk about how we built this patio, shall we?
————–
I hope you’ll check out some of my other posts while you’re here, too!
See my DIY projects and inspiration [here]
Check out a home tour [here]
Check out some fashion posts [here]
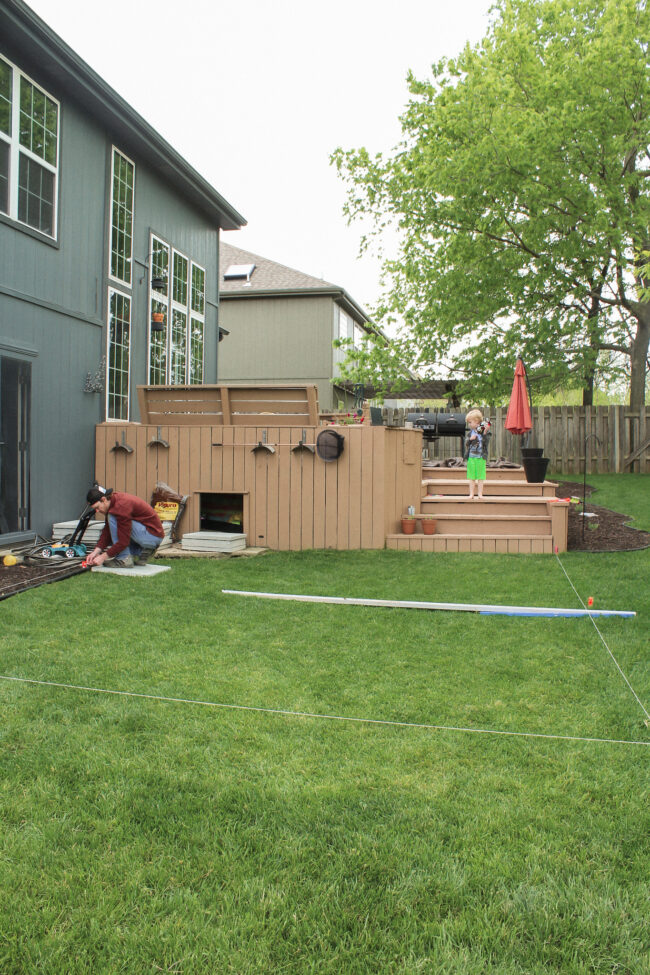
Here’s what the yard looked like before we built the patio. See what I mean about that door leading into basically grass? We were just starting to map out the patio’s dimensions and testing out one of the square pavers to get an idea of how they’d look (you can see it next to the concrete pad by the door).
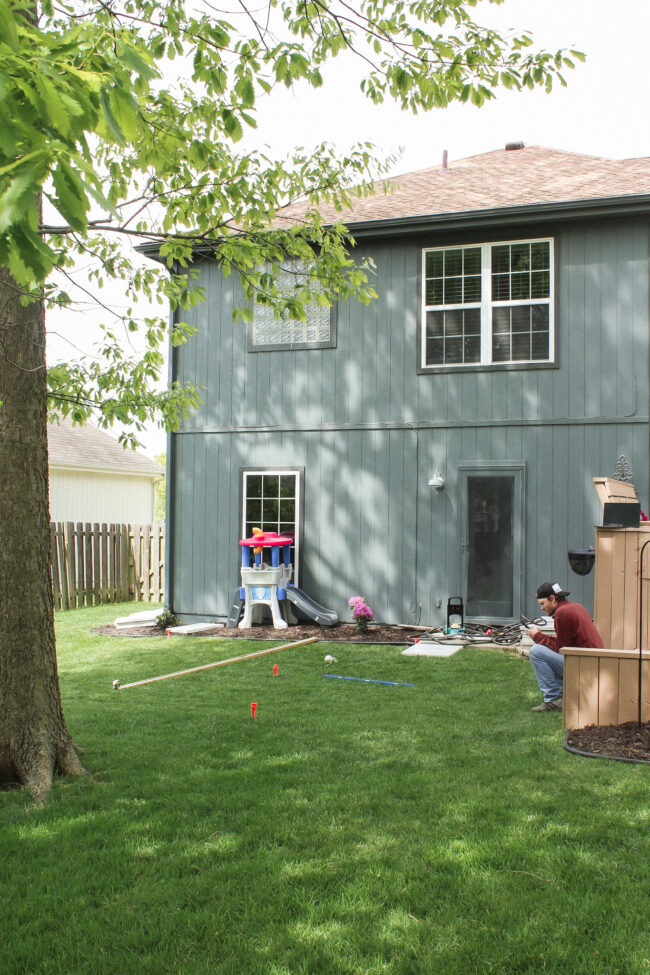
Step one: Use string to lay out the edges of your fire pit area. First we figured out the dimensions of the patio so that we would not have to use any partial pavers. Once we knew our dimensions we did the layout with our mason’s string line.
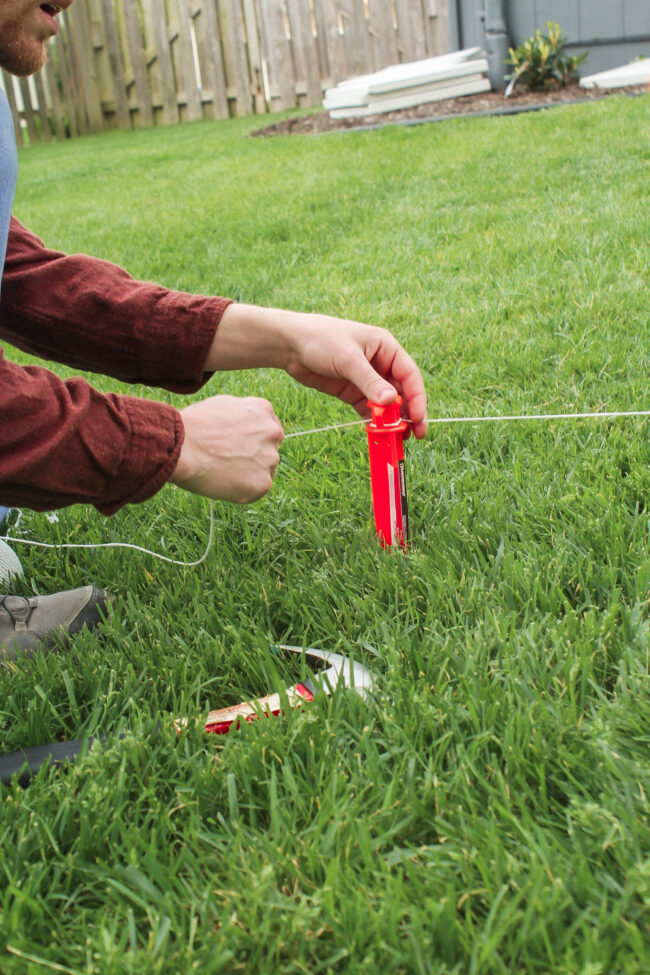
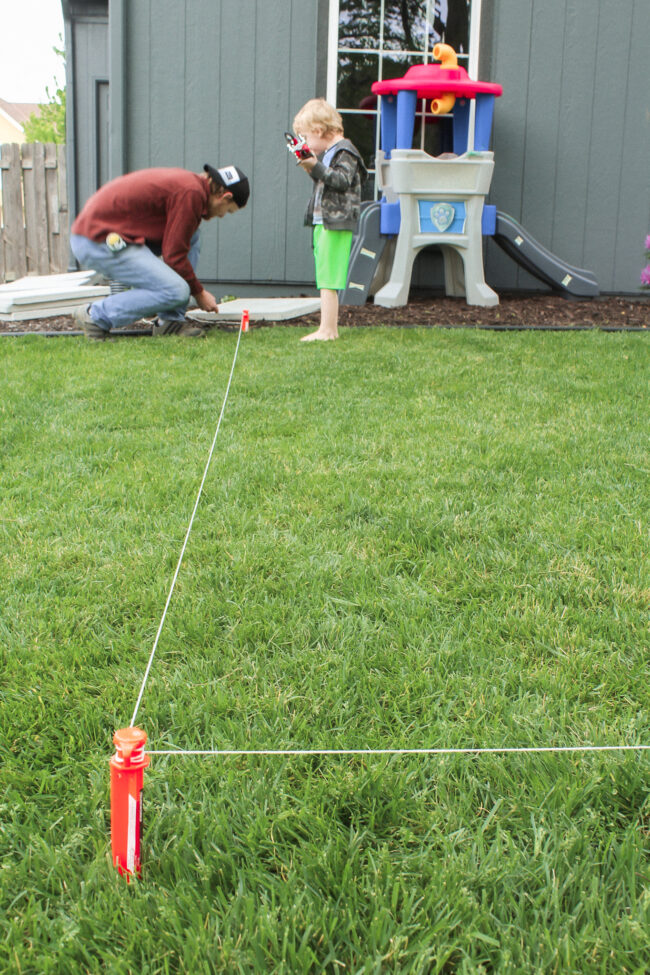
Step two: fill your marked off patio area with paver base. You’ll need to level the paver base out. We kept our string line 3 inches off the ground around the perimeter, and we also ran a string line diagonally through the center…also 3 inches off the ground. This helped to guide us in leveling our paver base.
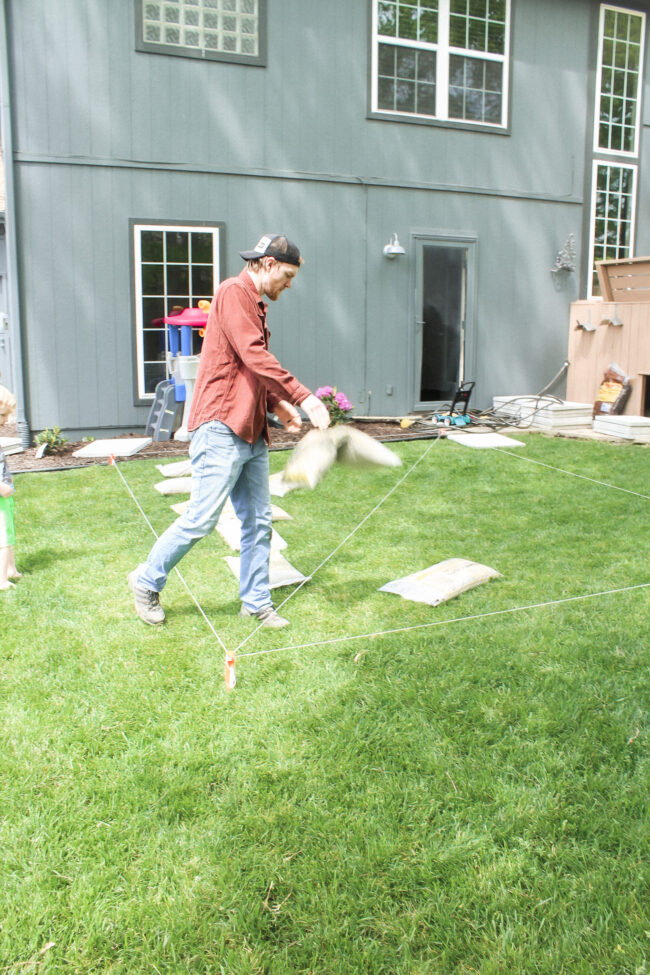
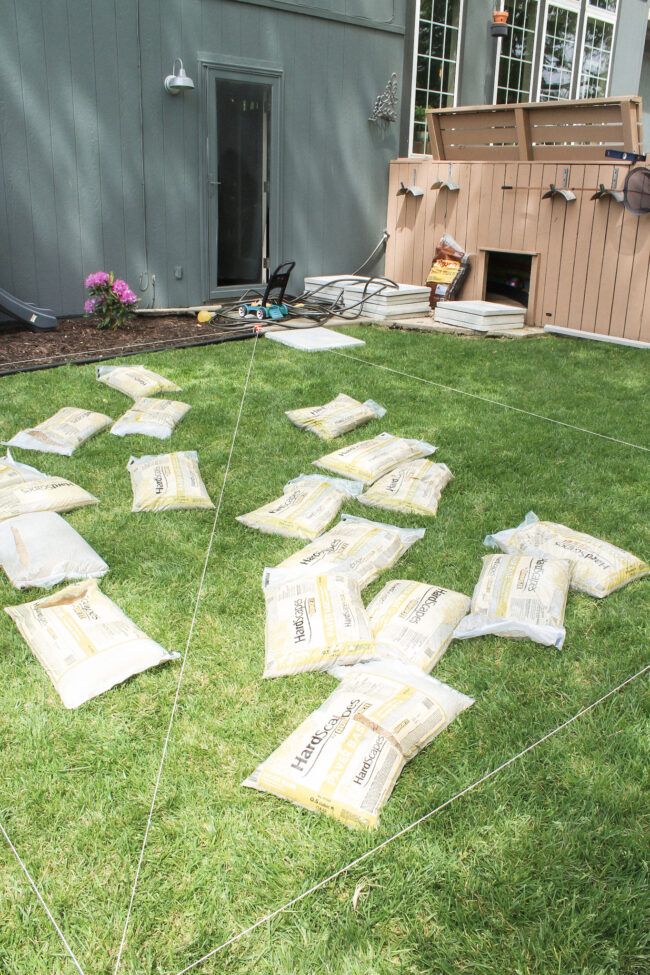
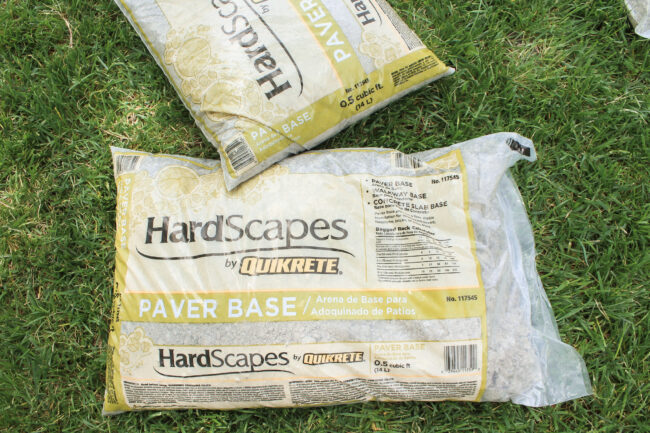
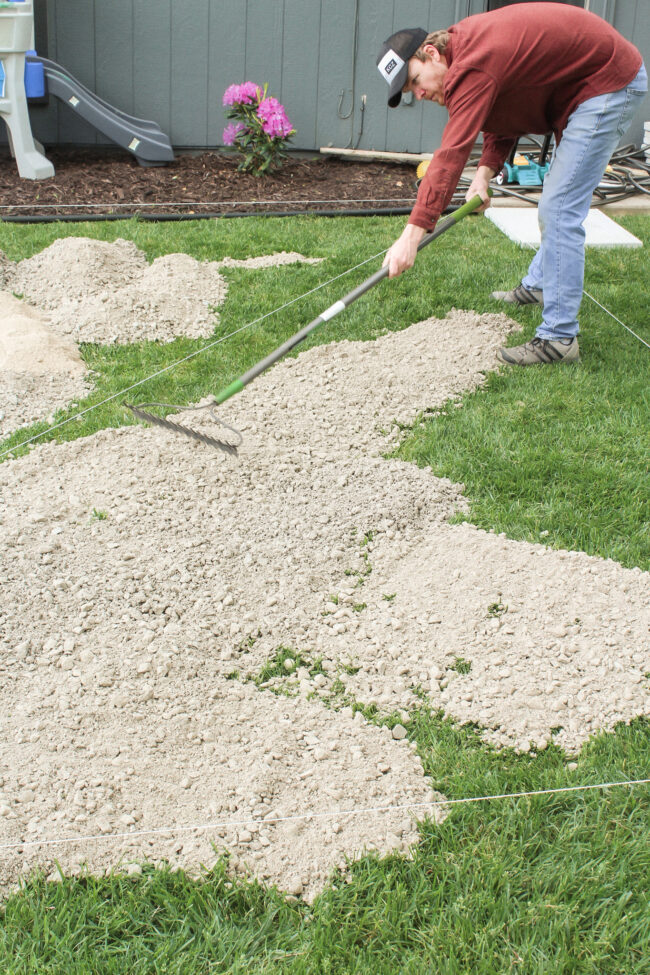
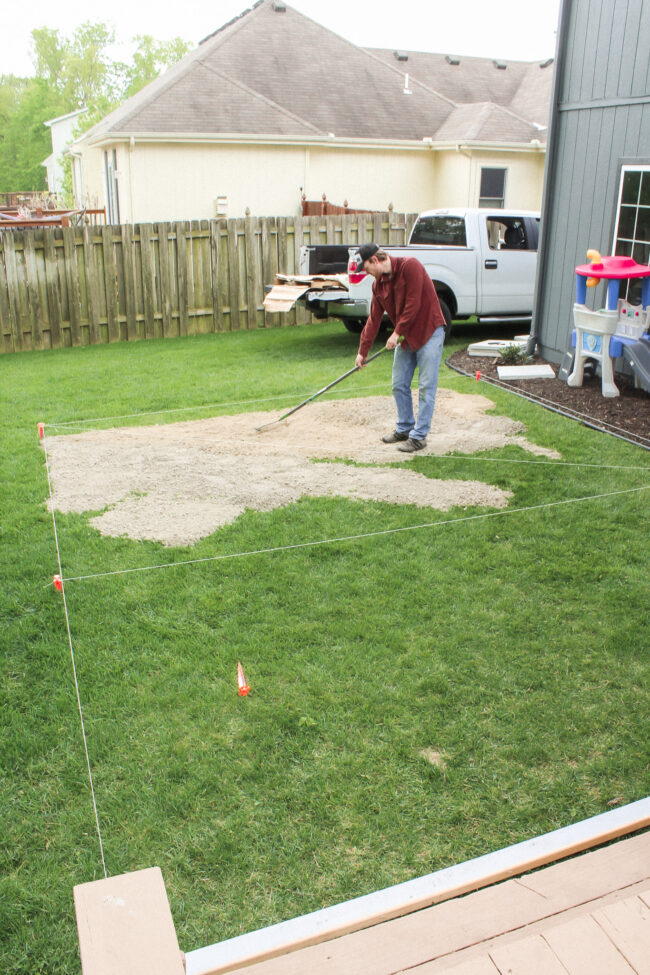
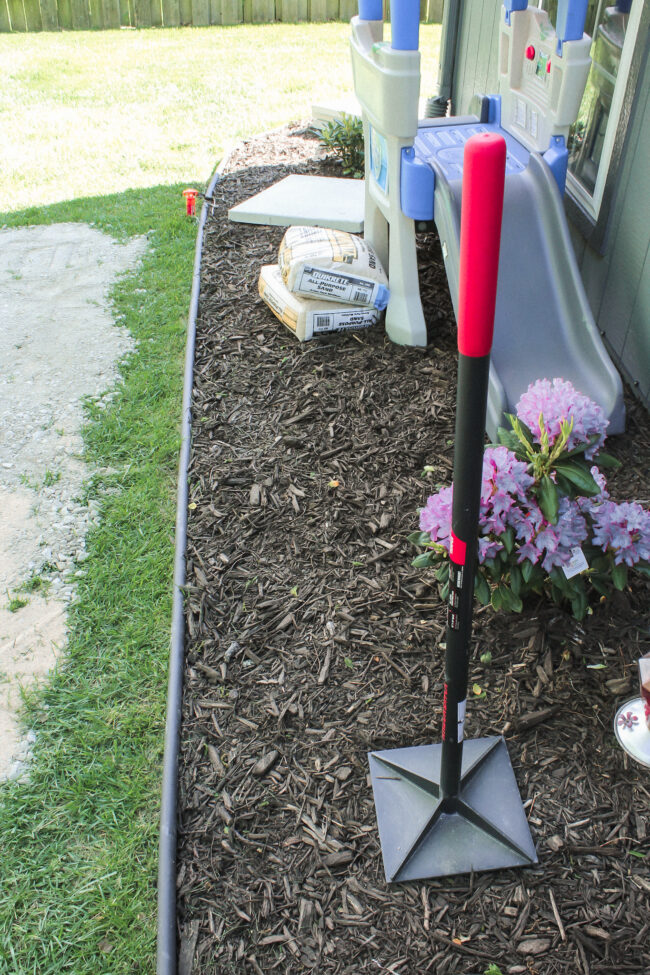
Step three: tamp your paver base down with a steel tamper and then mark your fire pit out with spray paint. *We chose our fire pit location so that we could use full size pavers without cutting them. Just a little extra planning makes the job a whole lot easier!
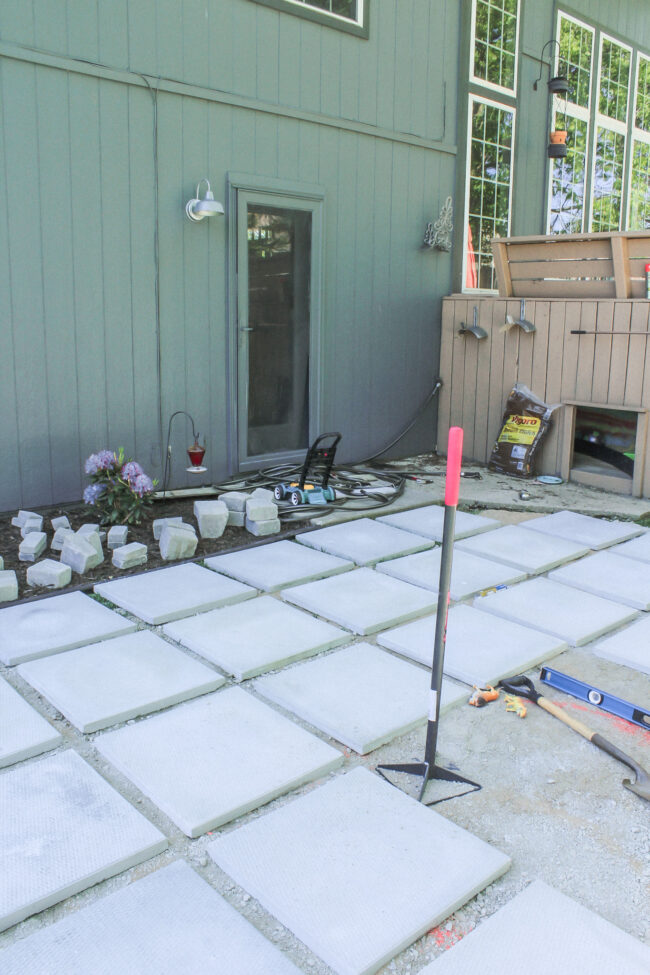
Step four: begin to lay your pavers out. We used 24 x 24 inch pavers and spaced them all out with two 2×4’s so they would be an equal distance apart on every side. We began from the outside edge, but looking back I think it may be smarter to begin from the INSIDE edge (where our mulch bed is) so that we would have the same spacing up against our mulch bed.
Buy similar 24 x 24 pavers here
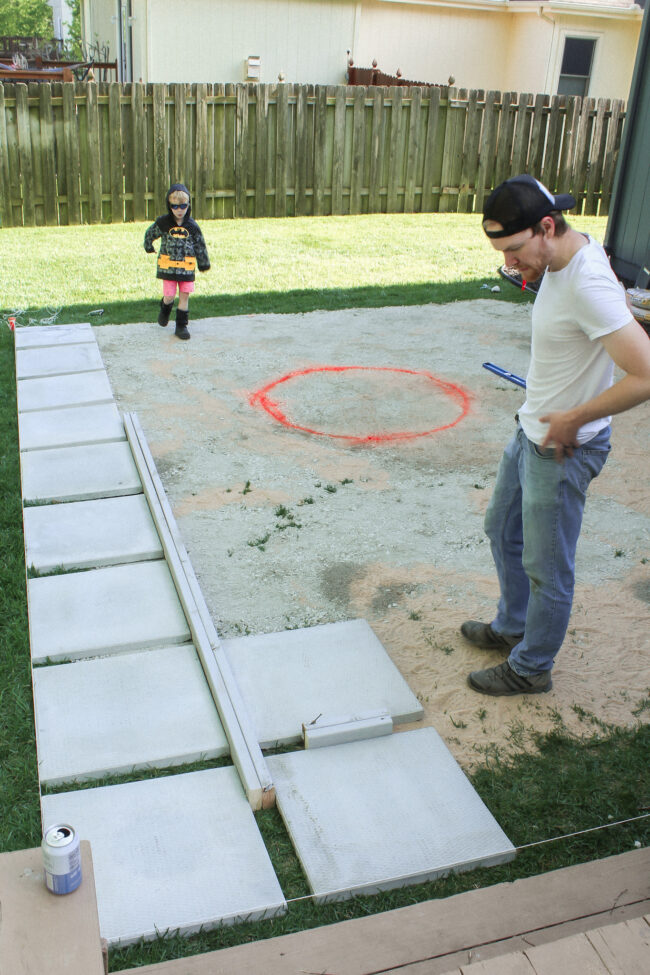
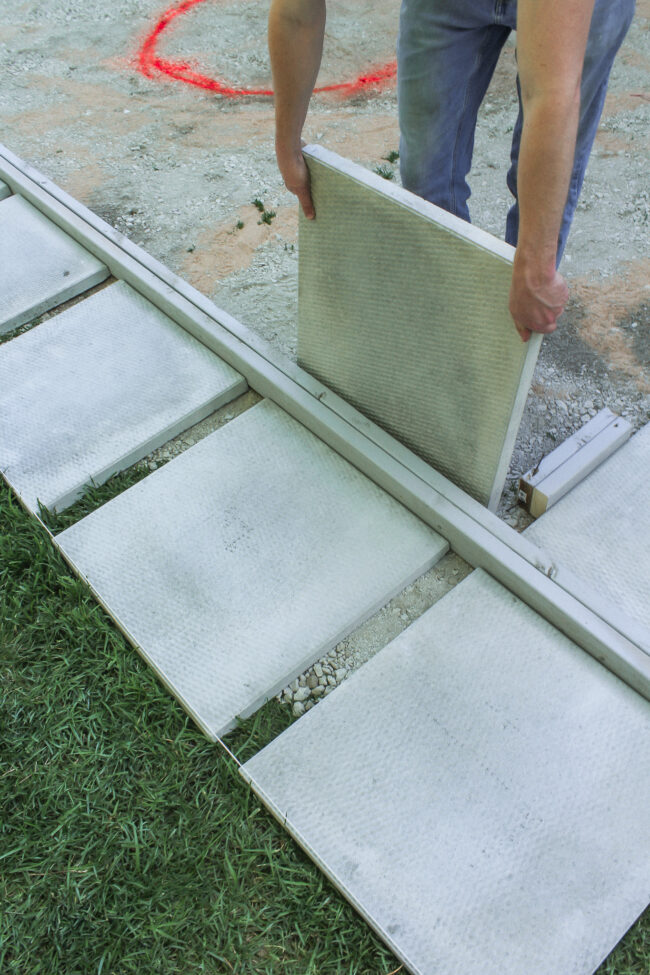
Continue to lay your pavers, but leave space for your fire pit, of course!
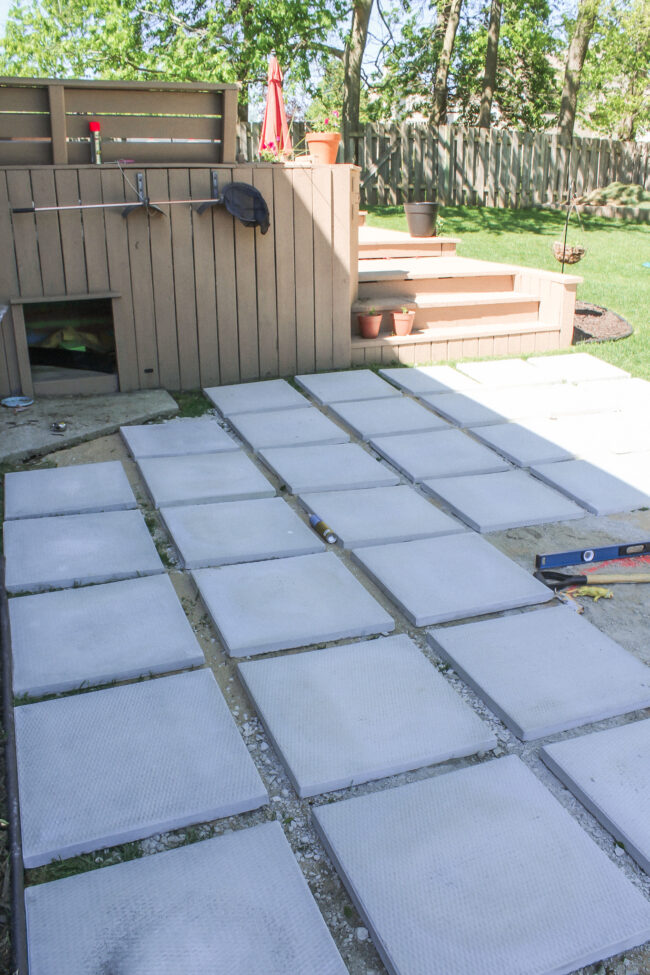
Once you’re finished laying all the pavers out, tamp the empty fire pit area down really well once more. This will make the ground your fire pit will sit nice and compact so that it won’t shift as much over time.
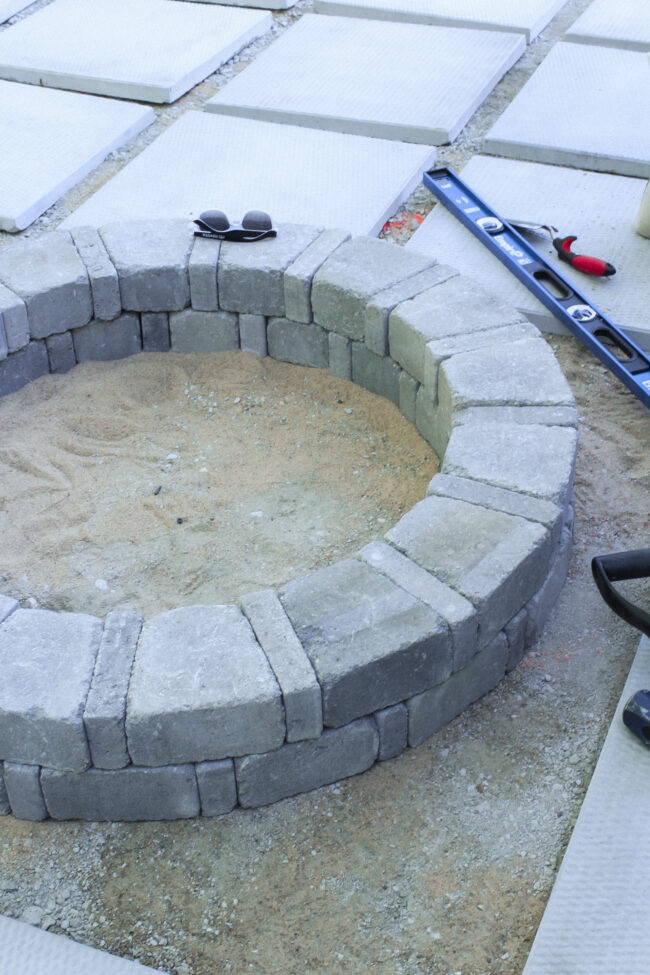
Step five: begin to lay out your fire pit stones. We used a kit similar to this one for ours.
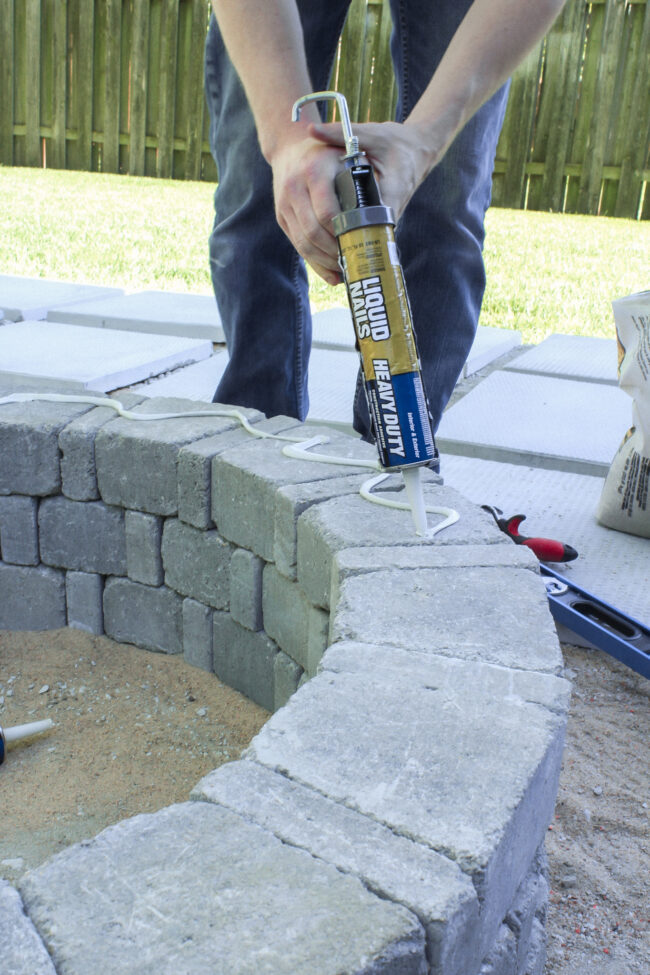
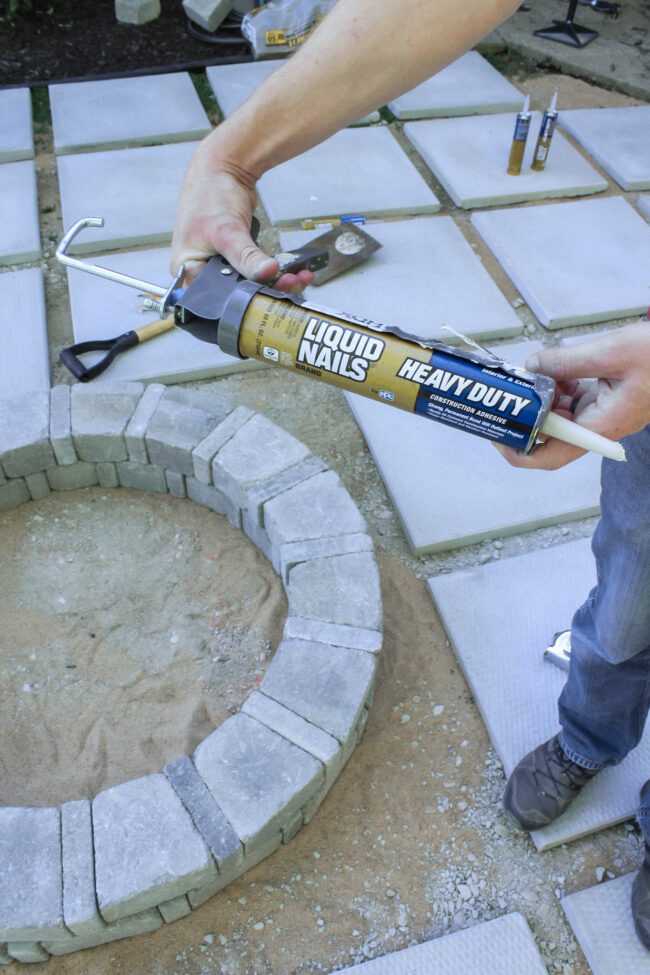
We used Liquid Nails to keep the stones in place.
PS: you’ll need a caulking gun too!
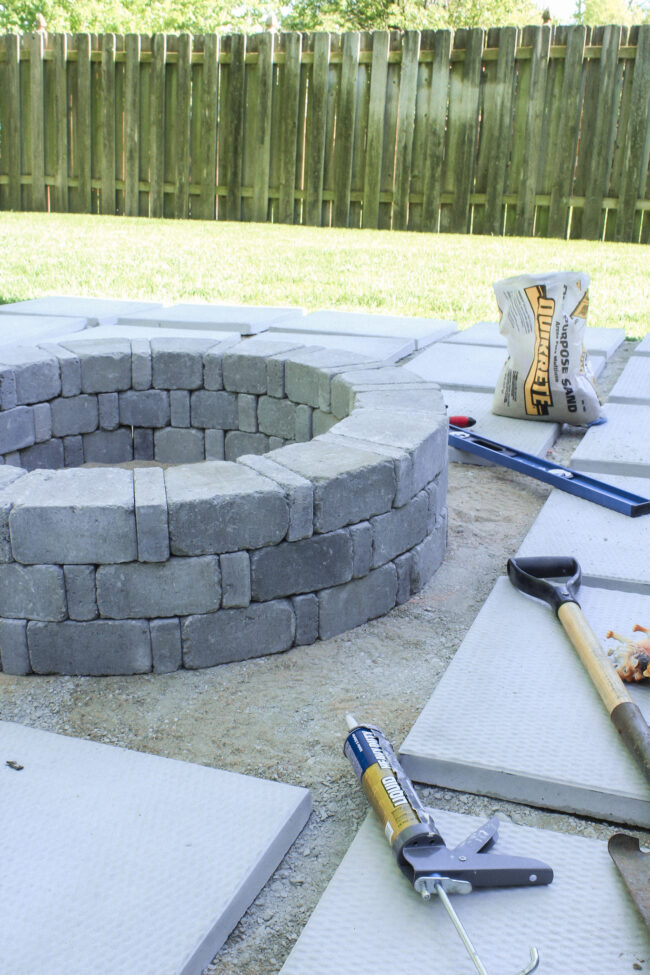
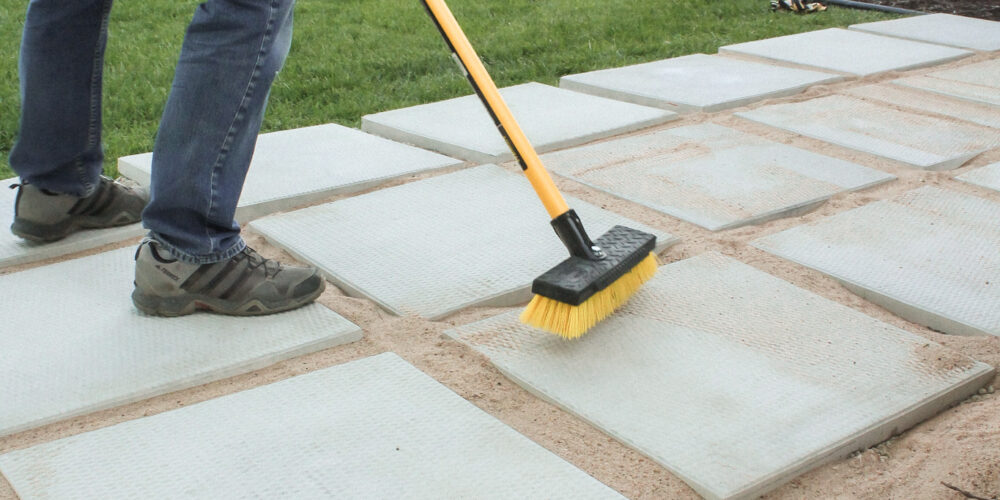
Step 6: Fill in the spaces between your pavers with whatever material you’d like – we used sand and then cut turf strips to lay on top, but you could also use smooth pebbles, dirt and real grass, etc.
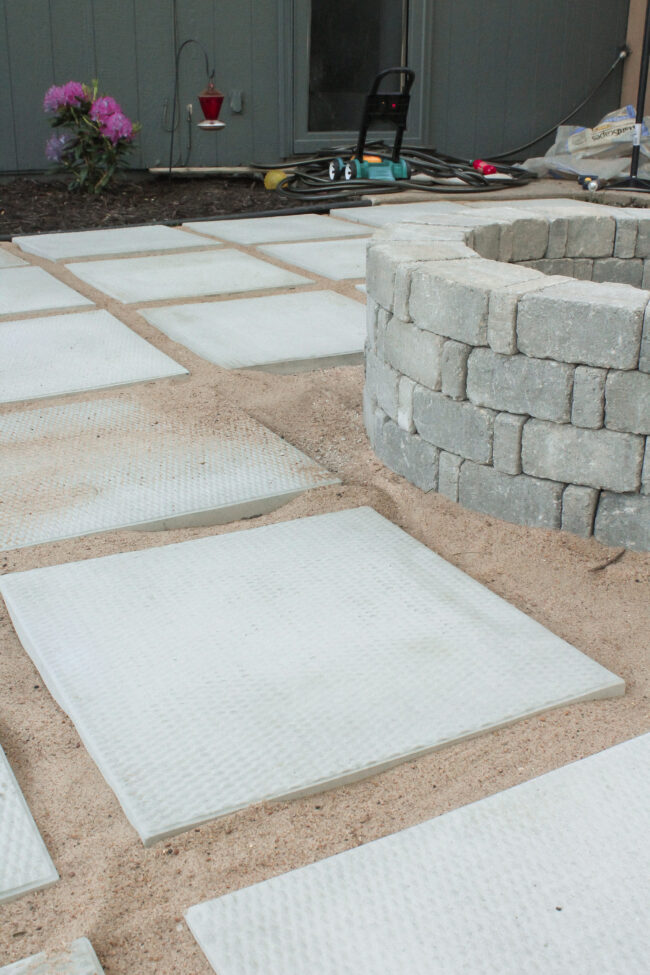
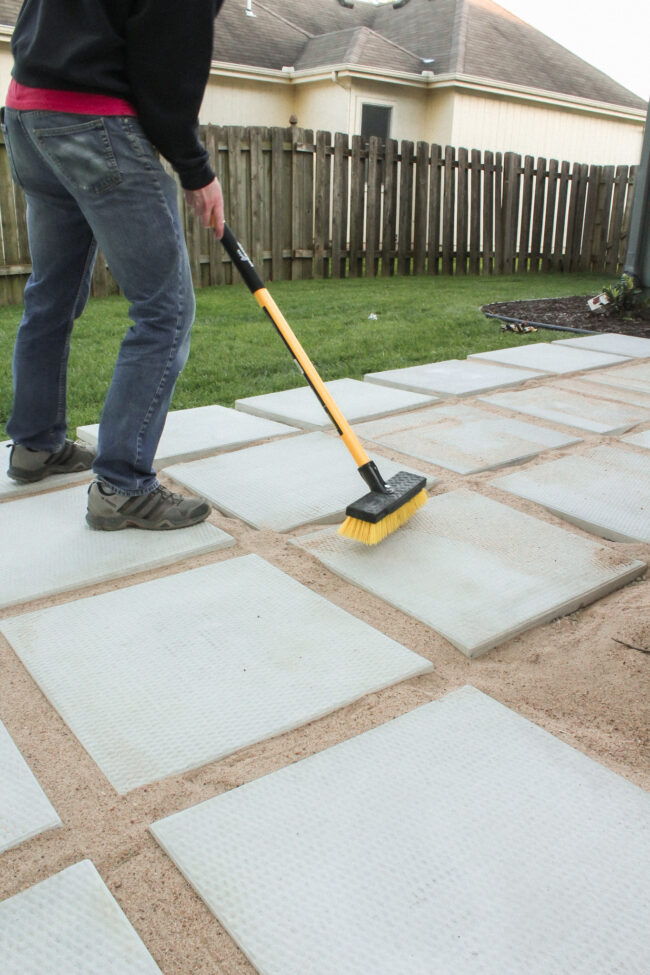
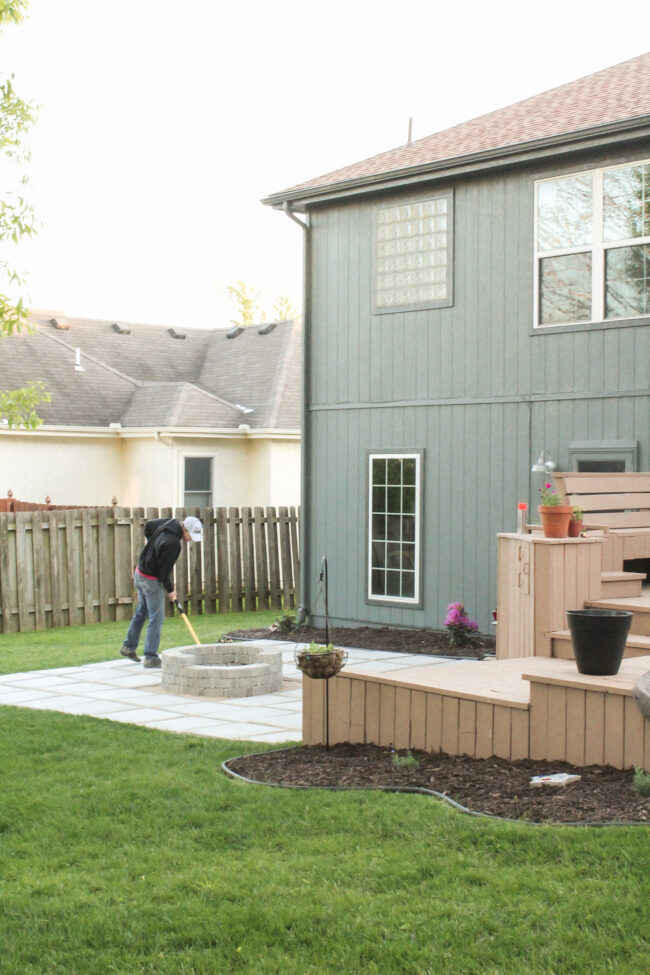
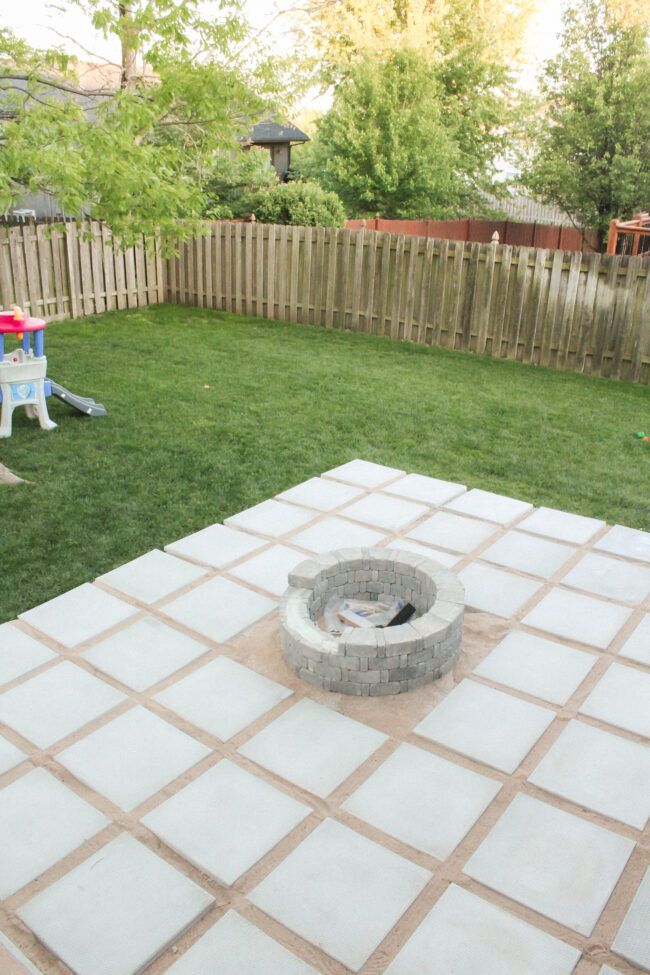
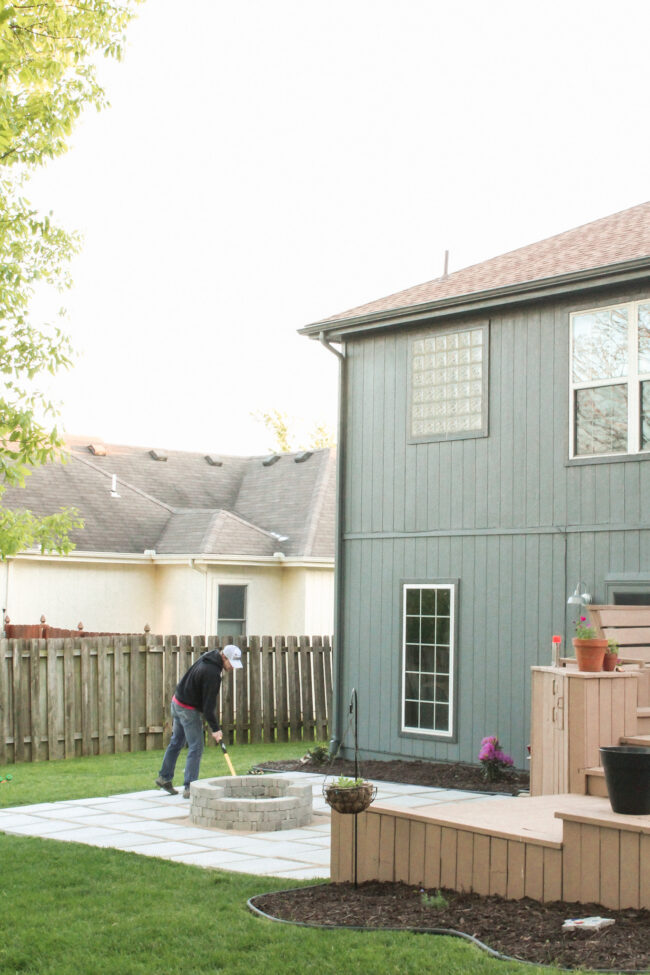
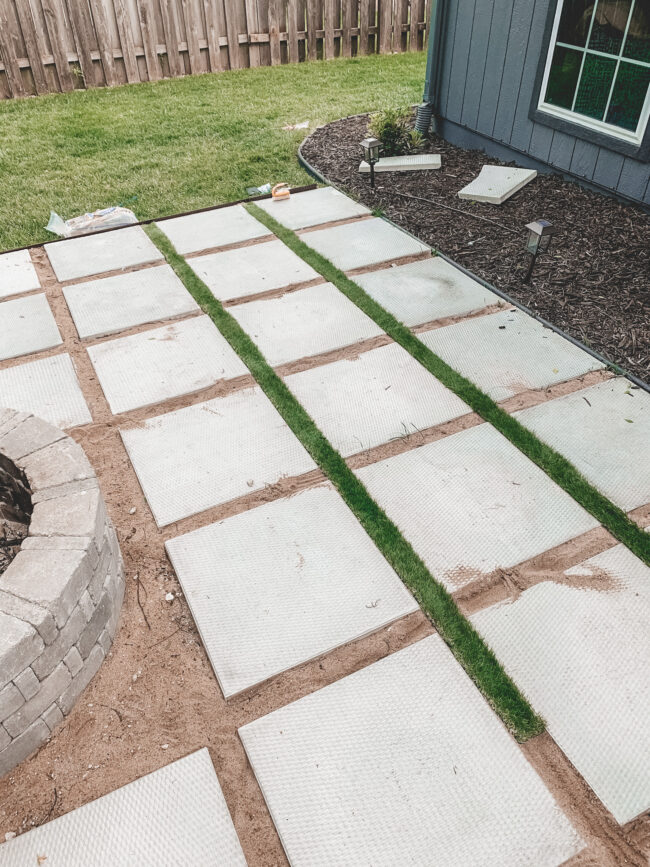
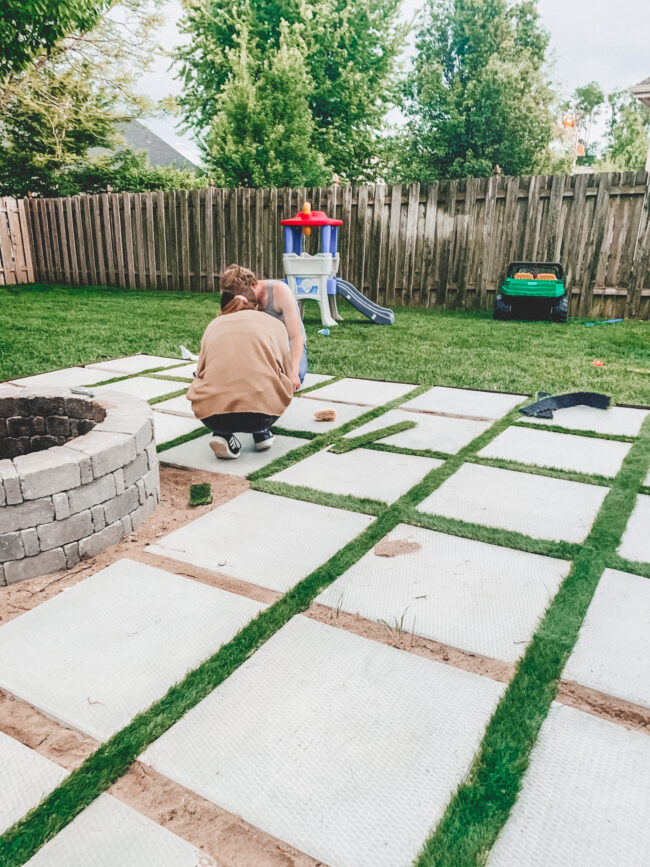
Here’s the finished product:
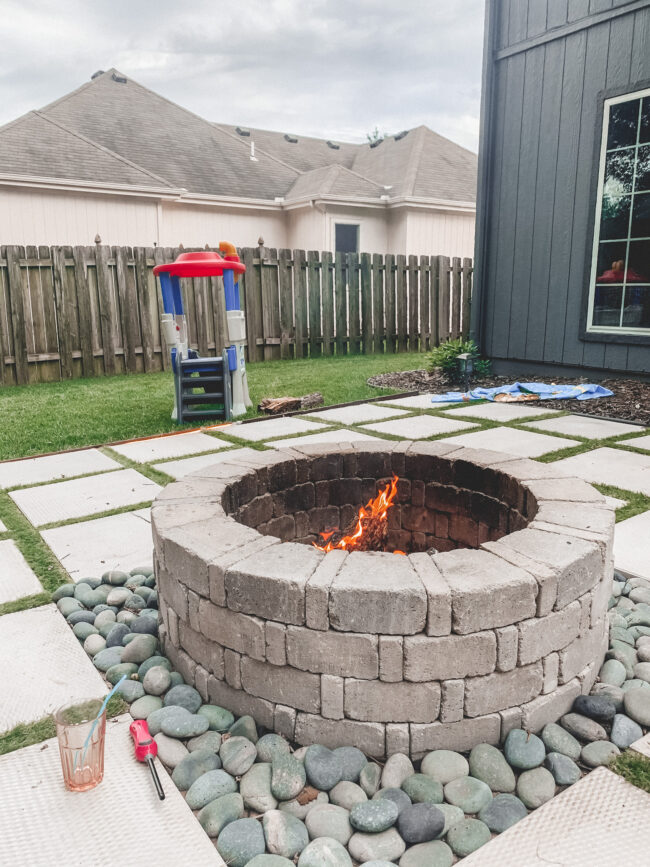
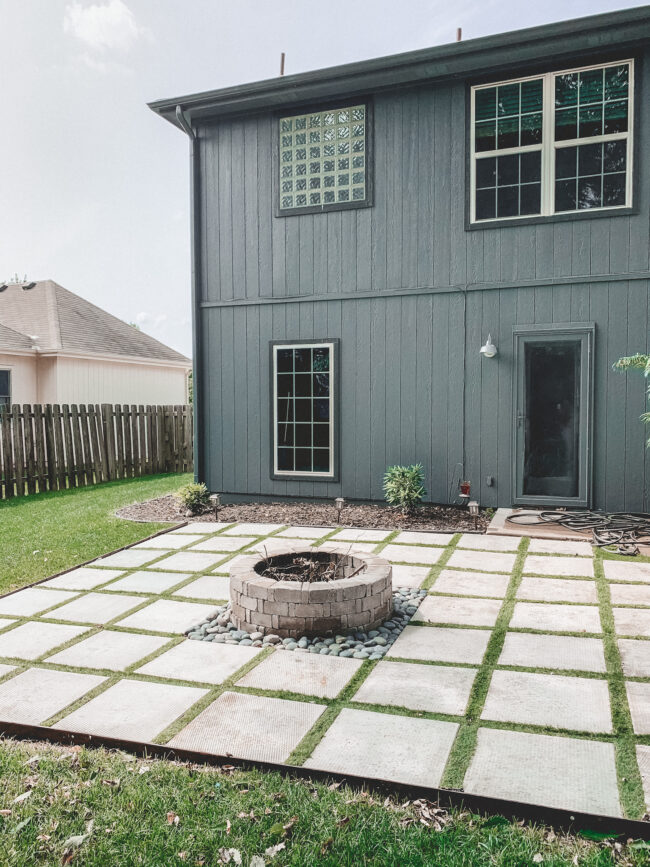
I shot these really quickly with my iPhone so I could get the blog post up – I apologize for the quality! LOL This has been my most requested post so I honestly just wanted to get the dang thing up (since it’s already been MONTHS since we finished it!). There’s still plenty of time to build one in your own back yard and enjoy it this fall if you want to!
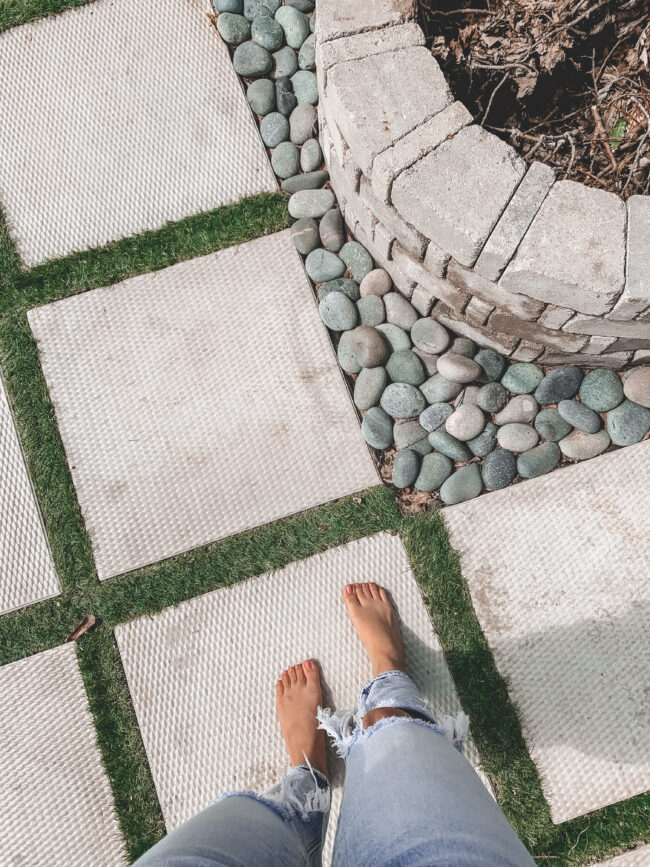
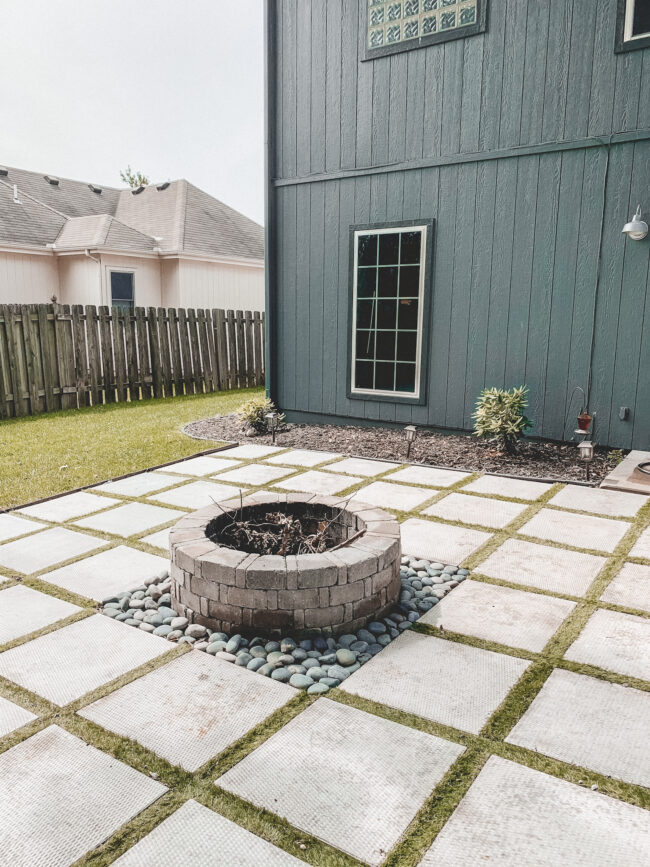
*We sealed our pavers with wet-look concrete sealer. Totally optional but we wanted to protect them from the elements a little more!
Buy wet-look concrete sealer here.
*I mentioned this above, but we used an artificial turf on top of our sand. We cut strips that fit into the spaces and then secured them with landscape staples. When I first envisioned this project, I knew I wanted grass between the pavers. We considered planting real grass, but that seemed like far too much maintenance …and then we thought about using rock in between the pavers. I’m so, so glad I went with my gut though and built a patio with grass between pavers (even if it’s artificial, it still accomplishes the same look and is ZERO maintenance!).
We plan on adding a custom fire pit ring insert with a removable grill top soon. The insert will protect the stones from fire/discoloring…and the grill top will just be fun to use! ;)
Optional: add metal edging around the patio. We did this to help contain the sand and to kind of lock everything in place a little more.
————–
I hope you’ll check out some of my other posts while you’re here, too!
See my DIY projects and inspiration [here]
Check out a home tour [here]
Check out some fashion posts [here]

