Our upstairs bathroom: shiplap, tub, flooring, and vanity – so many updates, and so close to the finish line!
HOLY cow, you guys, it has been so long since I posted an update on our upstairs bathroom. You can see how it looked in my last post [here]. If you’re new around here, let me tell you a little about how our home renovations go: I dream up an idea, my husband, Brandon, does the heavy lifting (and demo, re-build, etc.). Then I do finishing touches (paint) and decorate/style the space.
And also, if you’re new around here, you may not know that Brandon has a full-time job AND builds homes (Shady Lane Homes – check us out on Instagram!). Oh and then there’s the fact that we live in a fixer upper and have two small children. Life is busy, to put it lightly.
This bathroom started out in a scary place. So scary, that nobody in my family ever even used it. It sat for about two years (!!) after we moved in, and then when we found out we were having baby #2, we realized that we needed to finally finish the upstairs because we would need more space. At first, we planned on gutting the bathroom and keeping the exact same size/layout…just new “finishes.”
Then, that spiraled into a much larger project. Because we are out of our minds.
We decided to rip out the bedroom closet that butted up against the bathroom, seal off that closet door, and expand the bathroom. We decided to move EVERYTHING around. Which involved new plumbing and new electrical. My friends tell me that having a good emergency plumber is critical but luckily we didn’t need to use one. Everything went to plan!
Did I mention we are out of our minds?
So, this renovation has taken a while. But you guys…I’m so glad we made the decision to expand the original bathroom footprint because I AM SO IN LOVE WITH THIS ROOM and it’s not even finished yet!
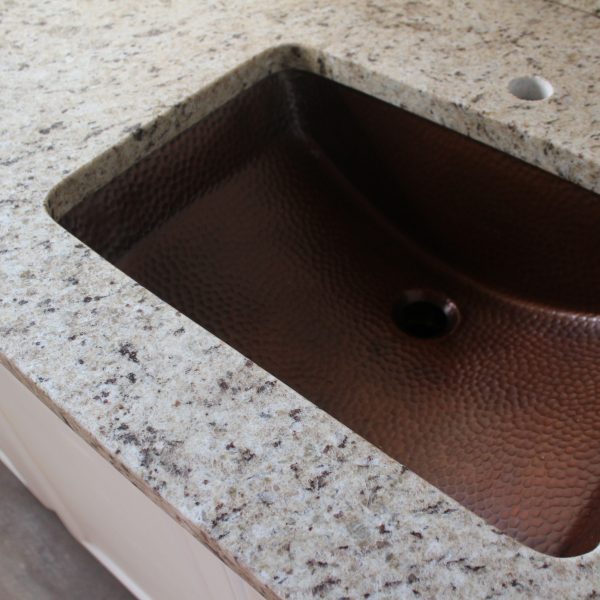
It has lots of my favorite things: white shiplap, warm woods, clean lines, copper…
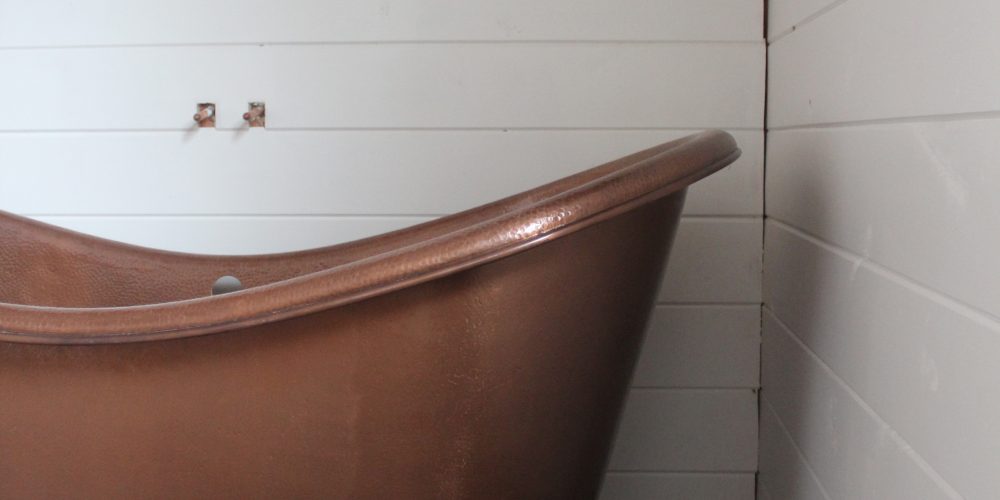
I’m positive this is going to be my favorite room in the house. And I can’t wait to take a bath in the copper tub. I mean…it’s the most beautiful tub I’ve ever seen, and it’s IN MY HOUSE.
I feel like the interior design gods have smiled upon me. Too dramatic?
Okay anyway, back to the point. This bathroom has been a long time coming. And when it came time to do the plumbing, Brandon kept telling me that he could do it himself. It was such a big project, though, that I FINALLY convinced him that for this part…we should bring in a professional like a dandenong plumber for the job.
I am so, so glad we did. We hired a plumber…and it took him two full days of working on the bathroom before he was finished. Do you even know how long that would have taken Brandon to finish (with a full time shop, side job, two kids) ?! For-freaking-ever, is how long.
So once the plumbing was finished, things started moving really quickly. I actually meant to post an update before now, but seriously it has just been going so fast that we’re pretty far along now.
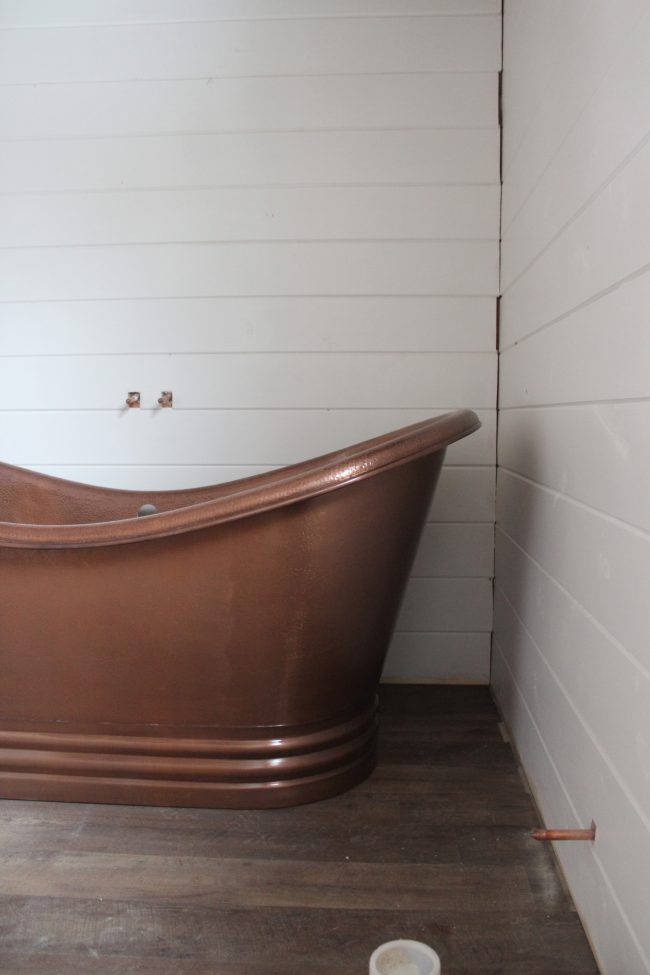
There’s a gap in the corners where the shiplap meets but we’re going to put up a corner trim piece that will cover it. 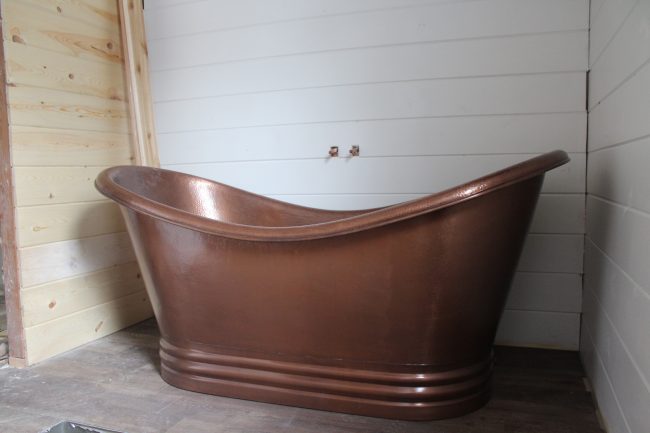
Remember when we used plywood to shiplap a wall in our front entry? That was a super inexpensive way to get the look of shiplap, and I still love that wall so much. But for the bathroom, we went with a tongue and groove shiplap. These boards are a whole lot more expensive than the plywood method, but they actually saved a TON of time for this project.
Since we were completely gutting the space, we had to rip down all of the drywall. So rather than putting up new drywall (super time consuming), we skipped that step and nailed the planks directly to the studs.
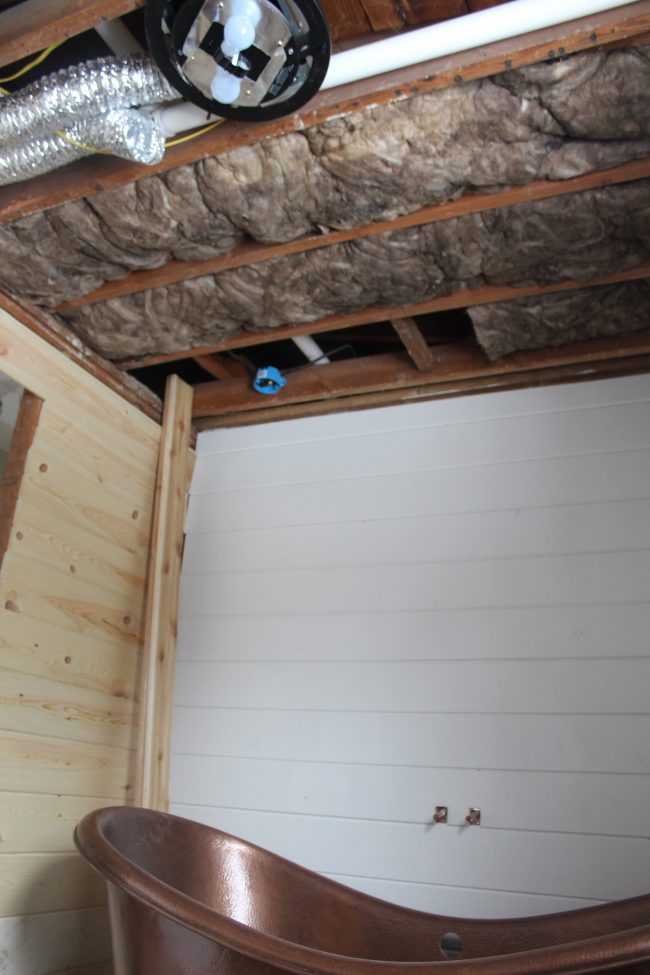
The ceiling is almost finished being insulated. When it’s done, we’re putting up a plank-look ceiling that will be stained a wood color. I really wanted the space to feel cozy, and all of the wood tones are really achieving that feeling, I think!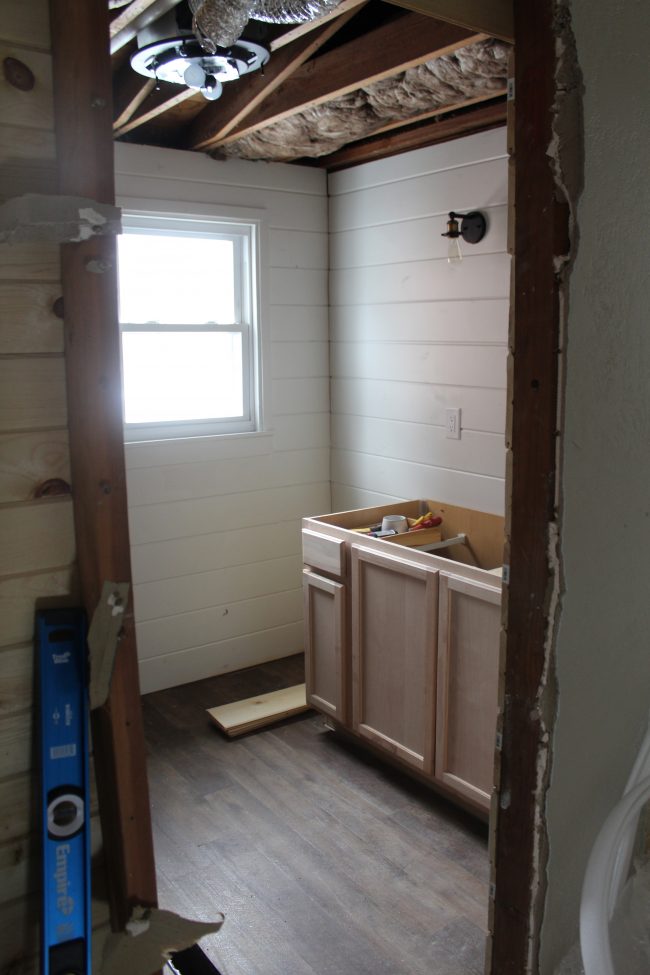
The doorway was moved – the original bathroom door had a closet door directly across the (small)hallway from it. So they couldn’t both be open at the same time, and it was just a bad design. So I decided to move the doorway down a little bit, and we’re going to use a sliding barn door to save even more space.
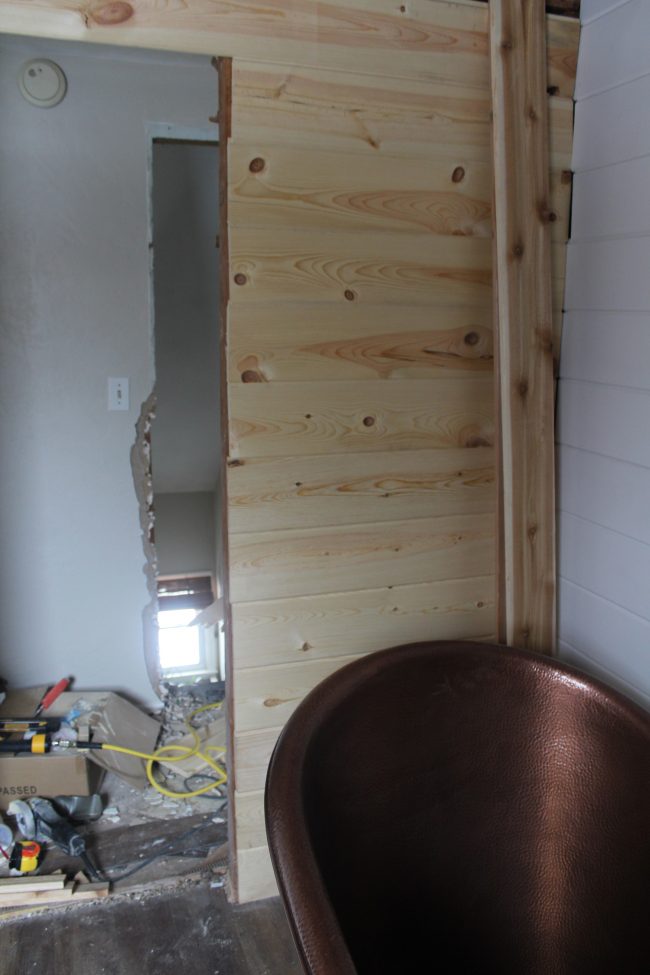
See all of that damage to the wall at the top of the stairs? We had a full day of panic, because the tub wouldn’t fit up the stairs. Brandon had to destroy a little bit of the walls and doorway, but that can all be fixed. The tub made it upstairs! Hallelujah! 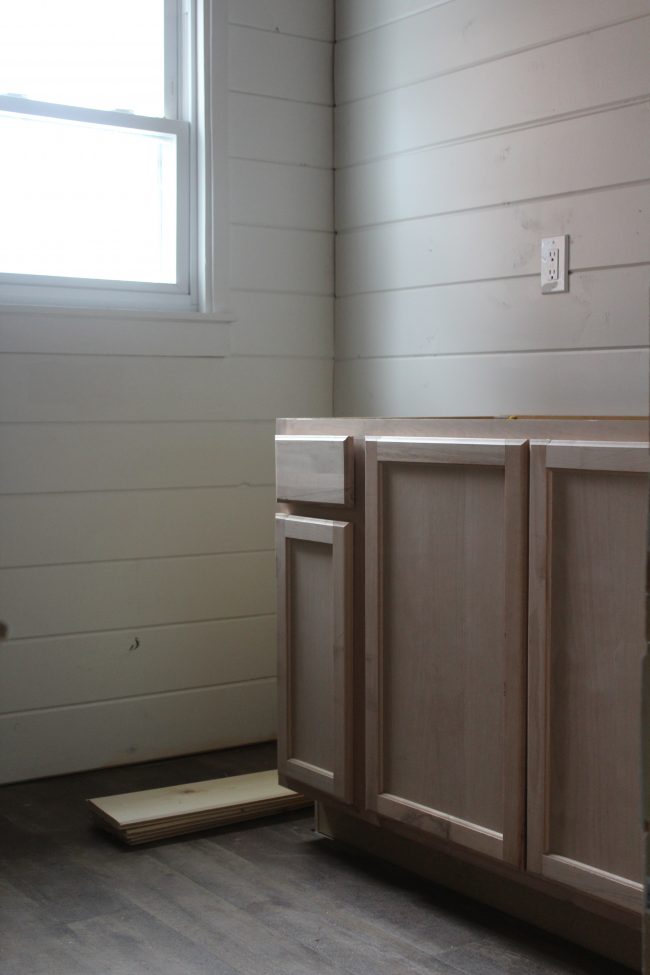
I’m still working on coming up with a color for the vanity. I asked for opinions over on Instagram, and so far the verdict is white…or some kind of fun color like green or navy. What are your thoughts? Let me know in the comments…because I really need help on this one! 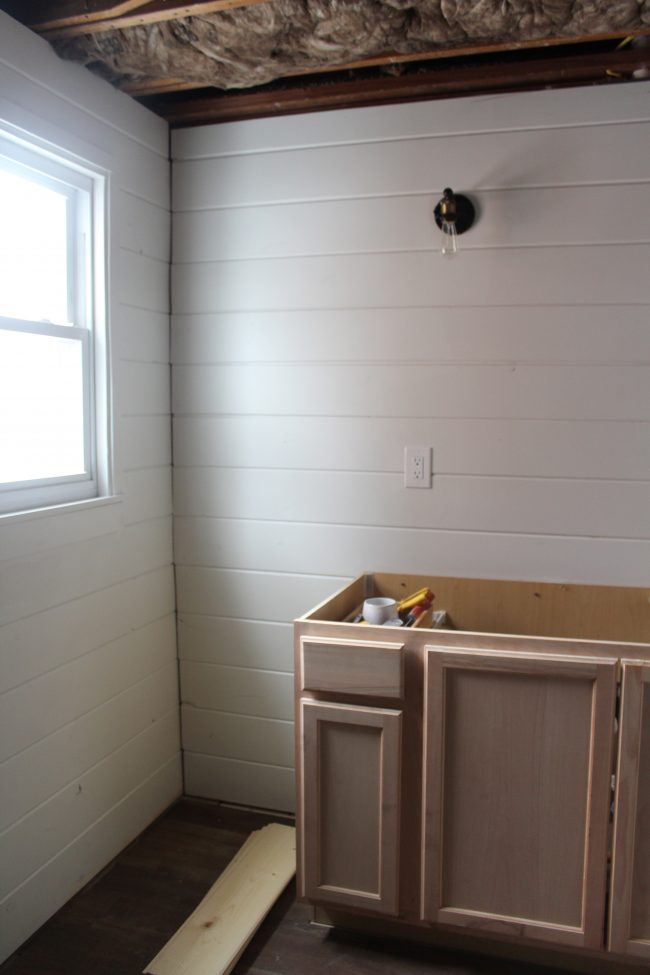
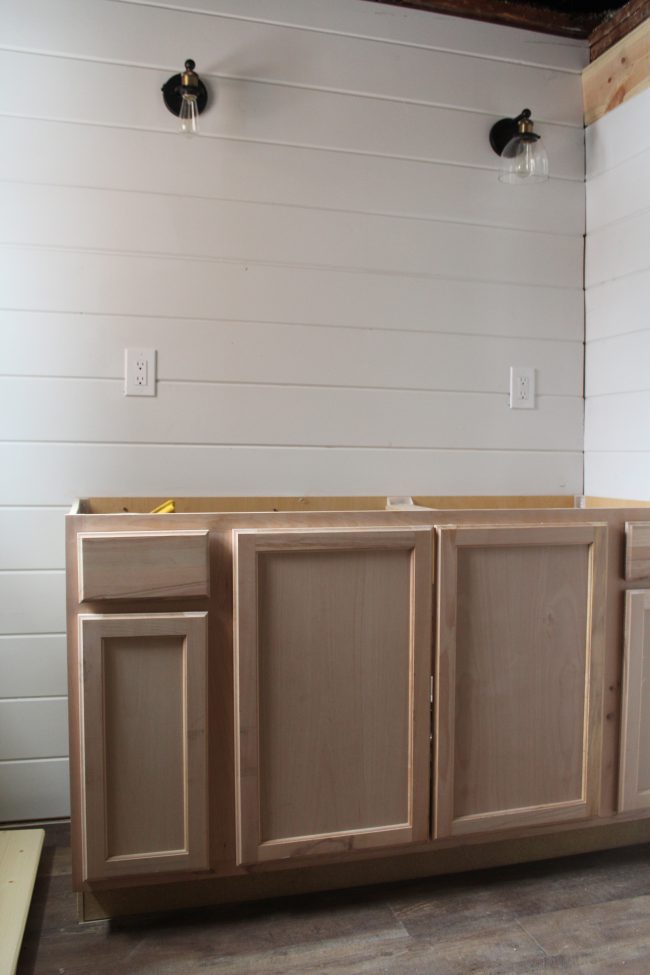
One of the lights needs to be replaced already because the glass broke. Oops! I’m loving how they look though, and am thinking of going with a round mirror here. I’ve also considered adding a ceiling light after looking at some barn lights for sale online. It could add to the warm and slightly industrial look, don’t you think?
OK! So there’s my update! I have a feeling that the next time I post, we’ll be a whole lot further along (or even finished). I’ve been doing almost daily updates over on Instagram, so follow me there to see those!
THANK YOU, THANK YOU to Stainmaster and Sinkology for sponsoring this project!!



I would go with a fun color for vanity, a funky green maybe,
A lot of people have suggested green – I need to go look at paint swatches and check out some greens!
For your walls, did you prime them before painting? Did you use a certain style of paint, like oil based or latex? Love it!!
I used a paint and primer in one!! Just regular latex based paint!