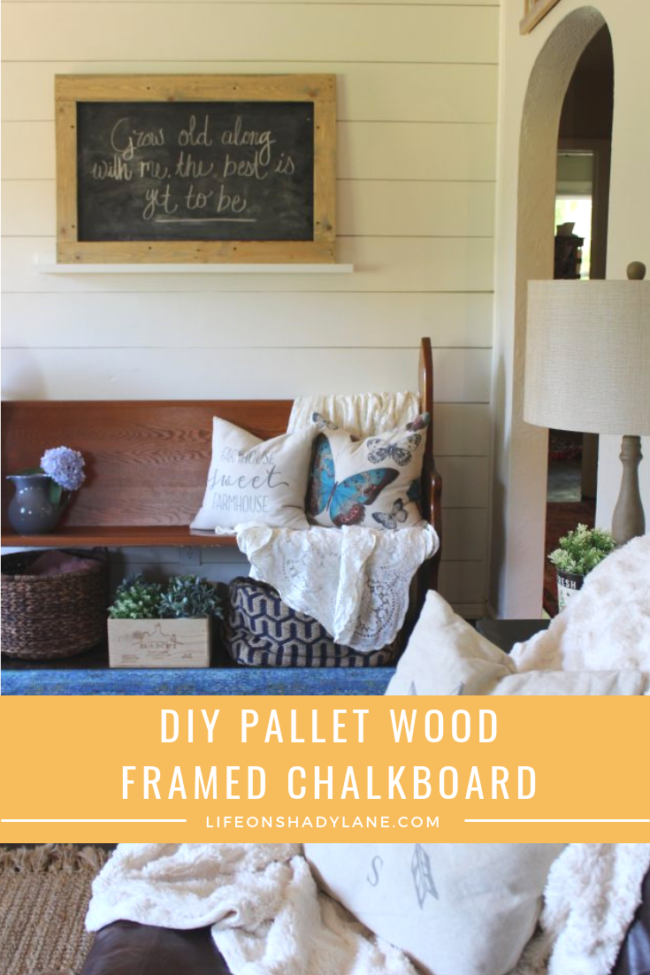
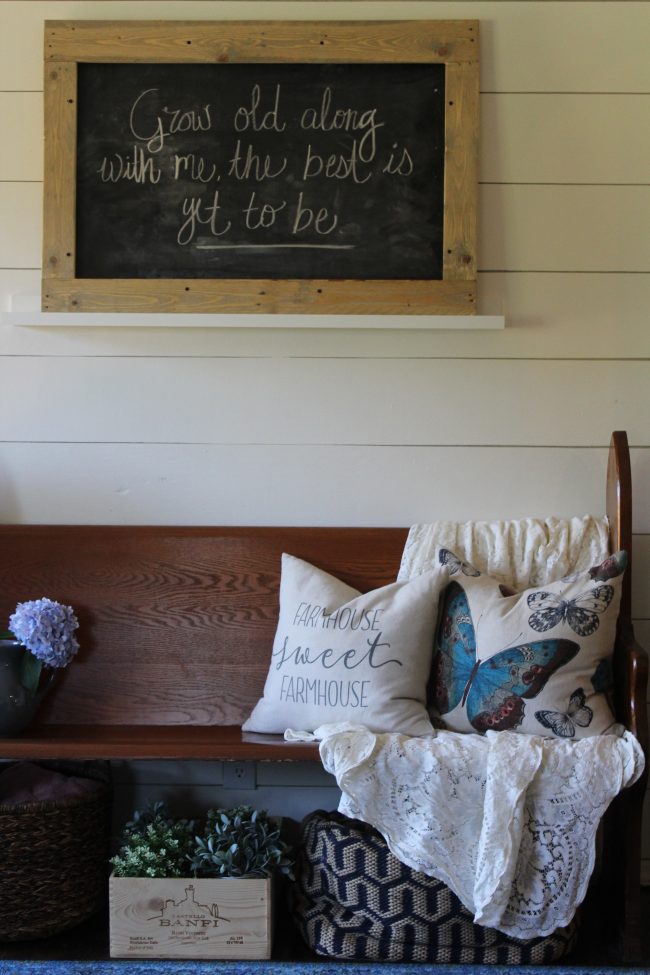
This pallet wood framed chalkboard makes a great (simple!) DIY project
Happy Monday! I hope everyone had a great weekend. I have been stepping away a little bit from this blog and social media on the weekends to give myself a little bit of a “recharge.” I know I won’t have much time at all to relax in September/October when the baby gets here and I’m trying to take care of a newborn AND chase a toddler around, so I’m attempting to take full advantage while I still can. Plus I think it’s just important to unplug every now and then!
I hope you’ll check out some of my other posts while you’re here, too!
See my DIY projects and inspiration [here]
Check out a home tour [here]
Check out some fashion posts [here]
I think that my way of “nesting” right now is to work on projects around the house. We aren’t yet moved into our bedrooms upstairs (read more about that here and here) so I don’t have a nursery to work on. So…for right now, I’ve just been doing tons of DIY projects like a crazy person. ;)
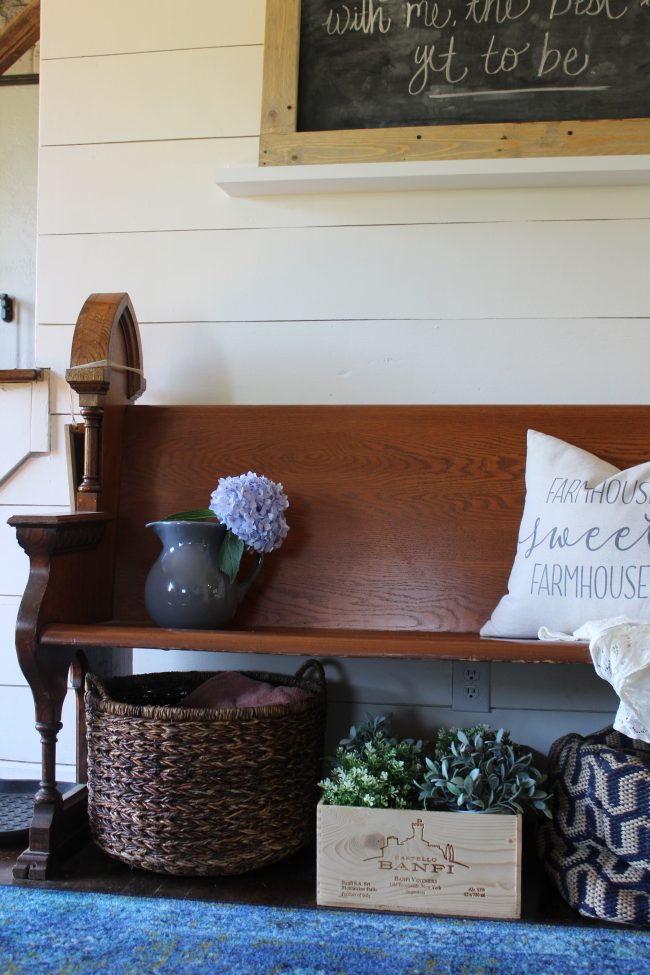
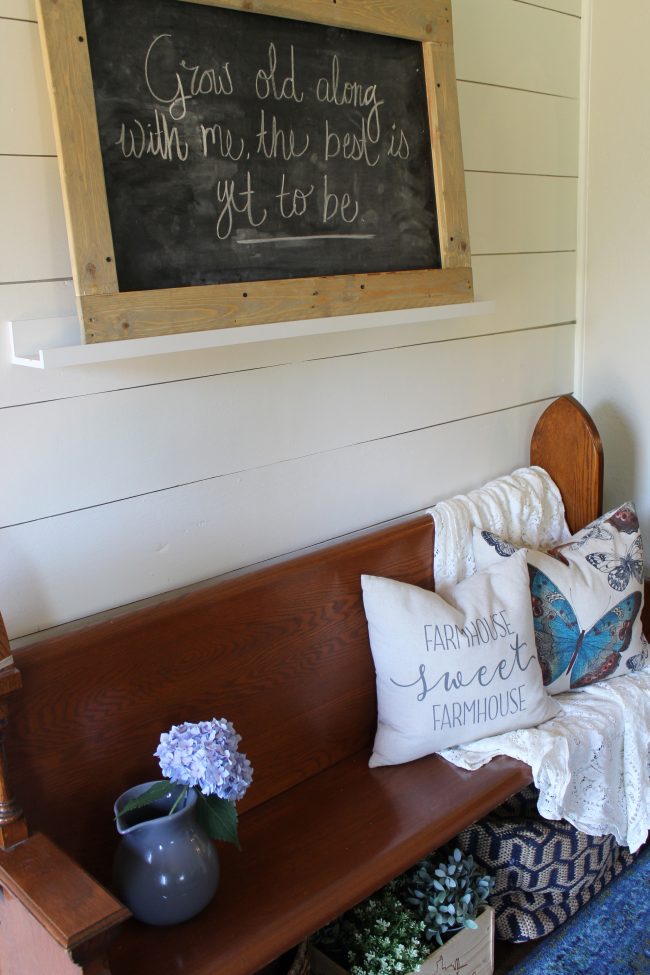
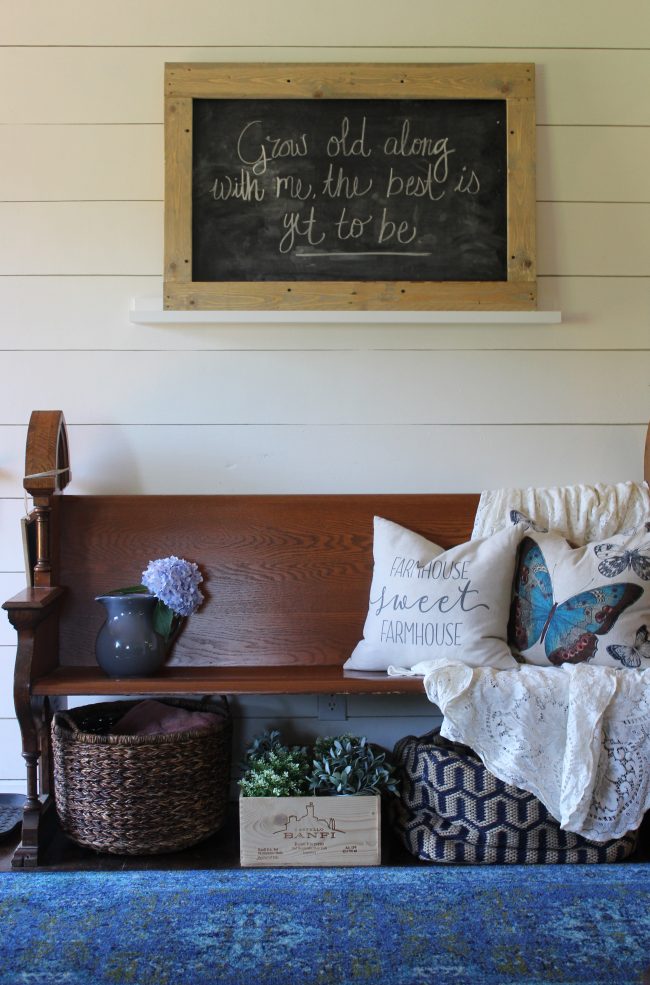
The other day I realized that I hadn’t changed up our mantle or picture ledge above the church pew in our living room for a LONG time, and I was getting bored with them. I remembered that I had an inexpensive chalkboard just sitting in our basement not being used, and decided to create a simple frame for it using pallet wood and stain that we already had. This isn’t a complicated project at all, but sometimes I like to share even the simple stuff with you guys in the hopes that it inspires a creative project in your own mind! I know that I love being inspired by other people’s creativity!
What you’ll need:
- Pallet wood (I used 3 pieces)
- Stain + an applicator (I used Minwax’s Weathered Oak)
- Mouse Sander (or you can just do it by hand)
- Sandpaper – a course one, like 50 grit, and a more fine one, like 120.
- Screws, Drill
- Measuring tape
- Saw, if you need to cut any of the planks.
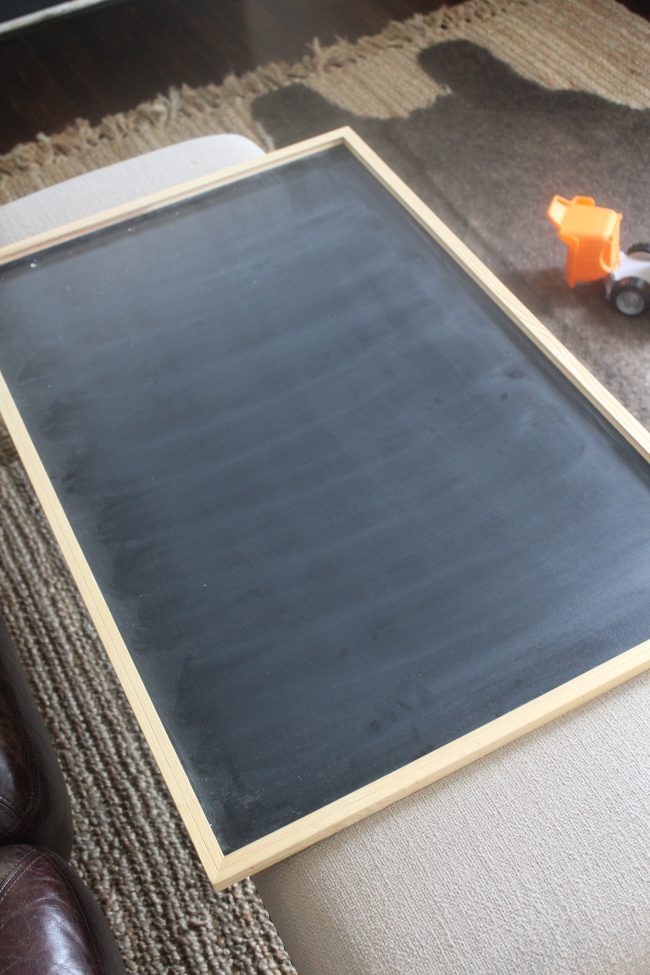
Here’s what the chalkboard looked like before I framed it out. I bought the chalkboard at Hobby Lobby (similar here) for our wedding and have used it several times since then, but thought it could really benefit from a thicker, more rustic-looking frame.
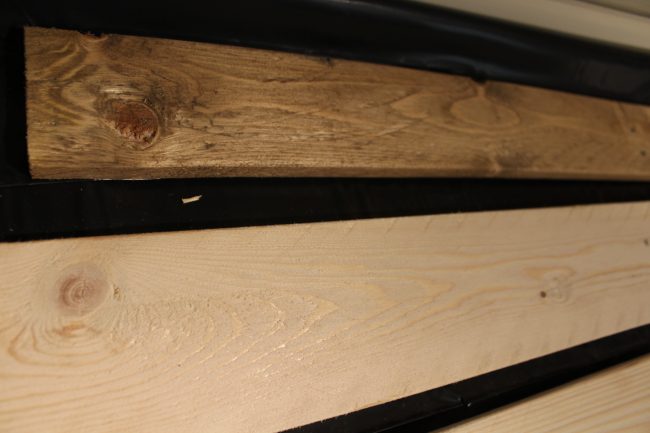
I really like to use pallet wood for projects because it’s imperfect (which I like!) and cheap (which I like even more!). I just make sure to sand it down really well with a coarse grit sandpaper before staining to get rid of the rough splinters, and then again after staining with a more find sandpaper just to smooth it out a little extra.
I really love Minwax’s “Weathered Oak” stain – it’s not too dark, not too light…and makes wood look perfectly weathered and rustic. How they got a stain color to do that, I’m not sure…but I like it!
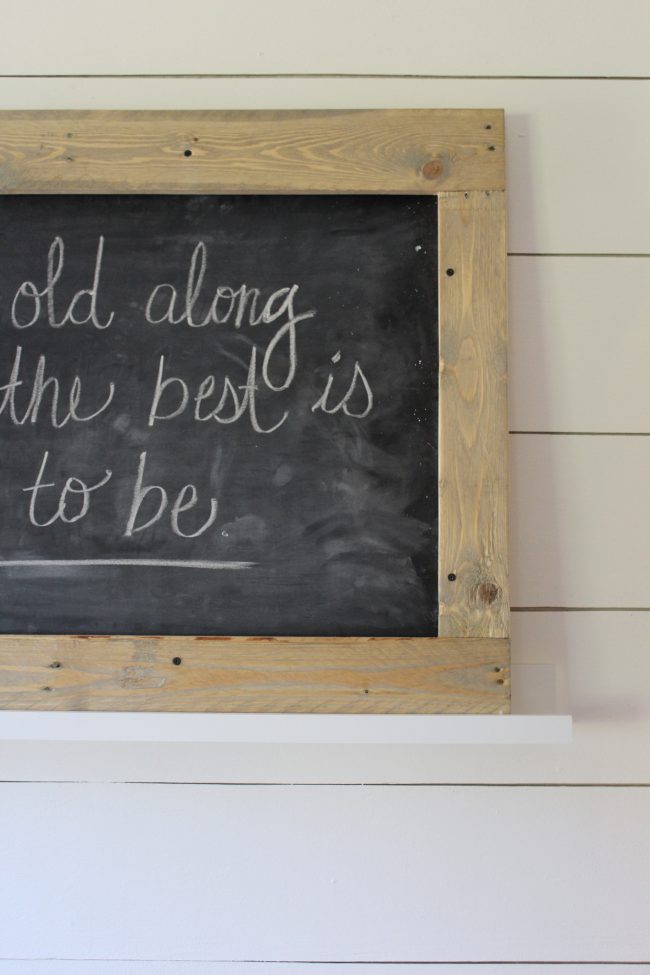
The actual framing part doesn’t really need directions – I just cut the skinnier board in half and used that for the two shorter sides, then screwed everything down onto the original frame! I didn’t make any fancy cuts or anything because my goal was to make it look rustic. If you wanted the corners to be angled, though, you could do that!
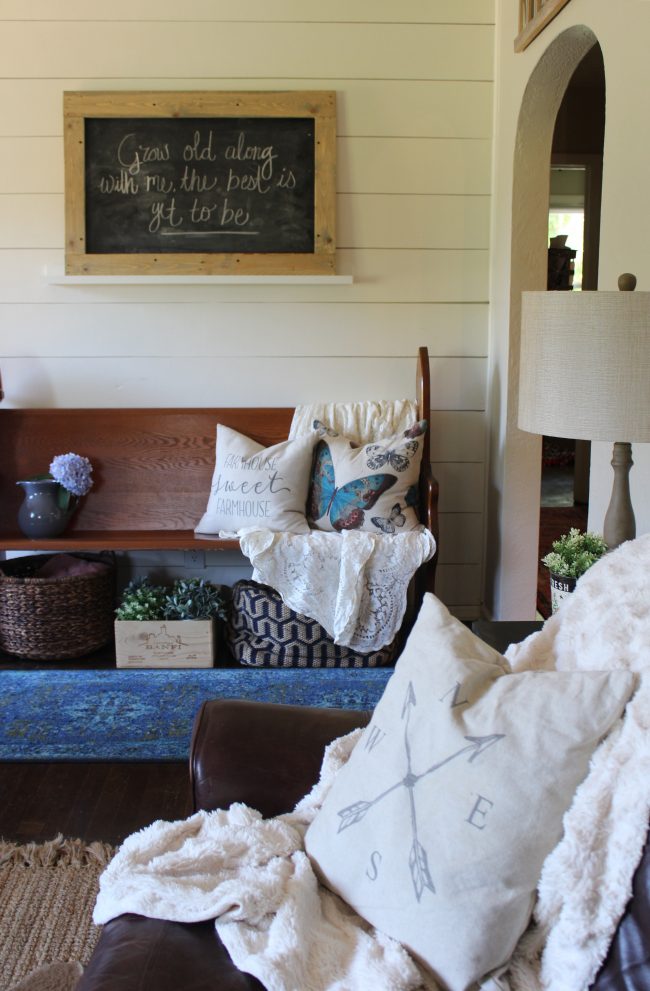
Here’s a little “sneak peek” of the progress on our staircase, too! Last time I talked about it on the blog, it looked a WHOLE lot different [here]. The stairs have now been stained and they have one coat of polyurethane on them. We still need to sand the poly down and put another coat (or two) on. Then, we need to replace the riser boards and finish installing the railing. For some reason, this project is taking us a LONG time…but that’s OK. We’ll get there!
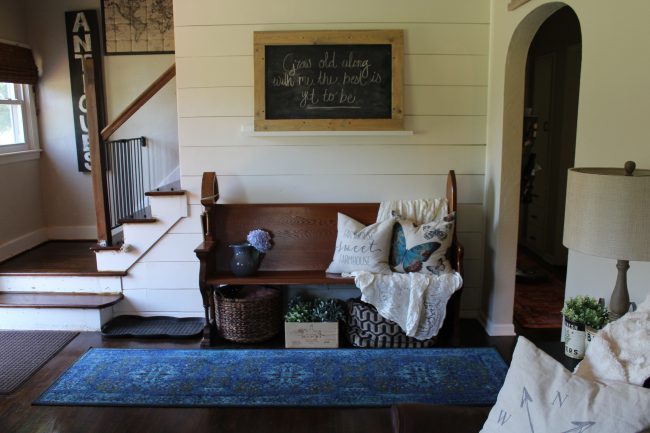
You can see how we refinish wood floors [here].
I hope you enjoyed this pallet wood framed chalkboard post!



Your house is so inviting. I love your creativity. Do more with mine! I’ll pay for your ideas!
Thank you!!! :) :)