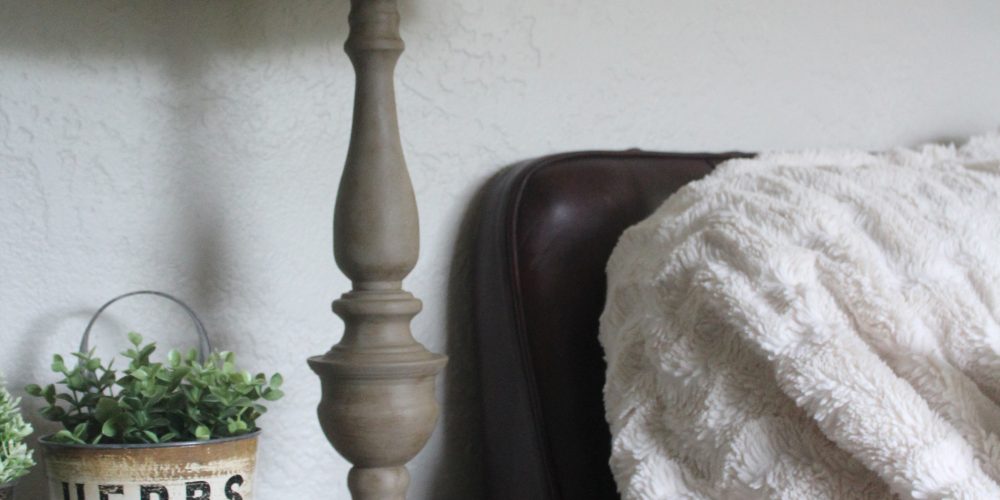
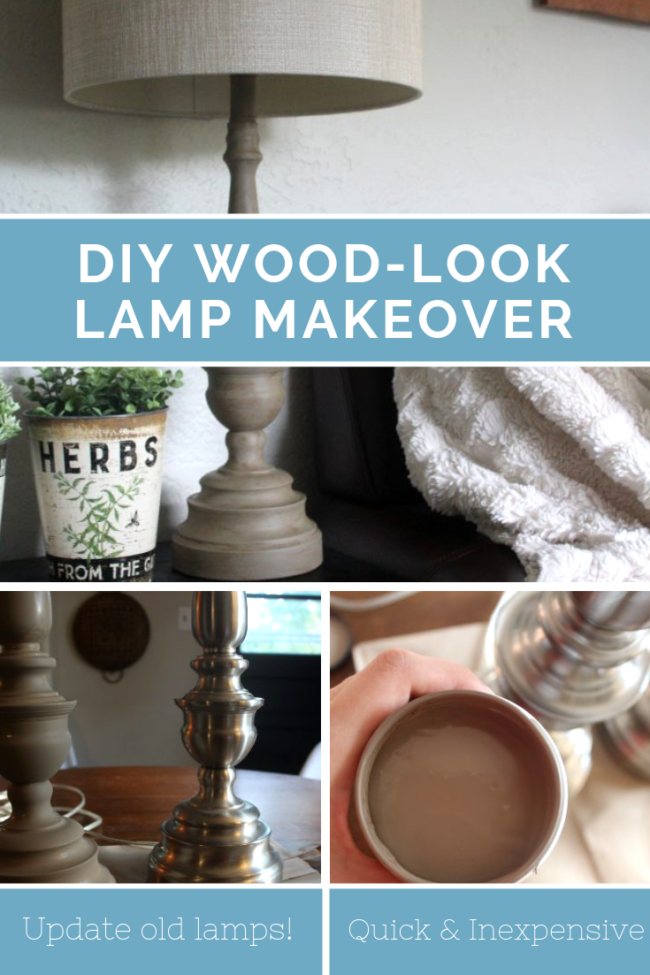
These DIY wood-look lamps are perfect for adding a little extra farmhouse vibe to your home!
Sometimes I get in these weird DIY-crazed states where I feel like I’m just itching to get my hands on project after project. Maybe it’s a burst of creativity? We’ll call it that – it sounds better. ;) Anyway, you probably know that we have been working on the second floor of our home (see more here). We had a pair of lamps that were just sitting up there, not being used. I loved the shape of them, but they were silver and didn’t quite feel like they were “my style” anymore.
So I decided to try and update them! I’m not even kidding, I went out and bought the paint within the hour. See what I mean? I become a woman obsessed and just have to get my creativity out RIGHT AWAY. #impulsive
I hope you’ll check out some of my other posts while you’re here, too!
See my DIY projects and inspiration [here]
Check out a home tour [here]
Check out some more fashion posts [here]
Materials Used
- Taupe paint in a matte finish (just a sample size is more than enough!)
- Stencil brush (for applying finishing wax) – Buy here
- You may also want to use some painter’s tape to tape off things like the electrical cord and stuff.
Here are the lamps beforehand:
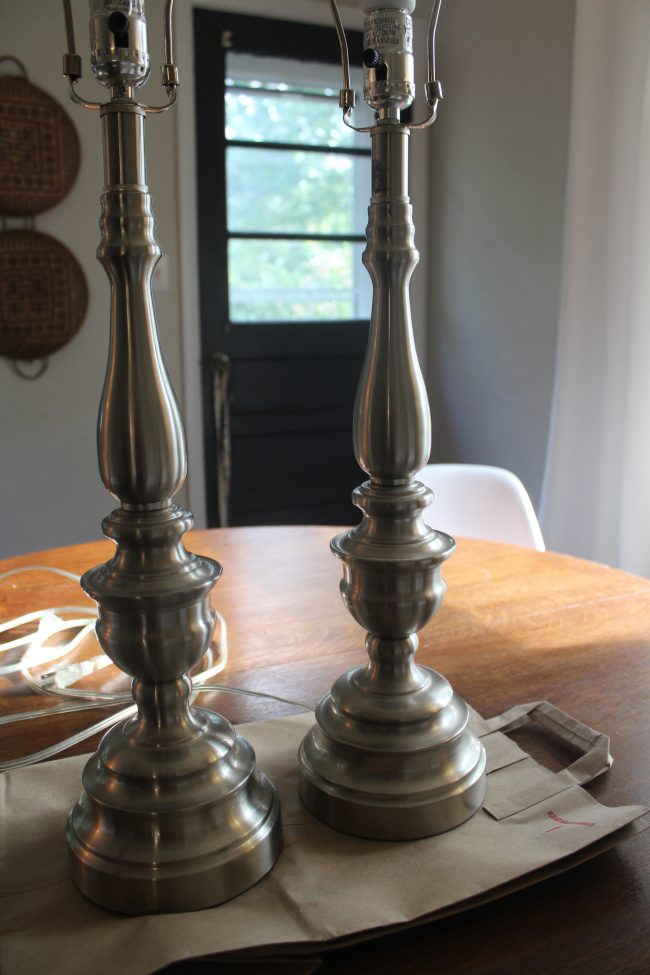
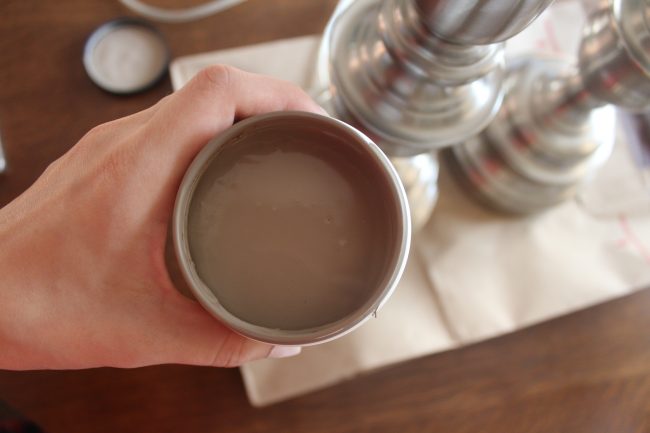
I used the same paint color as the tutorial mentioned, which is called Virtual Taupe by Sherwin Williams in matte. HOWEVER: I have a little tip! I first went to Lowe’s, because they sell Sherwin Williams brand paint. I knew that I would only need a sample size (the same size I always use to give our doors a little paint color refresh)…BUT, I quickly found out that their sample size paints don’t come in a matte finish. So I got in my car and headed over to Home Depot.
I have mentioned before that I often ask Home Depot to match another brand’s paint color in their own line, Behr. I love Behr paint because it covers so well! (NOT sponsored, I’m just saying!). So, I asked them to match Virtual Taupe as best they could, and I was happy with how the color turned out.
Sidenote: you can see the main colors we used in our home [here].
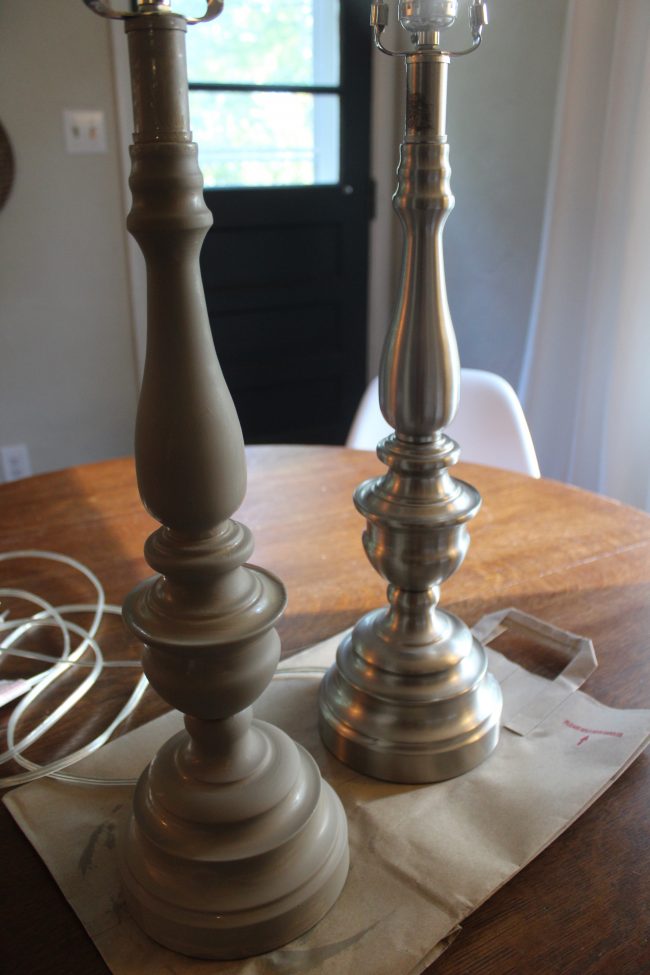
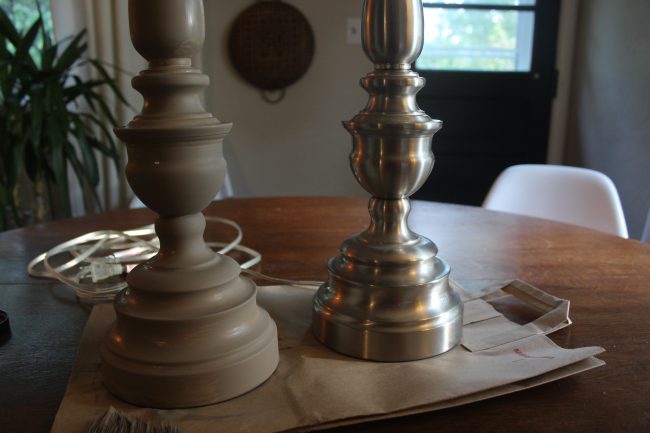
Below is a before and after the first coat of paint. I picked a matte paint with primer already included in it, so I didn’t see a need to prime first. The paint covered really well, but I did two coats on each just to make sure they were good and covered.
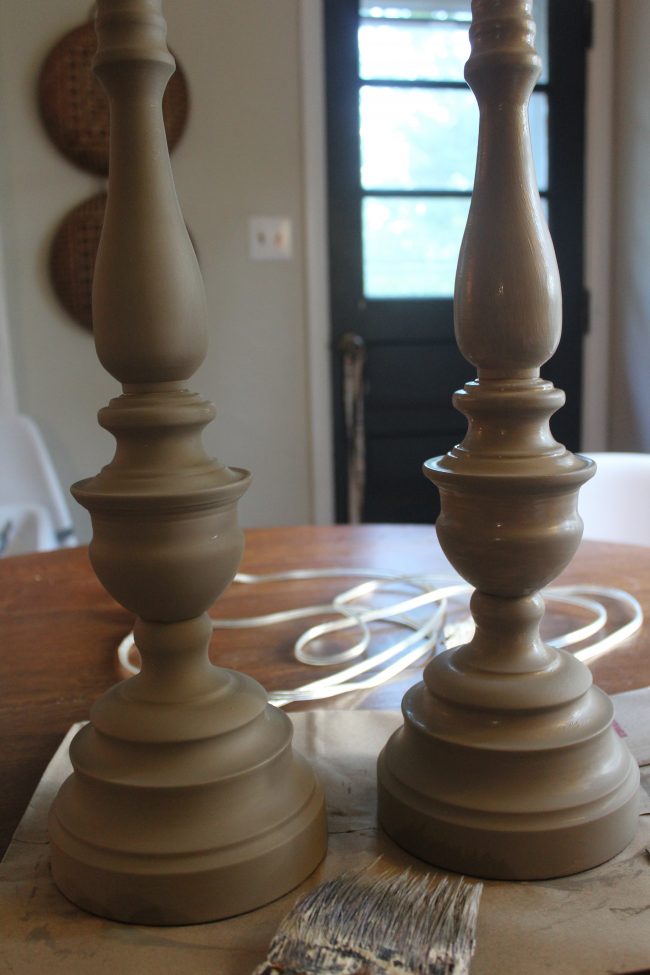
The paint dried super matte, almost exactly like chalk paint. Left is dry, right is wet paint.
I let the two coats of paint dry overnight, and then the next morning applied two coats of Minwax’s Paste Finishing Wax in “Special Dark” with a dry brush. I let those two coats dry for about ten minutes and then wiped off the excess with a paper towel. The result was a matte wood-like appearance, and I am IN LOVE with how they turned out!
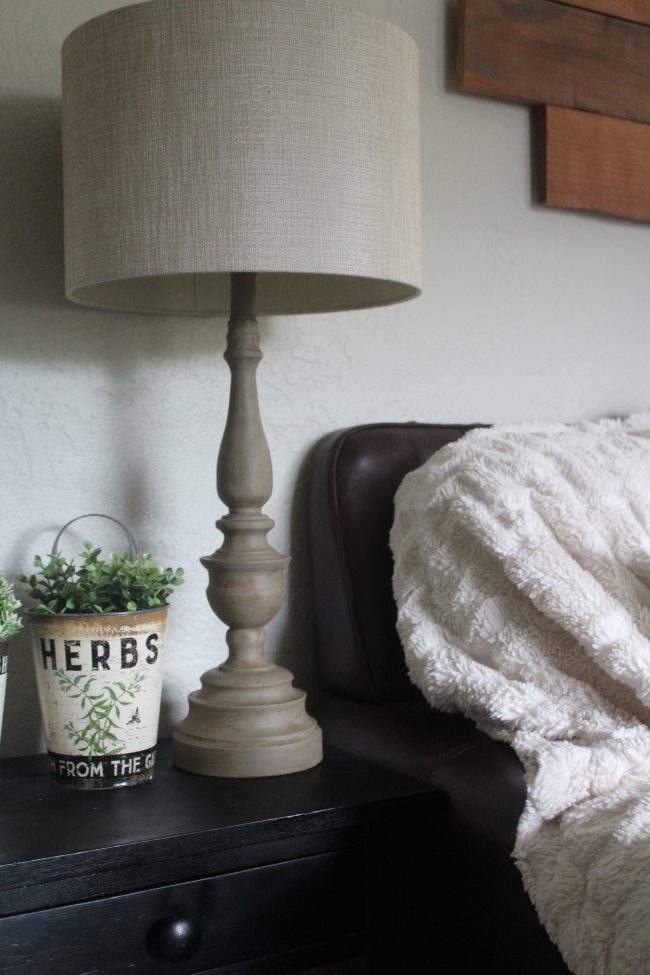
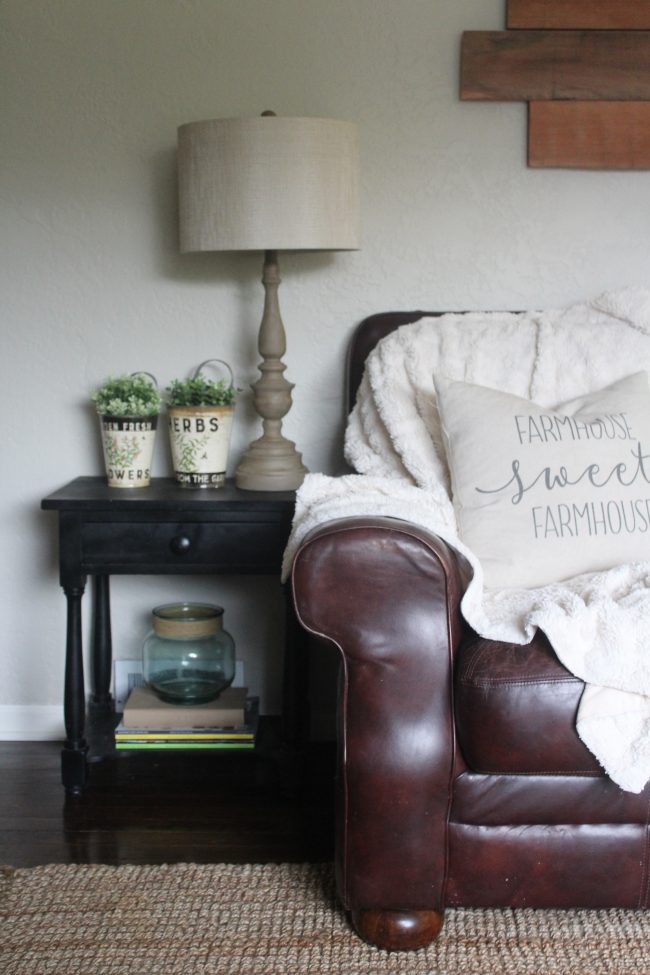
I haven’t actually decided where the lamps will go just yet, but for now I’m enjoying them in our living room!
————–
I hope you’ll check out some of my other posts while you’re here, too!
See my DIY projects and inspiration [here]
Check out a home tour [here]
Check out some fashion posts [here]
