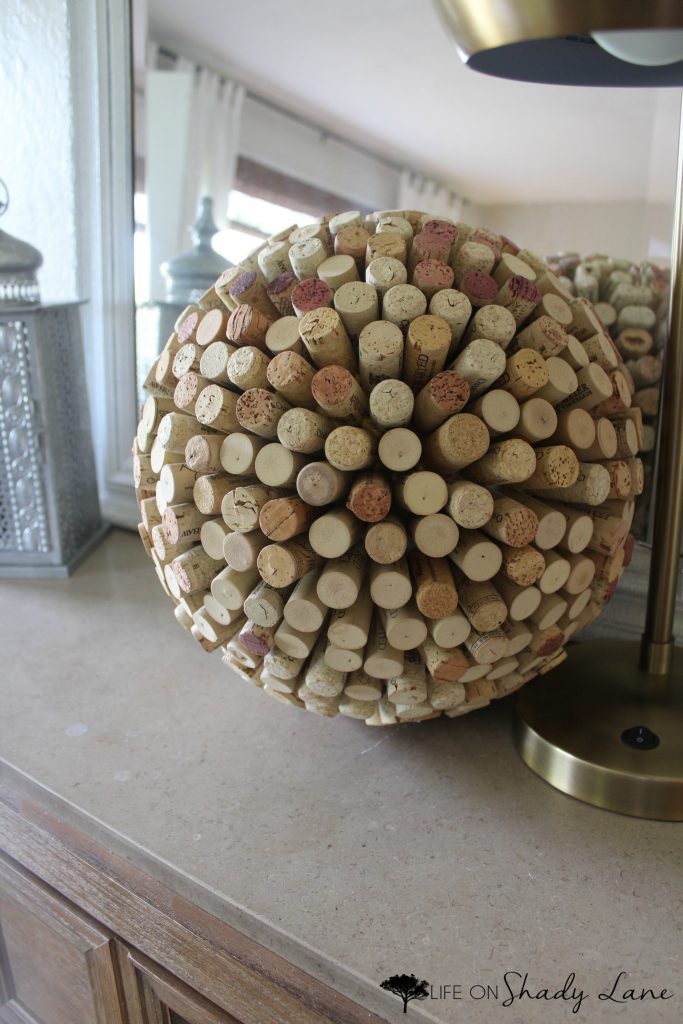
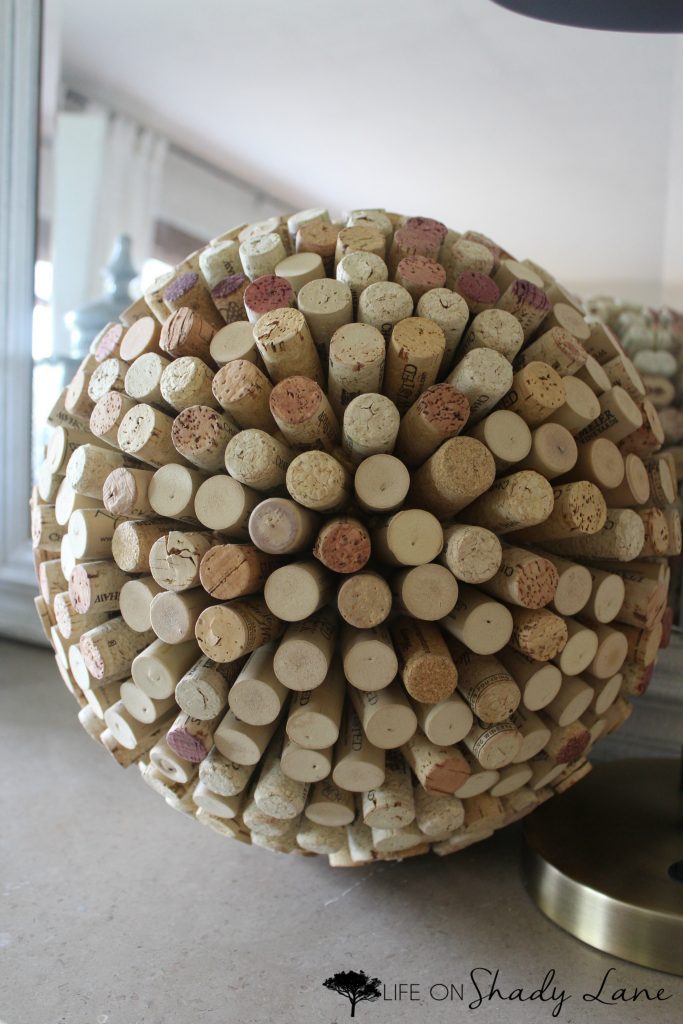
This project actually makes me laugh because it has been in the works for an embarrassingly long amount of time. Like, I’m talking…about three years. But not because it required a lot of wine drinking – that was the easy part. ;) It’s just that I would work on it for a while and then put it away with the intention of coming back to it a day or two later, only to forget about it altogether and let it sit for months at a time before I worked on it again.
My half-finished cork ball moved with us from Missouri to Nevada and back again. Brandon told me multiple times that I should give up and throw it away, but I’m no quitter. So the other day when I remembered that it was sitting in our basement, I decided to finish what I had started.
Warning: this project requires a lot of wine drinking. Brace yourself.
Materials Needed
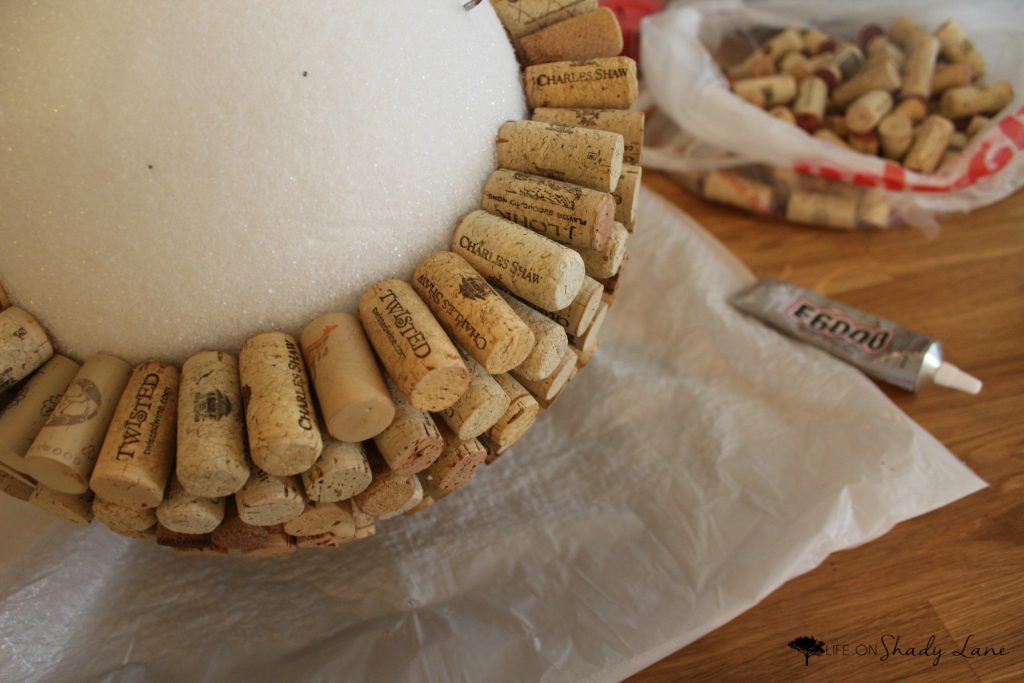
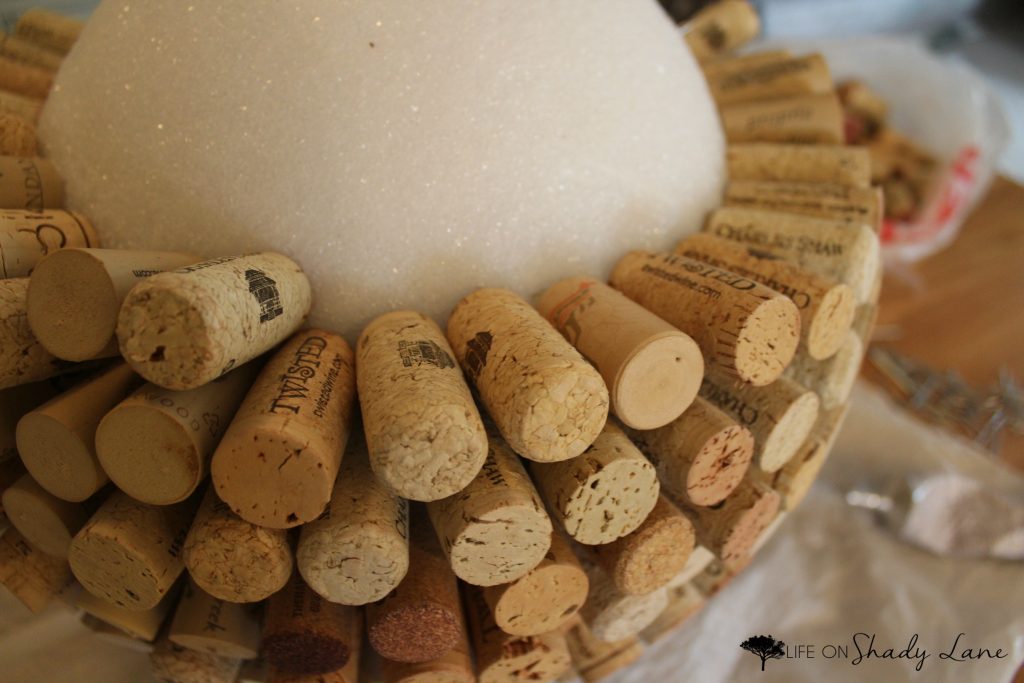
I started with a foam ball (buy here). Obviously I chose the biggest one because I wanted to drag this project out as long as possible (kidding)…but you could pick any size you wanted.
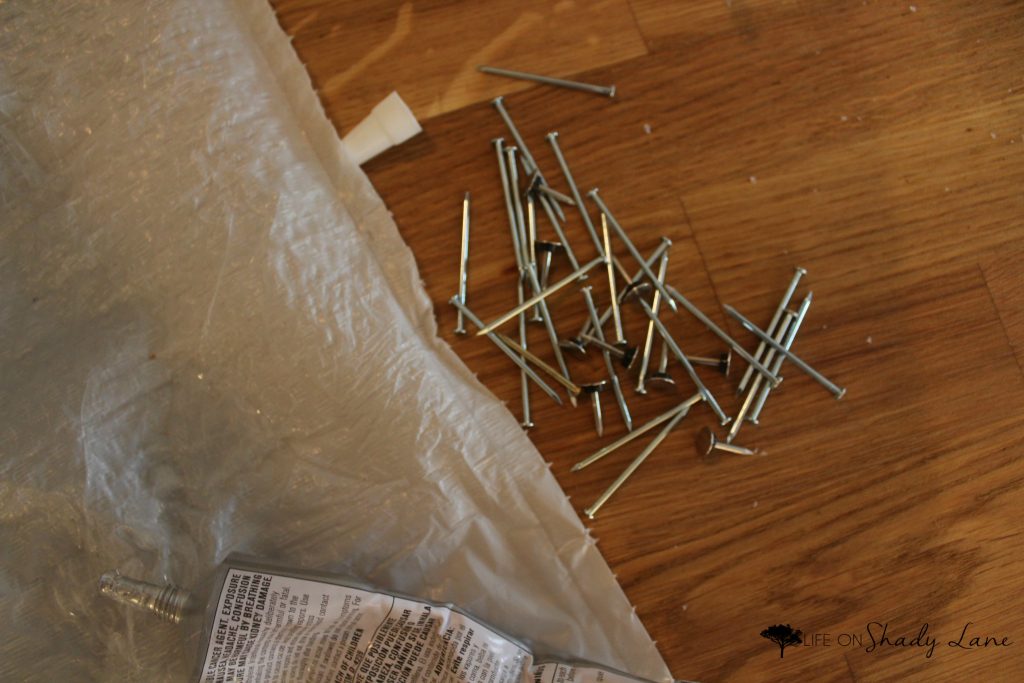
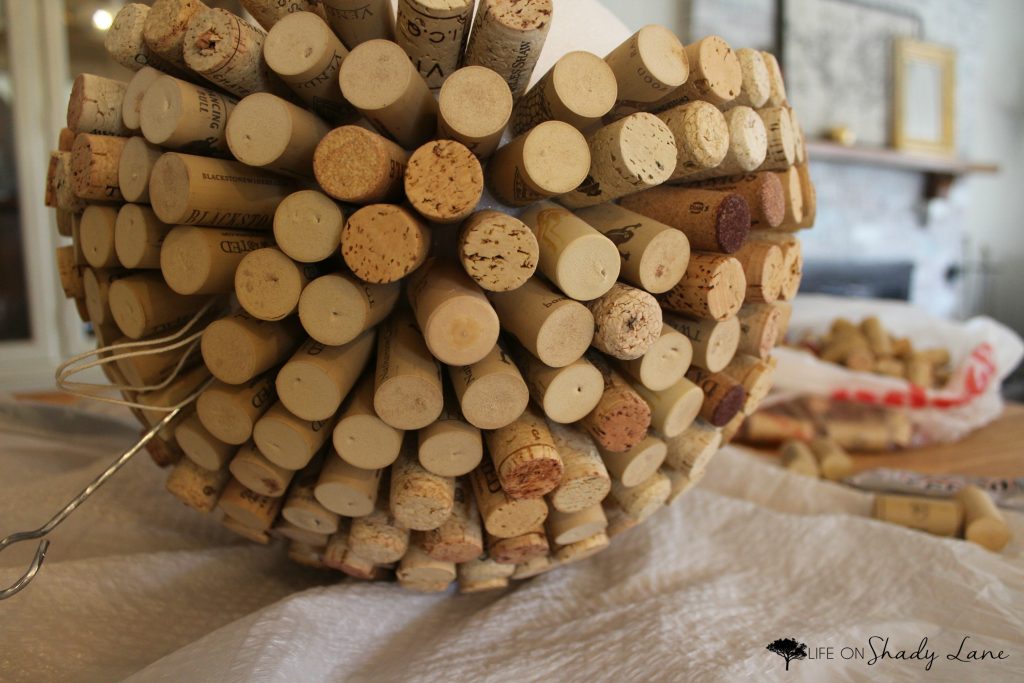
I think I used a couple of different kinds of glue, but my favorite was E6000 glue (buy it here) in either clear or white. I just chose a starting point and built out from there. Also, I found that using a nail as well as the glue really helped to reinforce the hold.
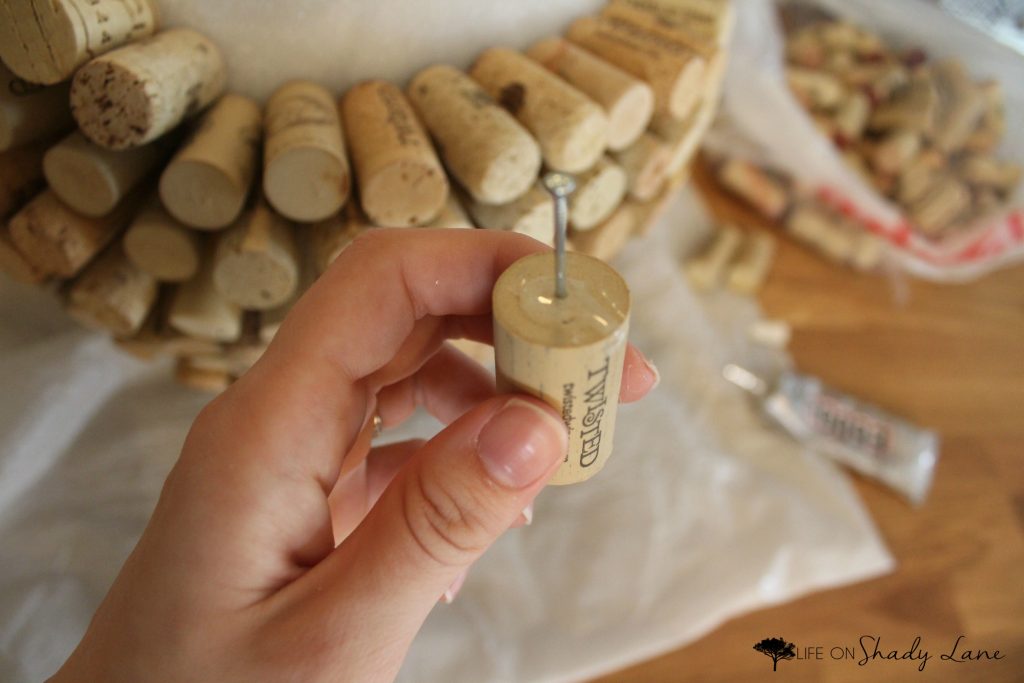
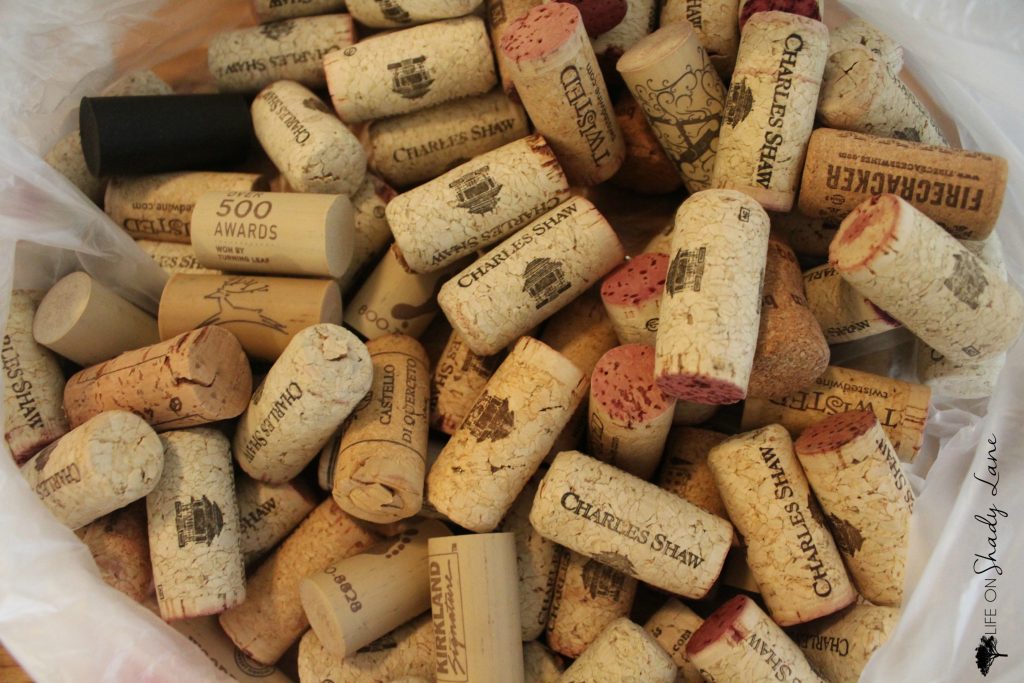
PS don’t judge me on the amount of Charles Shaw corks in this bag. I went through a serious Trader Joes wine obsession at one time.
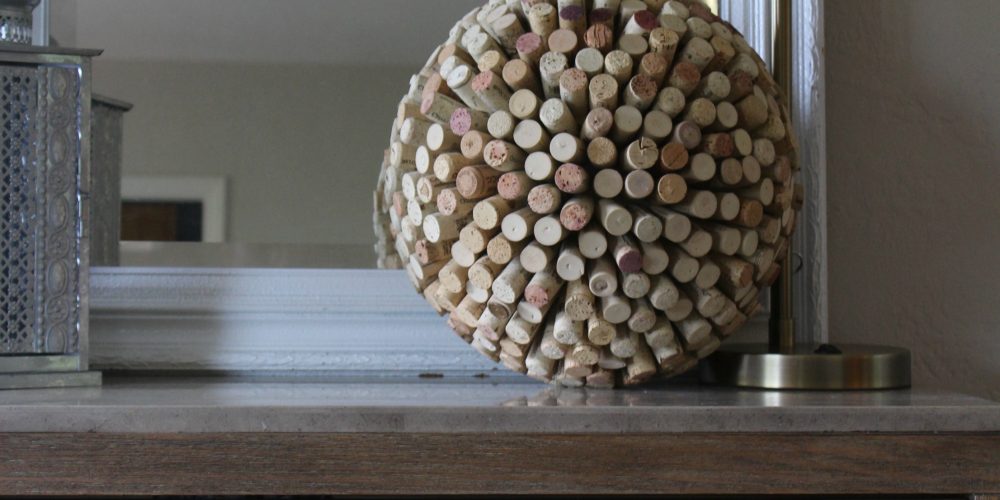
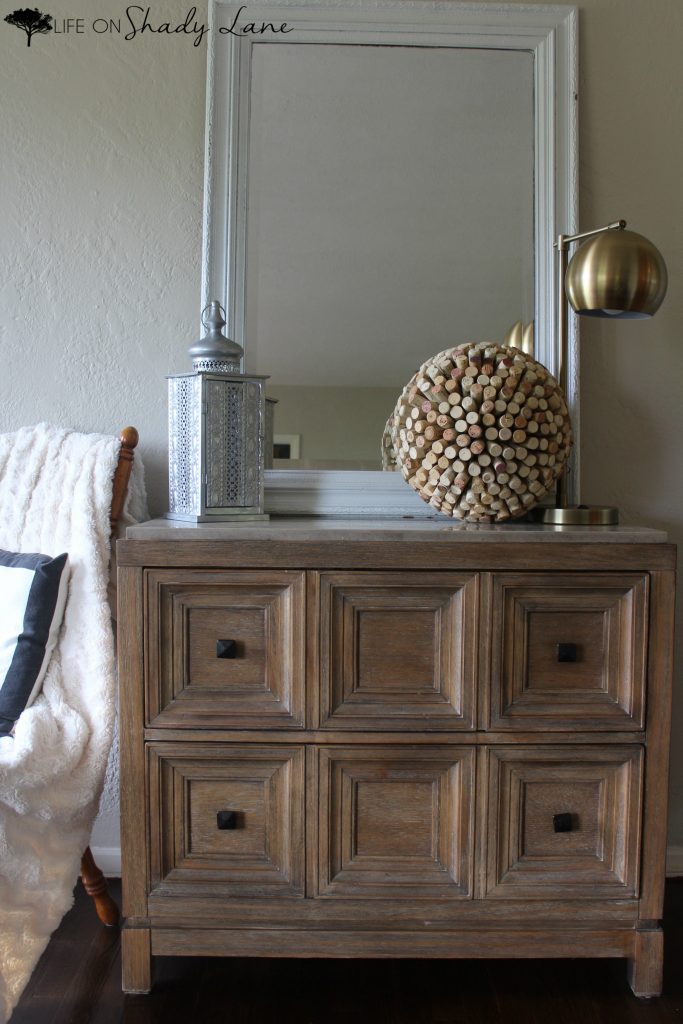
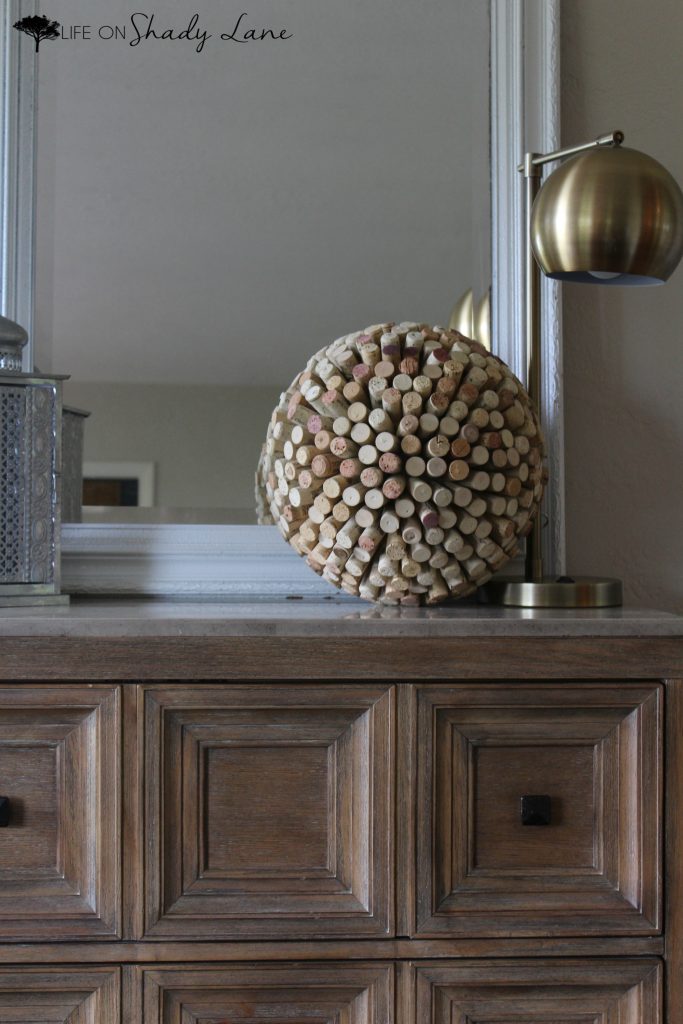
At first, my plan was to hang the wine cork ball from a hook in the ceiling, but I’m afraid it will be too heavy and fall. So for now it’s going to hang out on our entryway table so Brandon can enjoy all of my hard work and dedication as soon as he walks in the front door every day. ;)
I hope you’ll check out some of my other posts while you’re here, too!
See my DIY projects and inspiration [here]
Check out a home tour [here]
Check out some fashion posts [here]

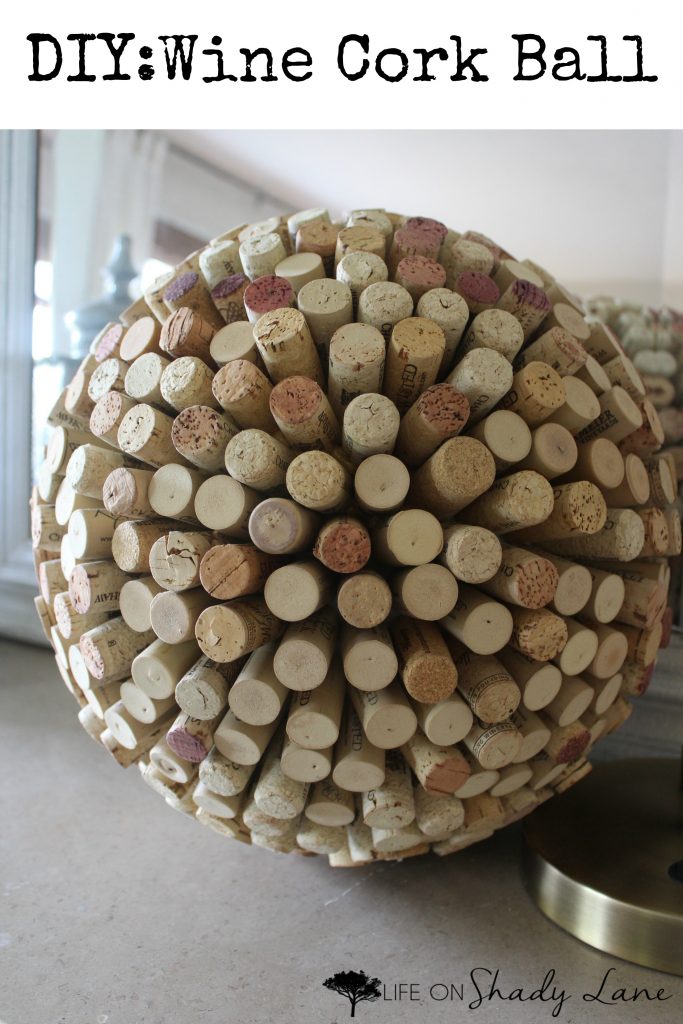

[…] DIY: Wine Cork Ball […]