This post may contain affiliate links
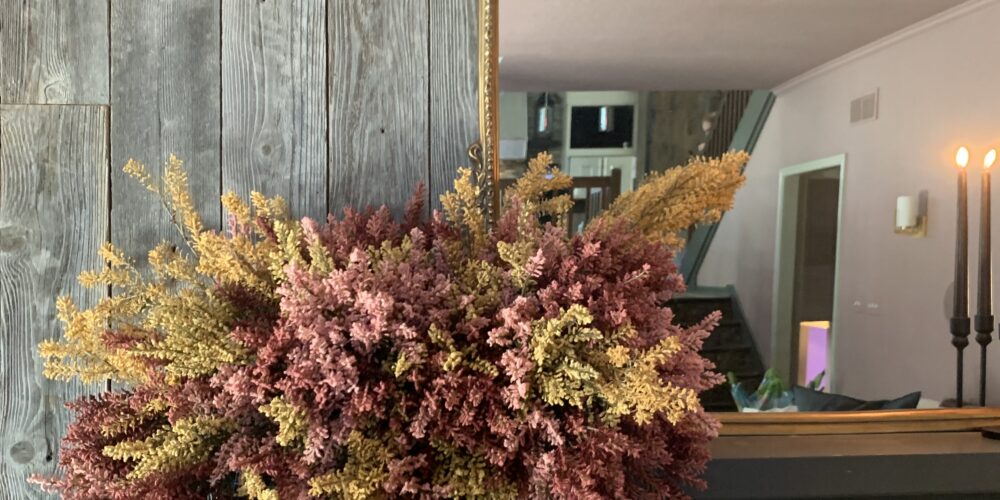
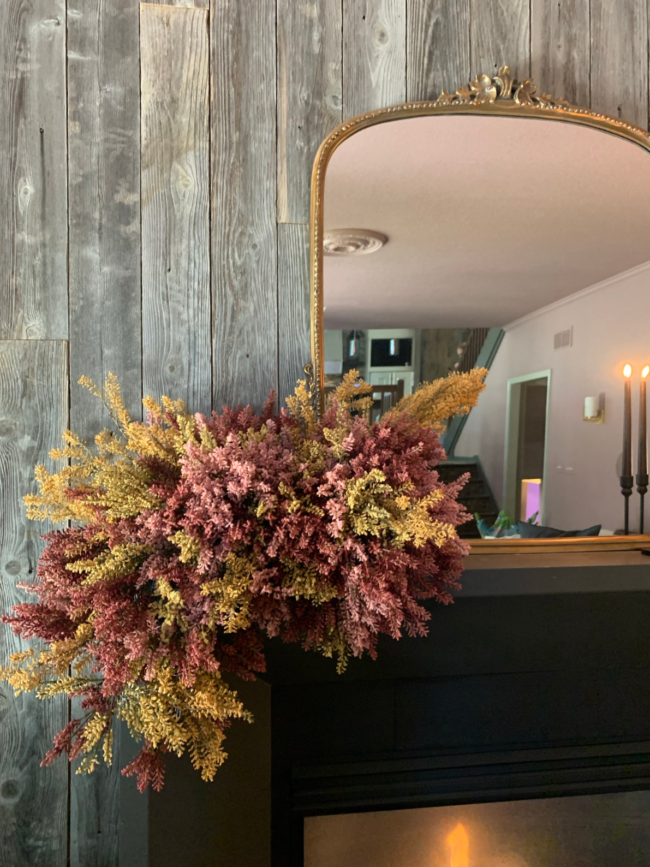
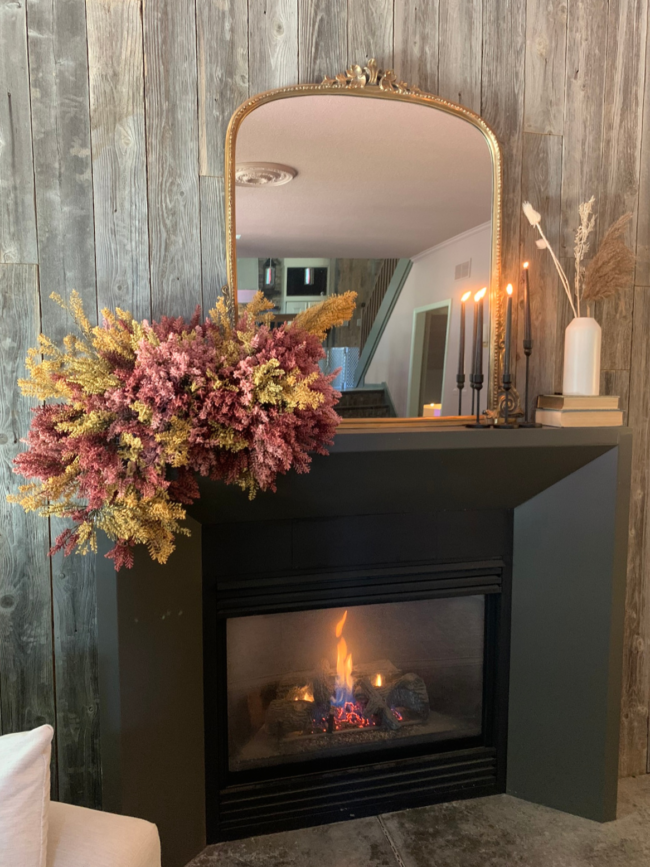
I recently painted my living room the most beautiful shade of mauve (more on that later), and wanted to add a feminine pop of color/flowers to the fireplace. Our fireplace wall is pretty masculine as-is: it has faux wood panels on each side and the center of the wall is made up of reclaimed wood. I absolutely love the texture it adds, but I wanted to add a feminine touch in the midst of all of that masculine to kind of balance things out. I mean, I painted the entire room (and ceiling) mauve and added an ornate ceiling medallion. I wasn’t exactly going for guy-vibes in this room. ;)
————–
I hope you’ll check out some of my other posts while you’re here, too!
See my DIY projects and inspiration [here]
Check out a home tour [here]
SO I knew I wanted to add some fall florals…but how, exactly, could I do that? I could go with the obvious choice: some fall florals in a vase (which I actually did, in addition to this DIY project). BUT I wanted to take it a step further and make it a little more dramatic of a statement – a fall floral cloud on the fireplace mantle, cascading down one side. I’m absolutely in love with how it turned out and OBSESSED with the fall florals I was able to find to create this piece. Love that it adds a pop of feminine energy to this wall and makes such a fun, girly statement for the living room!
SO, you’re asking, how exactly do you create your own fall floral cloud? I’m about to tell you!
How to make a DIY fall floral cloud
First things first…here are the Materials you’ll need
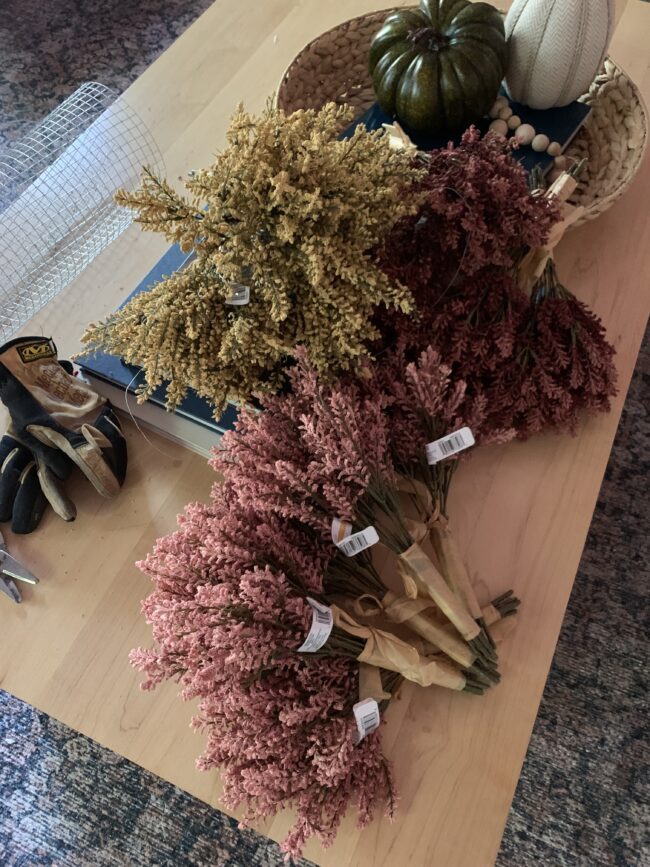
I mixed three different colors together to achieve this look: a fuschia color bunch, yellow, and pink. I also added in some random sprigs of longer yellow pieces to make the floral cloud look a little more “wild” and less perfect.
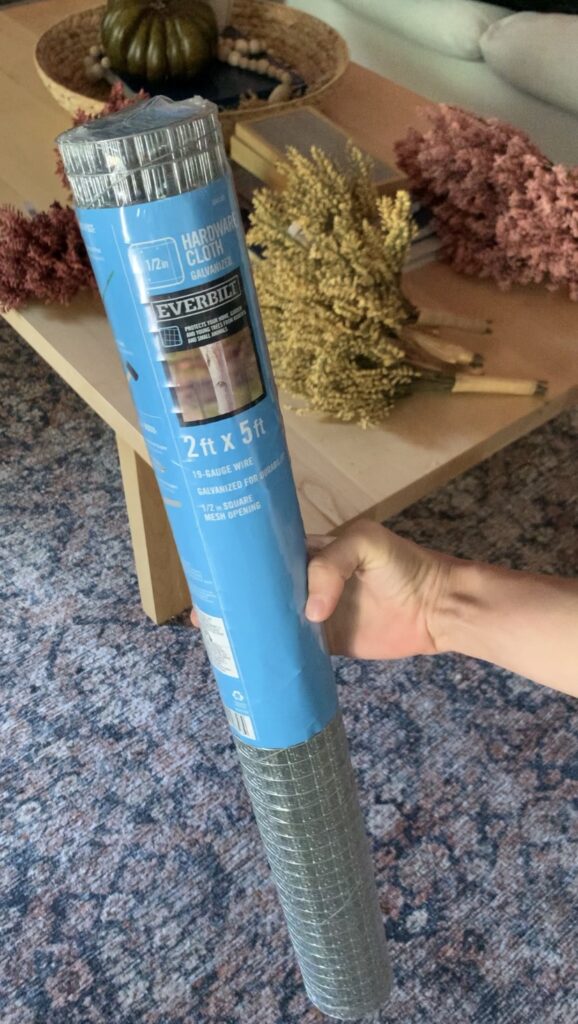
For the cloud base, I used this hardware cloth.
To cut the hardward cloth, I used these compound action straight cut aviation snips.
I used gloves to protect my hands from the sharp wire (they also helped with grip to bend wires).
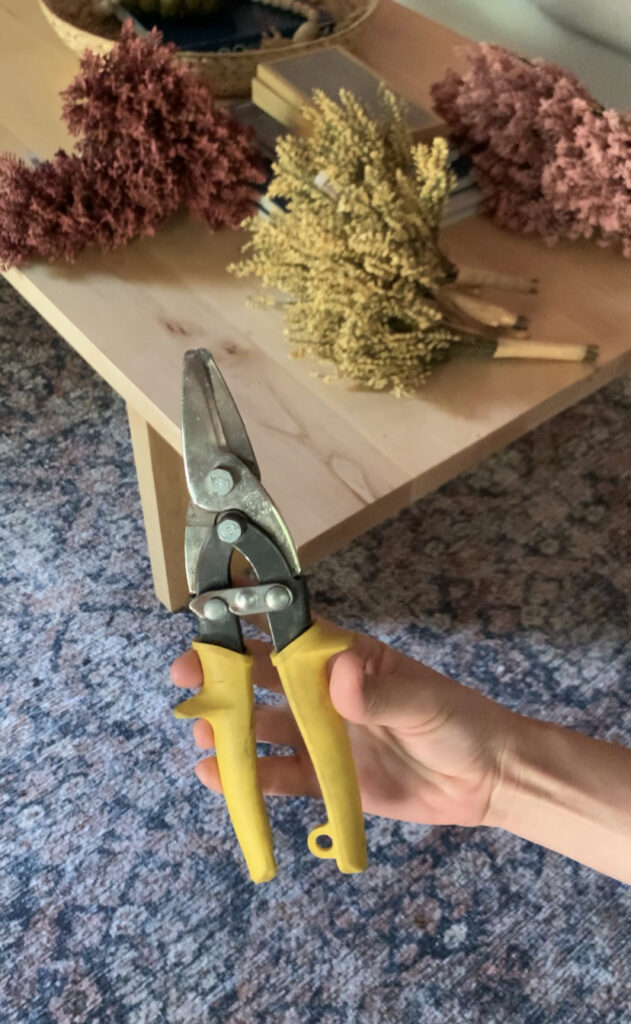
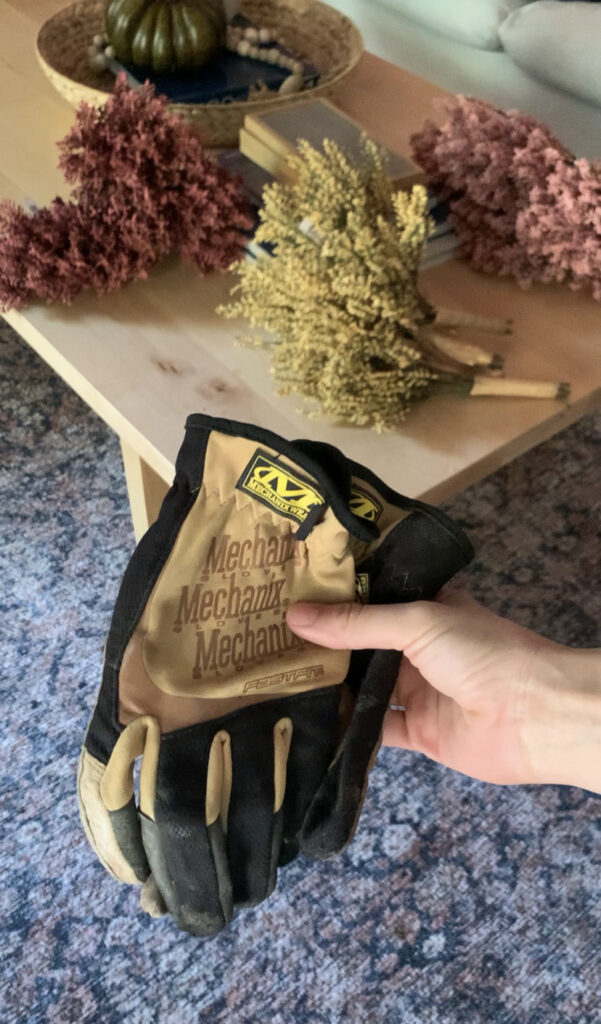
How to make your DIY fall floral cloud
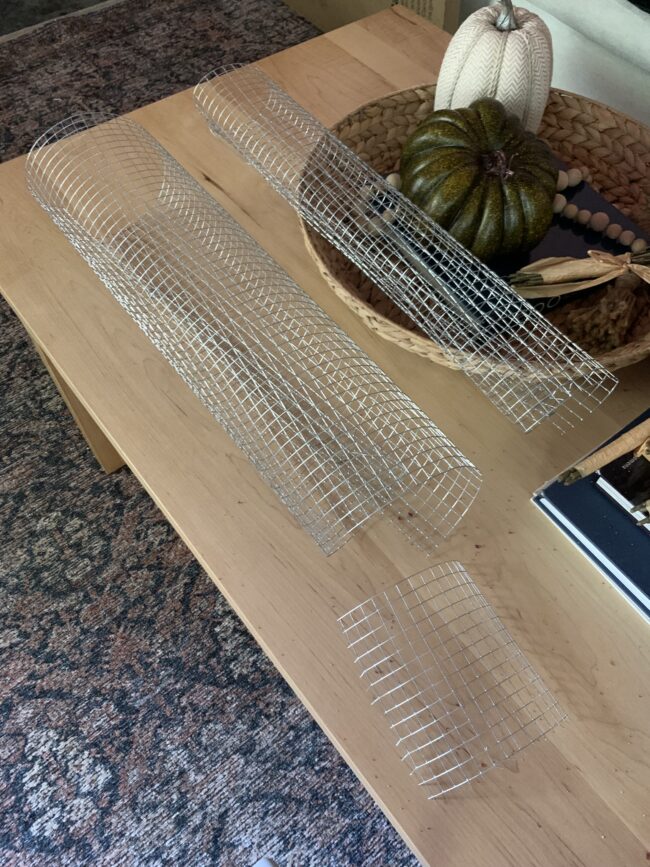
I started by taking the metal “rope” off of the hardware cloth – this is just what’s holding the roll together. Also – no, “rope” is not the technical name, I’m sure. But it’s just a piece of thin metal that holds the whole thing together so it’s rolled up at the store. SAVE THIS!
The hardware cloth will, obviously, come unraveled and roll out like a metal sheet of wrapping paper. ;) I then started to roll it back up into a cylinder shape. This cylinder is what will sit on top of your fireplace mantle – I didn’t have a specific size in mind, I just eyeballed it. We’re not getting real technical here today, guys. It’s art!
See photo below for the cylinder:
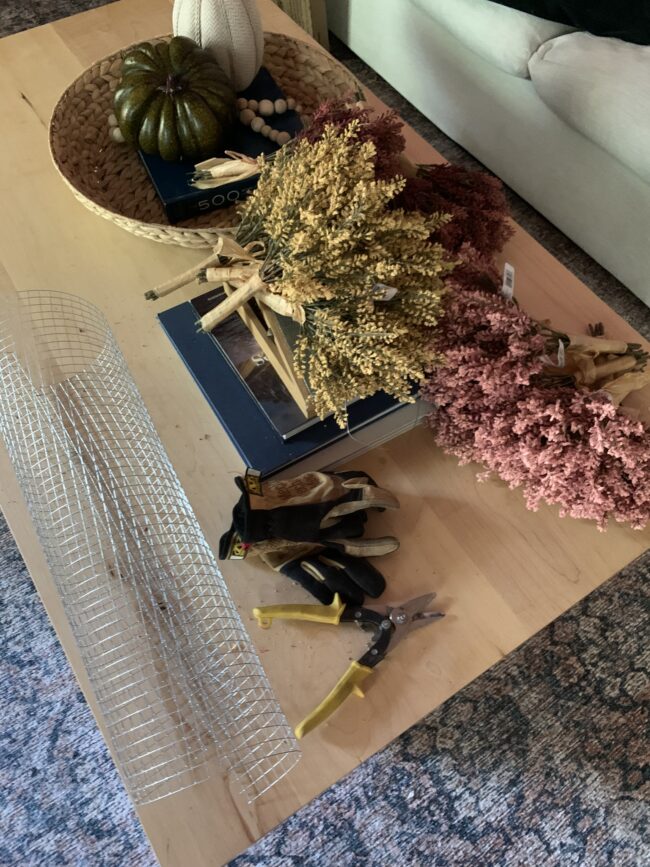
Once I got the size I wanted, I used that wire/rope and used it to “tie” the ends together, creating a cylinder.
Then, I flattened the cylinder at the bottom so that it would sit better on a flat surface – it’s pretty pliable, you can just press onto the floor and it will flatten out slightly.
The next step is to create a second cylinder – I made this one slightly smaller (width-wise) in size. This one is for the “waterfall” part of your cloud….the part that hangs down on the side of the fireplace mantle.
Don’t worry about the length just yet….I cut mine shorter when I actually got them up on the fireplace and could kind of visualize how large I wanted the cloud to be. Flatten this one a bit, too, so that it lays nicely against the side of your fireplace!
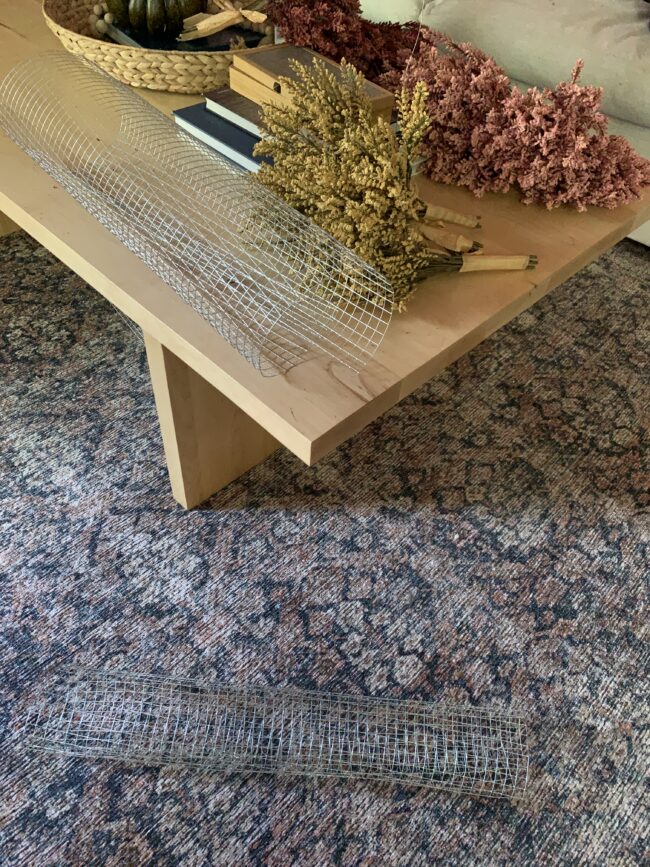
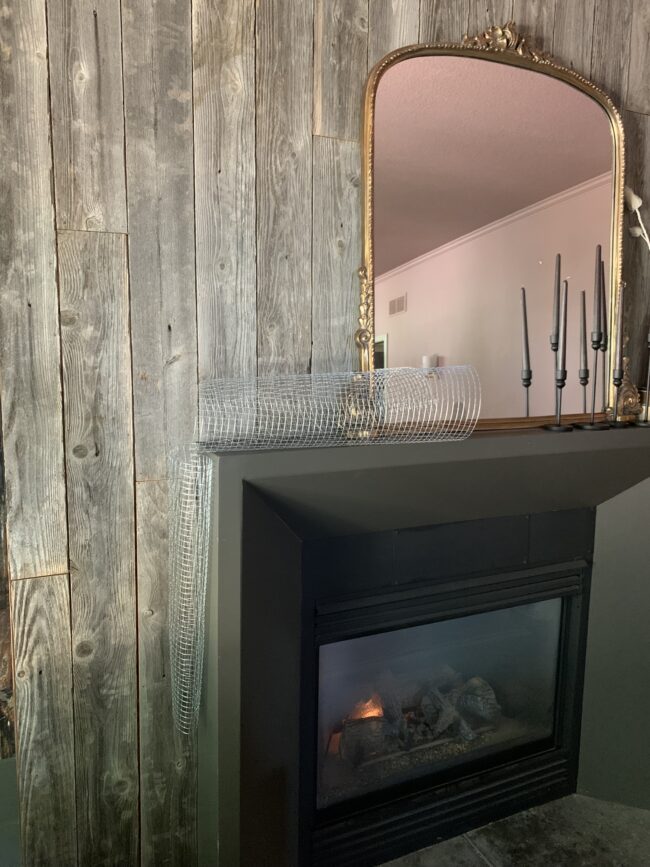
Next, I put the largest piece up on top of the mantle to picture how it would look with flowers in it. I then trimmed it down (it was too long for my liking) and nailed it down with a couple nails.
I used the wire to “sew” the two pieces together and then nailed the side cylinder onto the fireplace for extra reinforcement.
NOTE: The photo below shows my initial design – with the side piece on the SIDE of the fireplace. I ended up moving that side portion (small cylinder) to the FRONT of my fireplace because I wanted to maximize the effect you could see while standing in front of the fireplace. I honestly think either way would be pretty – it’s up to you!
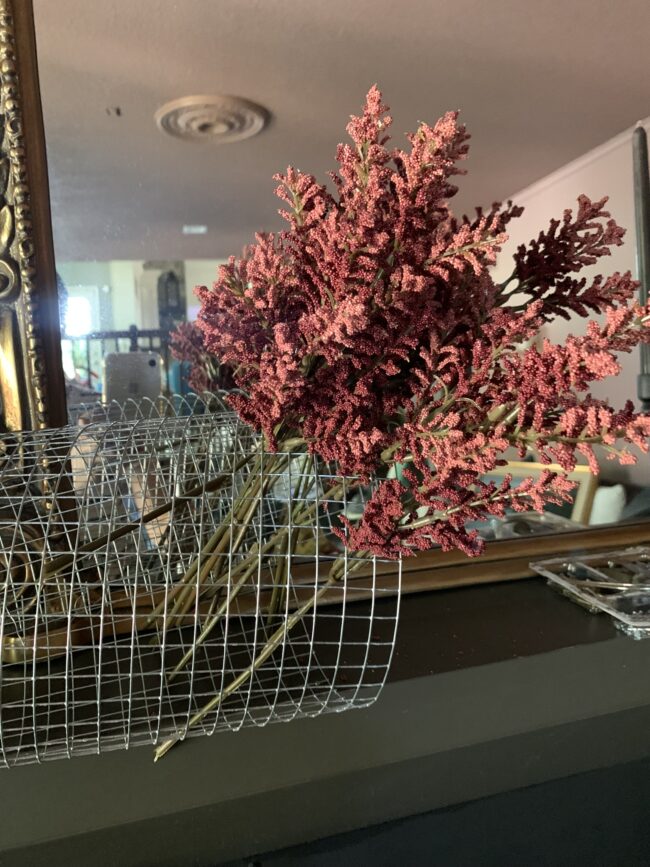
Next – the fun part! Putting the flowers in! The flowers come in bunches, so I used the snips/cutters to break them apart. Otherwise, they’re too large to fit into the holes of the hardware cloth….and I wanted to be able to manipulate them a bit more/mix colors. The smaller pieces are definitely easier to work with because you can add the different colors where you want to.
Below you can see a how I moved the second cylinder to the front of the fireplace as opposed to the side. I trimmed it shorter after I hung it up! It would be so beautiful hanging down this low…but we have little hands in this house and I didn’t want anyone to pull it down onto themselves. You really can kind of play around with the size to make it exactly how you want it and what will look best in your space.
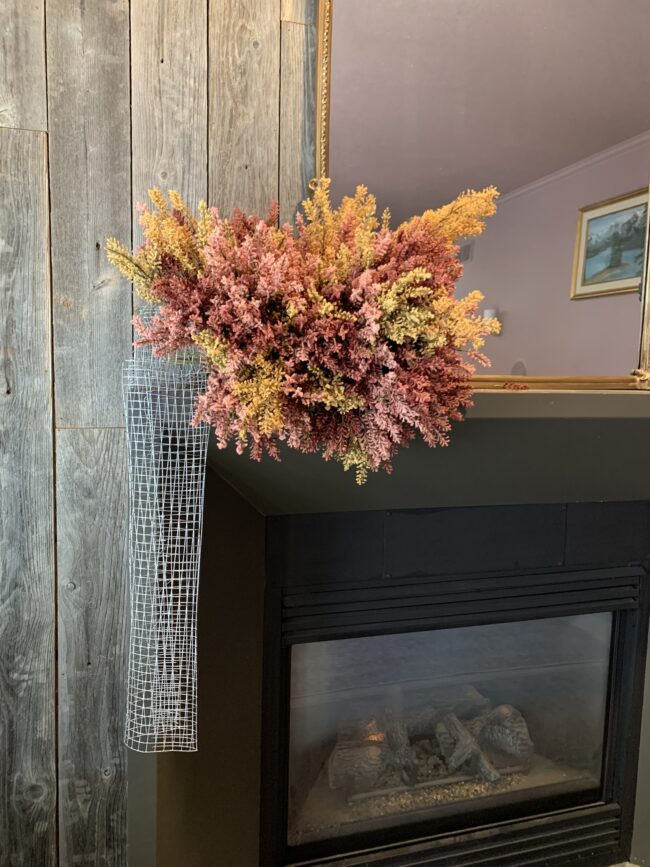
I really didn’t get too technical when placing the flowers. I just worked for a while, stepped back to see how it was looking, and continued on. If there was too much pink in one spot, I swapped it out with a different color. Again – this is where the smaller snips of flower pieces are helpful!
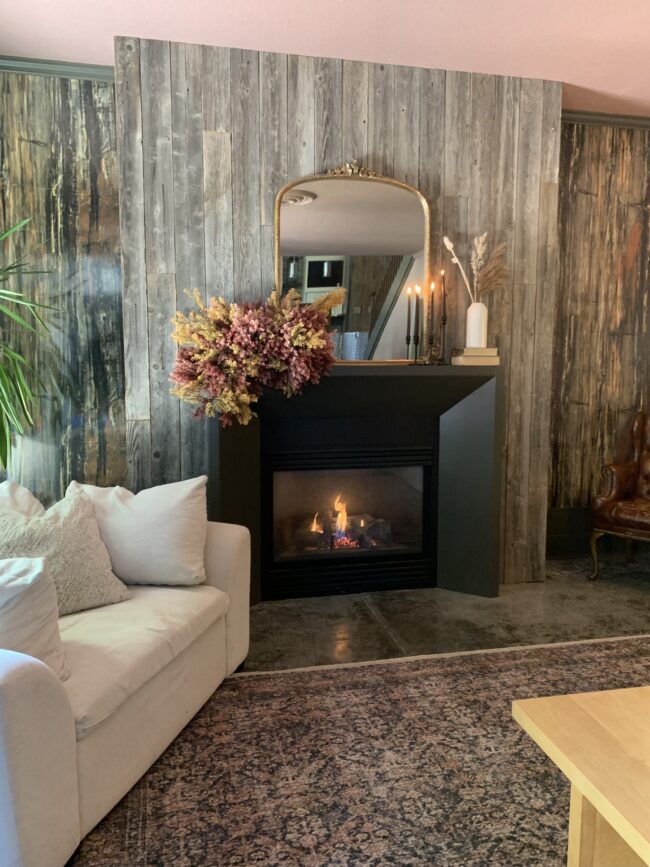
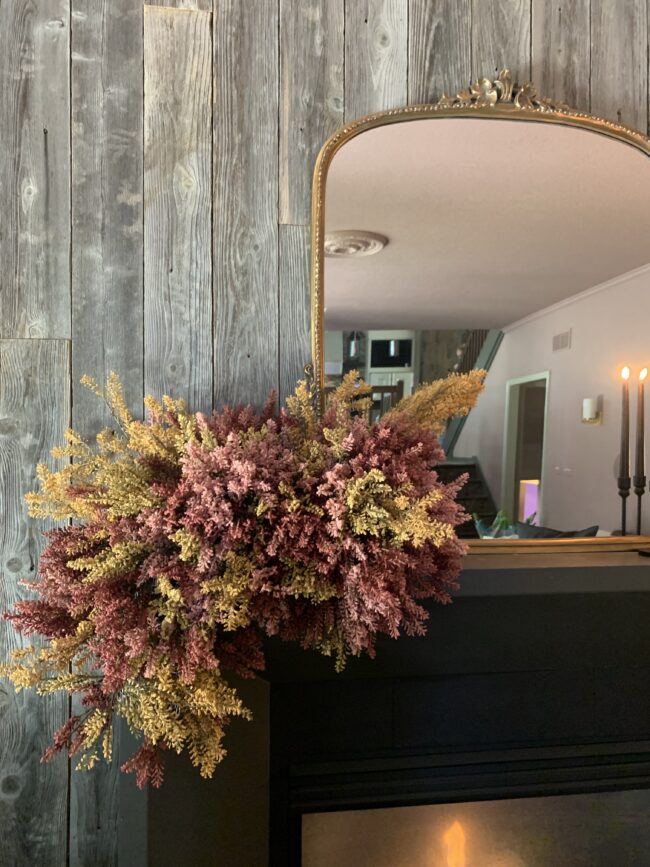

That’s it!! I absolutely love how this project turned out and will likely leave it up for more than the fall. I think it adds such a fun punch of color on this otherwise neutral fireplace wall.
Sidenote: To be honest I feel like it looks a little sparse at the bottom…but that’s because I bought every single last flower bunch that my local store had and had to work with what I had. I did end up buying more though, and will probably fix that! ;)
Linking things here again to make it easy to find!
Here are the fall flowers I used:
I mixed three different colors together to achieve this look: a fuschia color bunch, yellow, and pink. I also added in some random sprigs of longer yellow pieces to make the floral cloud look a little more “wild” and less perfect.
————–
I hope you’ll check out some of my other posts while you’re here, too!
See my DIY projects and inspiration [here]
Check out a home tour [here]
